
You can create connections to your redundant virtual devices. You can also create a single connection. This topic also describes how to view, edit, and delete connections.
Creating a Single Connection Video
Note: This feature depends on metro availability.
To establish a connection to a redundant device:
- Sign in to the Equinix Customer Portal and navigate to Network Edge.
- Click Create Connection.
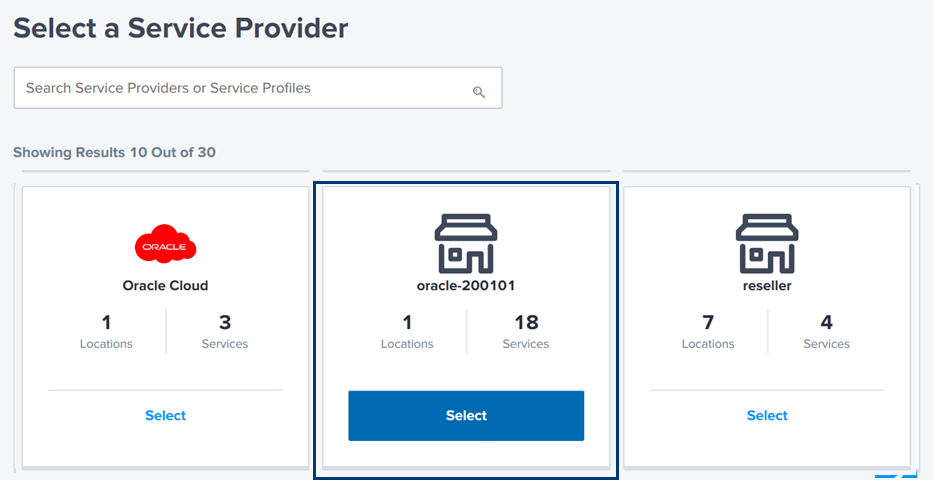
- On the A Service Provider card, click Connect to a Service Provider.

- Scroll to view a list of available providers, then click Select on your preferred provider.

- Click Virtual Device.

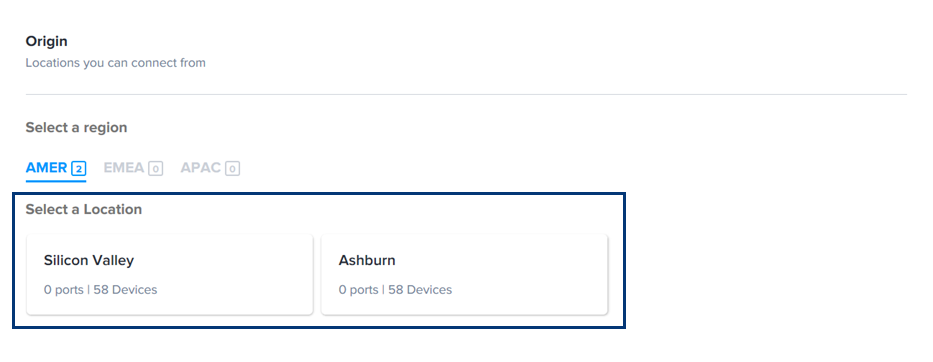
- Select the device location.

- In the Select Virtual Device Type section, click Virtual Devices.

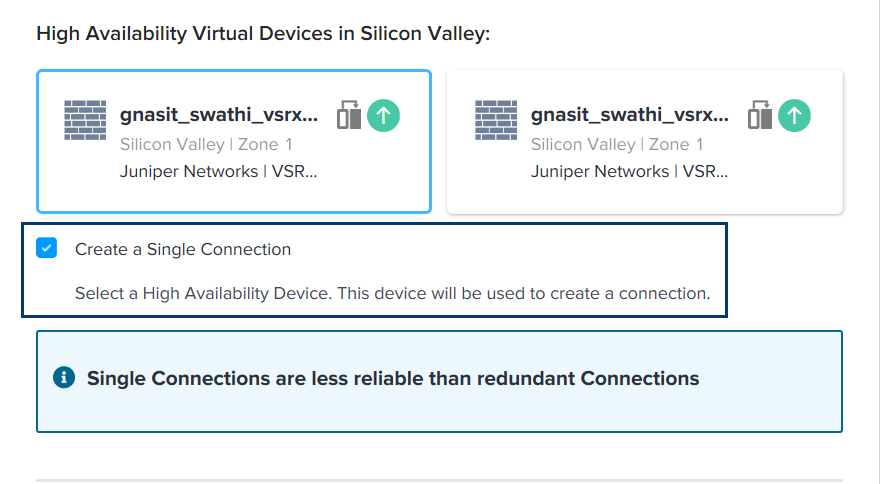
- Select the virtual device(s) to which you want to connect.
- To create only one connection, select Create a Single Connection.

- To create only one connection, select Create a Single Connection.
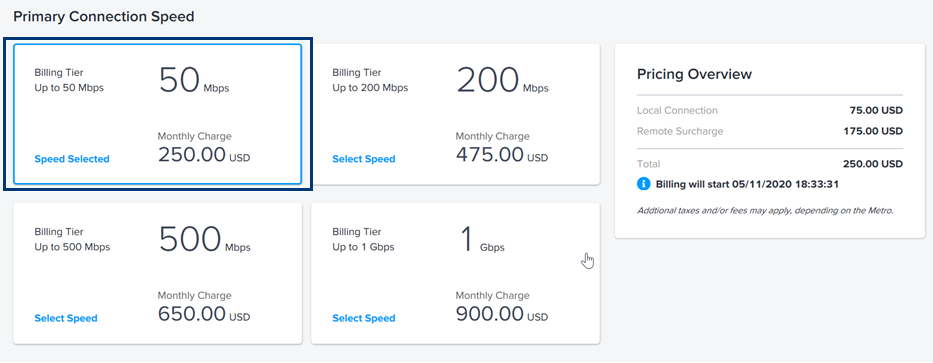
- Select a Primary Connection Speed, then click Next: Connection Details.
- In the Technical Specifications section:
- Enter the Connection Name.

- Enter the Global Autonomous System Number (ASN).

- Select the Route Type.

-
Click Next: Review. On the Review page, review your order.
- Click Submit Your Order.


After submitting the order, an email verification of the order is sent to the user. After the connection is provisioned, a confirmation email is sent to you.
View, Edit, and Delete Connections
After the Layer 3 connection is provisioned, users can view, edit, and delete the connection.
To view connections:
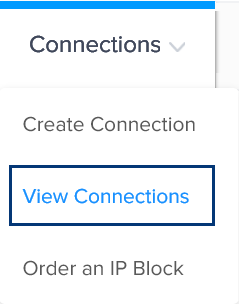
- Click Connections and select View Connections.

- All connections display. Select a connection to view the connection details.


To modify the connection name or change connection speeds:
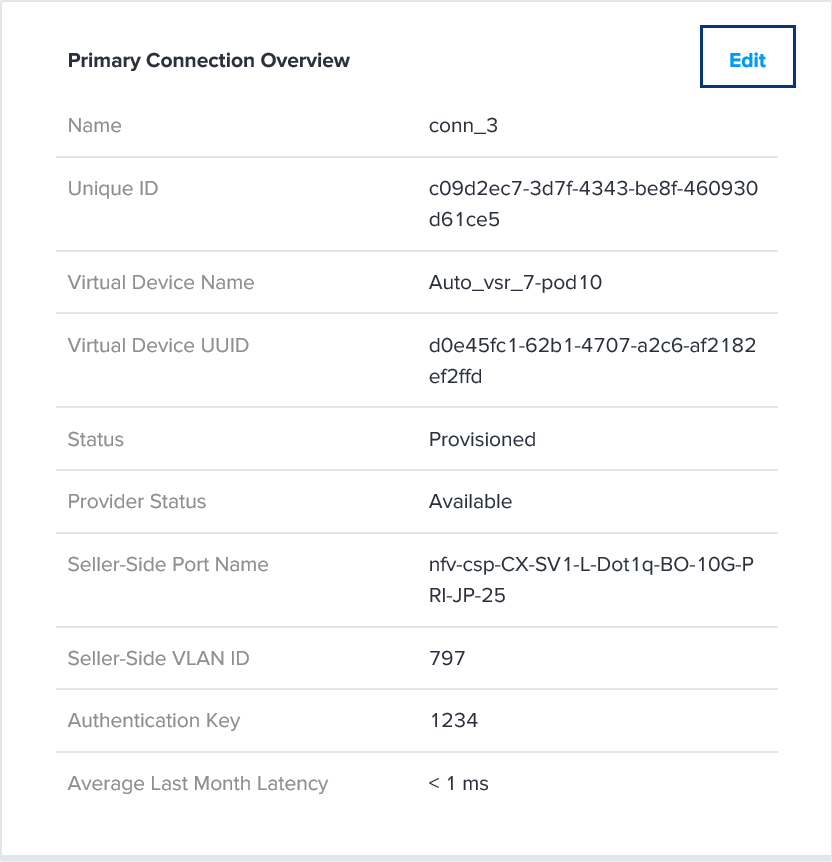
- In the Primary Connection Overview section, click Edit and type the new connection name.

- In the Bandwidth Details section, click Edit to change the connection speeds


To delete a connection, scroll to the bottom of the page and click Delete Connection.
Important: This action permanently deletes the connection and its configuration.
