
-
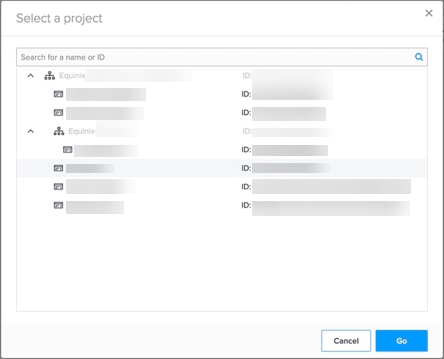
Click Create New Diagram to start creating a new design. The project selector displays to associate your new design to your exiting project.

Note: If your organization is migrated to the Identity and Access Management experience, you can create and duplicate solution design in a project you are currently in. You cannot move or copy your design to other projects.
-
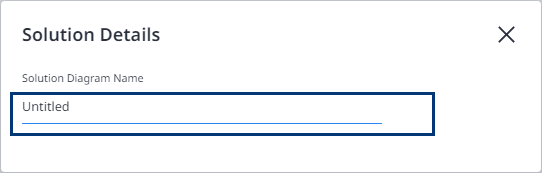
In the Solution Details box, change the default name for your design (Untitled).
- Click the X to close the box.
The workspace in Solution Builder is the backdrop on which you can drag and drop your network resources.
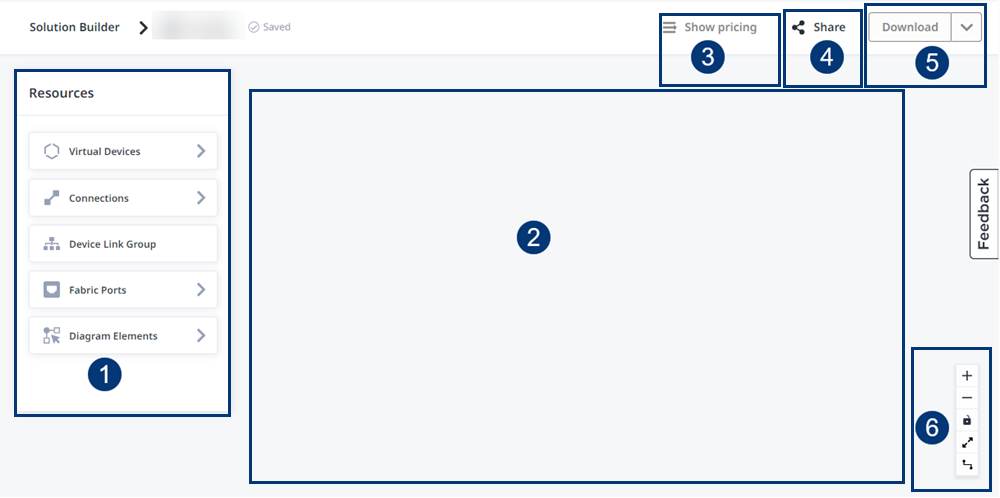
![]() Resources – Select the resources you want to add to your diagram. Resources include your virtual devices, connections, devices link groups, Fabric ports, and diagram elements such as text boxes.
Resources – Select the resources you want to add to your diagram. Resources include your virtual devices, connections, devices link groups, Fabric ports, and diagram elements such as text boxes.
![]() Workspace – Drag your resources to your workspace
Workspace – Drag your resources to your workspace
![]() Currency – Use the drop-down to select a single currency for your pricing summary, regardless of which metros your digital assets reside in. If you select Local Currency, the quote will include the currency for each individual metro.
Currency – Use the drop-down to select a single currency for your pricing summary, regardless of which metros your digital assets reside in. If you select Local Currency, the quote will include the currency for each individual metro.
![]() Pricing – Click Show pricing to view a pricing summary for your solution.
Pricing – Click Show pricing to view a pricing summary for your solution.
![]() Share – Click Share to share your design with another user and allow other users to collaborate on your diagram.
Share – Click Share to share your design with another user and allow other users to collaborate on your diagram.
![]() Download – Click Download solution design and pricing (.pdf) to download a pricing summary of your design complete with a diagram of your design. Click Download solution design (.png) to download an image of your design.
Download – Click Download solution design and pricing (.pdf) to download a pricing summary of your design complete with a diagram of your design. Click Download solution design (.png) to download an image of your design.
![]() Controller – Use the controller on your diagram to zoom in and out, lock others from changing it, and format the connection lines.
Controller – Use the controller on your diagram to zoom in and out, lock others from changing it, and format the connection lines.
Add a Service Provider to Your Diagram
-
Start by clicking Connections in the Network Resources section.

-
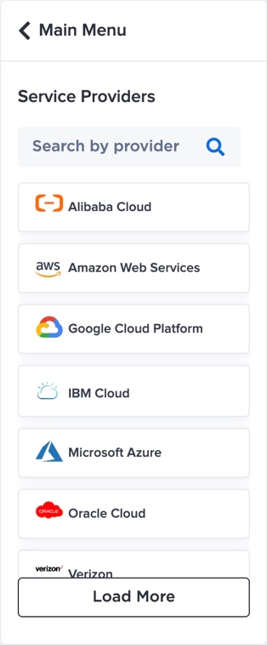
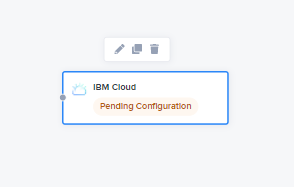
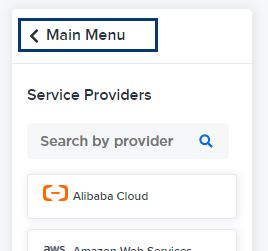
Click Service Providers to see all the available service providers. Click Load More and scroll through the list or enter the service provider name in the search field to find your preferred service provider. Drag your preferred service provider to the diagram workspace. The status for the service provider will indicate that it is Pending Configuration.

-
Click
 or double-click the component box to configure component options. Follow the steps in the right panel to select a service profile and metro location.
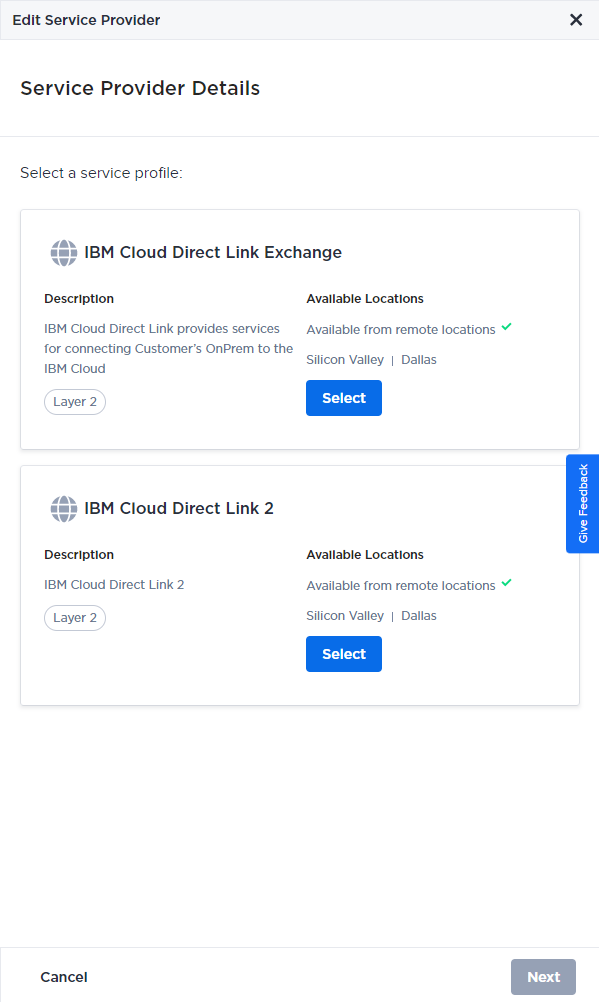
For detailed information about configuration, see the Device Configuration documentation for your service provider.
Once your configuration is completed, your design is automatically saved.
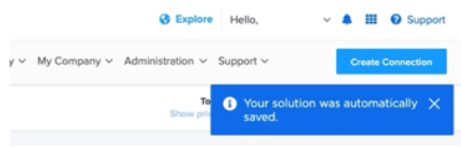
Note: Solution Builder has an auto-save function to automatically save components and designs after the options are configured. It also saves design solutions when you navigate away from the Solution Builder to other portal functions. A saved icon displays with the last saved time and date.
-
After you’ve configured your service provider, click Main Menu to return to the Network Resources section.

Add a Device to Your Diagram
-
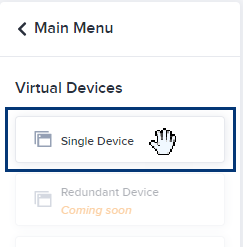
Click Virtual Devices and drag Single Device to your diagram.

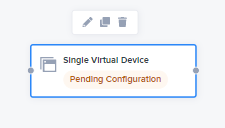
The status of the device will indicate that it is Pending Configuration.

-
Click
to configure. Follow the steps in the right panel.
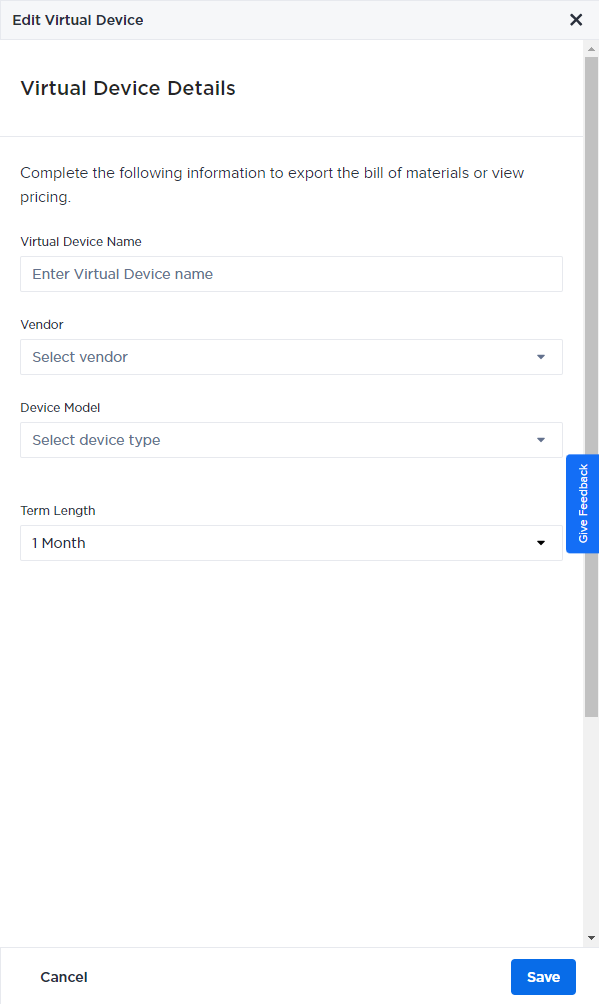
Note: Be sure to configure all options in the device configuration including Virtual Device Name, Vendor, Device Model, Device Metro, Term Length, Device Configuration, Licensing, Device Resources, Software Package, and Software Version to start calculating price estimate.
For detailed information about device configuration, see Create a Single Virtual Device.
Connect Your Device to Your Service Provider
Use your cursor to connect your device to your service provider.
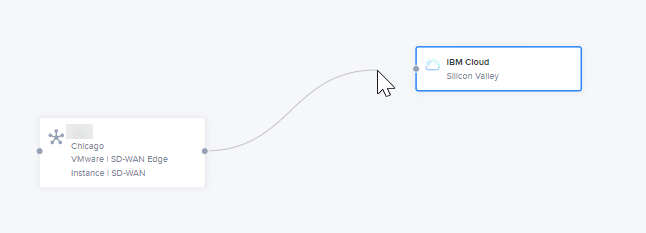
You will automatically be prompted to configure your connection. Follow the steps in the right panel. You must configure your Connection Name and select Connection Bandwidth to have accurate pricing for the entire design.

Add a Text Box to Your Diagram
-
Click Diagram Elements and drag Text to your diagram.
-
Enter text inside the box.
-
Double-click in the box to see the options menu and:
-
Click B to bold your text.
-
Click the gray or black circle to change the text color.
-
Click the clone icon to duplicate your text box.
-
Click the trash icon to delete your text box.
-
Text boxes cannot be resized. Text font size cannot be changed. Text box size will be increased horizontally as you add more text, and vertically as you enter line breaks.
