
Clustering allows Network Edge customers to create an HA configuration, designating the devices as clustered so that certain activities are carried out as a single unit. Customers can also control which device is active at any given time.
To create a Fortinet SD-WAN cluster:
Note: When connecting clustered devices using Device Linking, the HA Group IDs must be unique on each cluster.
- Sign in to the Equinix Customer Portal and navigate to Network Edge.
- From the Network Edge menu, select Create Virtual Device.
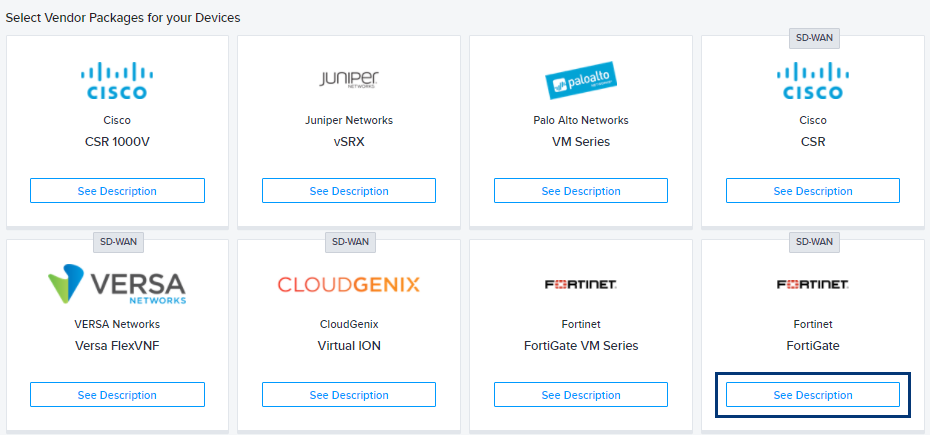
- In the Select Vendor Package(s) for your Device(s) section, locate the Fortinet SD-WAN card and click See Description.
- Click Select and Continue.
- Review the steps for creating a Fortinet SD-WAN device, and click Create SD-WAN Device.
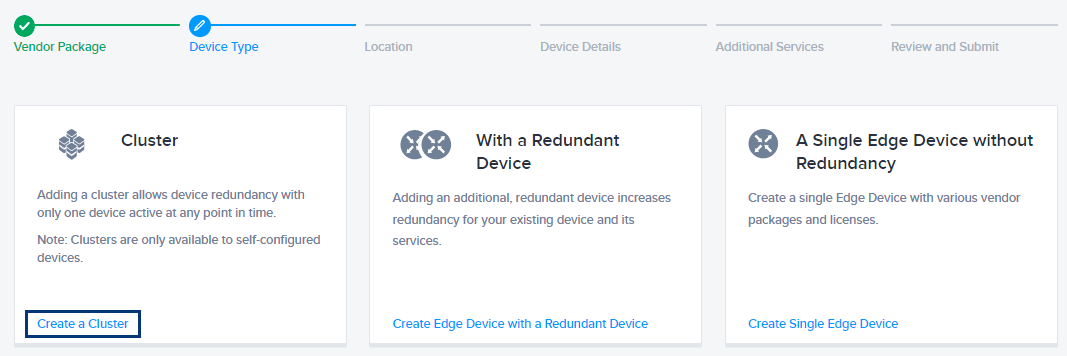
- In the Cluster card, click Create a Cluster.
- Click Begin Creating Edge Devices.
- In the Select Metro section, click a location.
- Select a billing account.

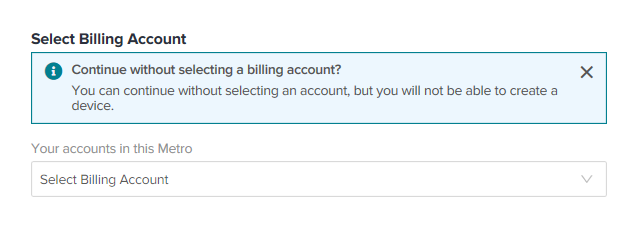
In order to create a device in a specific metro location, you need a billing account for the metro. You can continue without selecting an account, but you won’t be able to create your device.
You will be able to save your draft device.
Note: If you don’t have any available billing accounts, click Go to Account Management to set up a billing account. For more information about creating a billing account, see Billing Account Management.
-
Click Next: Device Details.
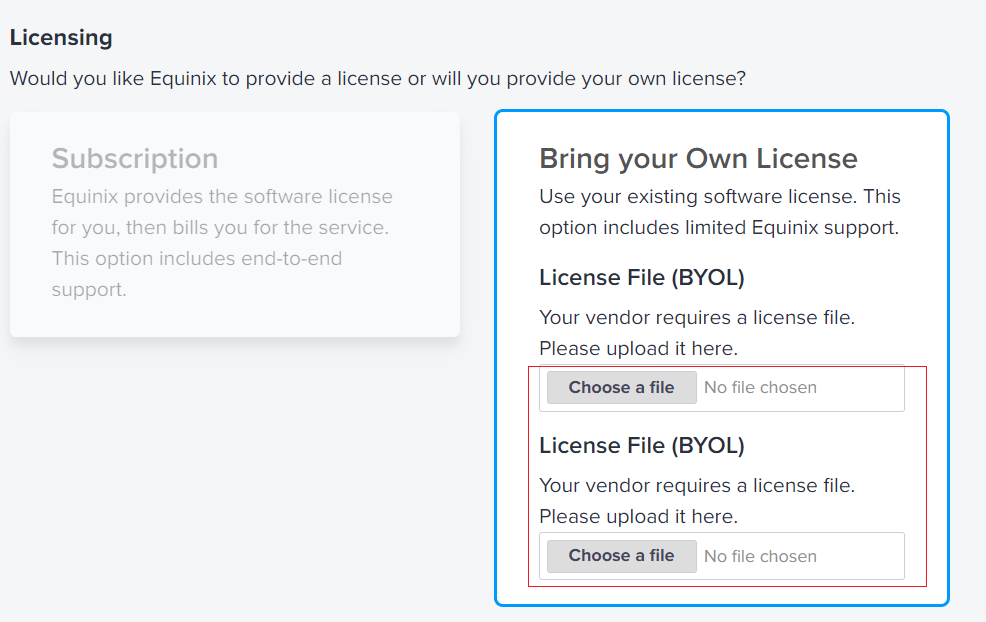
Licensing defaults to Bring your own License.Note: Clustering is only supported on Self-Configured devices. - Click Choose a license to browse to your license file(s).

-
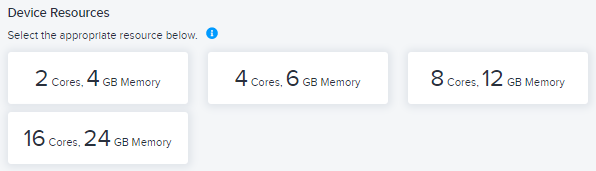
Select the Device Resources (2 cores, 4GB memory; 4 cores, 6GB memory; 8 cores, 12GB memory, or 16 cores, 24GB).
-
Select a Software Package.
-
Select a Software Version.
-
Enter the details for your cluster and the devices within the cluster:
- Cluster Name – Enter a name for the cluster.
- Device Name – Enter a name for the device.
- Primary Device SD-WAN Controller 1 – Enter the IP address.
- Primary Device Admin Password – Enter a password for the primary device.
- Primary Host Name – Enter the host name for the primary device.
- Secondary Device Admin Password – Enter a password for the secondary device.
- Secondary Device Host Name – Enter the host name for the secondary device.
- Interfaces – Select the number of interfaces.
- Device Status Notifications – Enter the email addresses of anyone who should receive email notifications regarding device status. (Optional) Purchase Order Number – Enter the PO number.
- (Optional) Order Reference/Identifier – Enter the order reference number.
- In the Interfaces section, select the number of interfaces for your device.
- In the Device Status Notifications section, enter the email address(es) of the person(s) who will receive notifications about this cluster.
- Click Next: Additional Services.
- Add Access IP Addresses – Select an ACL template for your cluster.
- Additional Internet Bandwidth – Add up to 2001 Mbps of internet bandwidth. (Additional charges applied one time to the primary device.)
- Term Length – Select a term length. The default is one month.
- Click Next: Review and review your order.
If a software version is being retired within the next 2 months, you will see a ![]() icon next to the version number. It is strongly recommended that you select a different version because once a version is retired, Equinix will not support it.
icon next to the version number. It is strongly recommended that you select a different version because once a version is retired, Equinix will not support it.

- Click Create Virtual Device.
