Arista Cloud EOS Video
This topic explains how to create and operate an Arista CloudEOS virtual device. See Arista Specifications for more information about the Arista CloudEOS virtual device.
Prerequisites
-
BYOL License file from Arista Networks
Device Creation
To create a single Arista device:
- Sign in to the Equinix Customer Portal and navigate to Network Edge.
- From the Network Edge menu, select Create Virtual Device.
- Locate the Arista card and click Select and Continue.
-
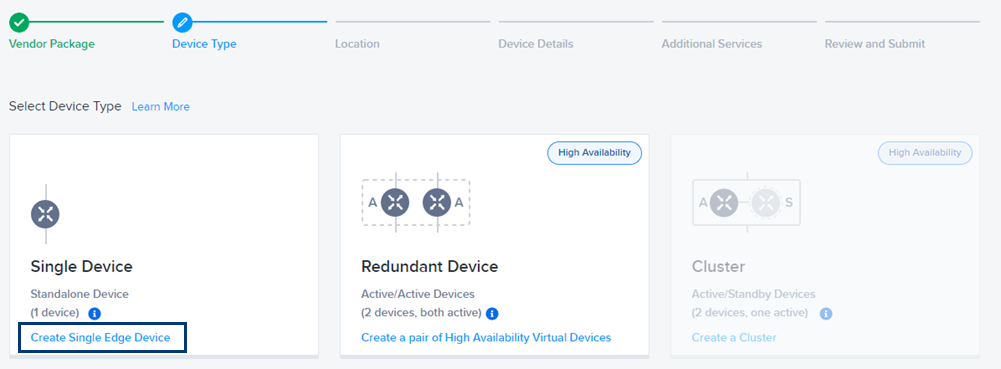
Click Create Single Edge Device. In order to increase availability of the device, a user may select Redundant Device type and deploy routers in the other metro location.
- Click Begin Creating Edge Devices.
- In the Select Metro section, click a location.
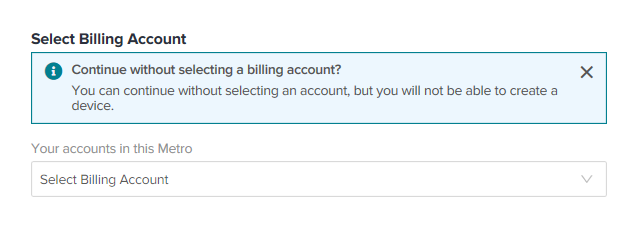
- In the Select Billing Account section, select a billing account in the Your accounts in this metro drop-down menu.

In order to create a device in a specific metro location, you need a billing account for the metro. You can continue without selecting an account, but you won’t be able to create your device. -
Click Next: Device Details.
Licensing defaults to Bring your own License.
Note: You need to upload the license file manually after the device creation is complete and device becomes available. You will need vEOS (throughput) and an additional license for IPSec if required. For more information, see Arista documentation.
-
Select the Device Resources.
The Software Package defaults to CloudEOS.
-
Select a Software Version.
-
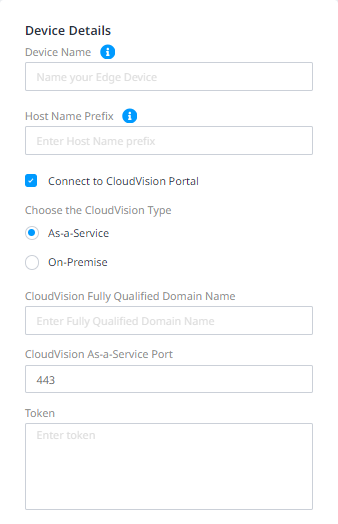
In the Device Details box, enter:
- Device Name – The name for the device used to identify it in the portal.
- Host Name Prefix – The hostname configured for the device.
- Connect to CloudVision Portal is automatically selected.
- Choose the CloudVision Type – Select As-a-Service or On-Premise as your CloudVision type.
- If you selected As-a Service:
- CloudVision Fully Qualified Domain Name – Enter the FQDN.
- CloudVision As-a-Service Port – The default Port value will be pre-populated, but you can change it.
- Token – Enter your CloudVision token.
- If you selected On-Premise:
- CloudVision IP Address – Enter the IP Address.
- CloudVision On-premise-Port – The default Port value will be pre-populated, but you can change it.
- Token – Enter your CloudVision token.
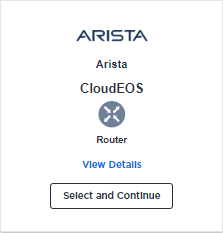
Note: Click View Details to see an overview of the product and its available options.
If a software version is being retired within the next 2 months, you will see a ![]() icon next to the version number. It is strongly recommended that you select a different version because once a version is retired, Equinix will not support it.
icon next to the version number. It is strongly recommended that you select a different version because once a version is retired, Equinix will not support it.

Deselect if you do not want to connect to the CloudVision Portal. If you do want to connect to CloudVision:
- Select a WAN/SSH Interface. Ethernet 1 – 16 are available to be assigned to WAN interface. Management 1 interface is a reserved interface and cannot be selected.
- In the Device Status Notifications box, enter the email addresses of anyone who should receive email notifications regarding device status.
- (Optional) In the Optional Details box, enter the Purchase Order Number and Order Reference/Identifier.
- In the Term Length drop-down menu, select a term length.
- Click Next: Additional Services to add any additional services.
-
Click Add Users to add user name for accessing virtual device via SSH/HTTPS. For more information, see Network Edge Device Access.
-
RSA Public Keys – Enter an existing RSA Public Key, or click Add New RSA Public Key to generate a new one.
-
Diverse Compute from an Existing Single Device – If you already have another single device and you want this new device to exist in a different plane, click Select Diverse From and select the existing device. See Achieve Resiliency Through Geo-Redundancy for more information.
-
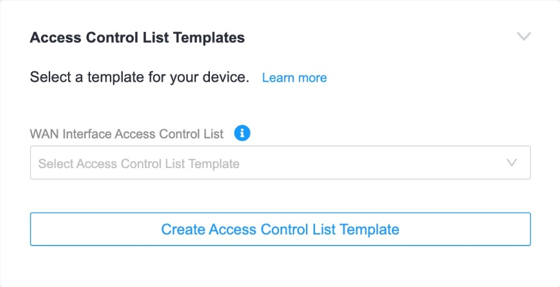
Access Control List Template(s) – This access list is used to control ingress traffic toward the virtual device. Access list is applied to the adjacent gateway device where this virtual device WAN interface is connected.

-
Additional Internet Bandwidth – Add between 25 and 5000 additional Mbps of internet bandwidth (for a fee). 15 Mbps of Internet Bandwidth is included free in the package by default.
Note: By default, the communication required for initial bootstrap (DNS, NTP, License Server communication, etc.) is allowed to properly configure the initial VNF configuration. Additional protocols such as SSH need to be intentionally permitted using an ACL template (Custom ACL). If you need to create a template to apply to your device, click Create Access Control List Template. See Configure Access Controls on Virtual Devices for more information. - Click Next: Review and review your order.
- Click Create Virtual Device.
-
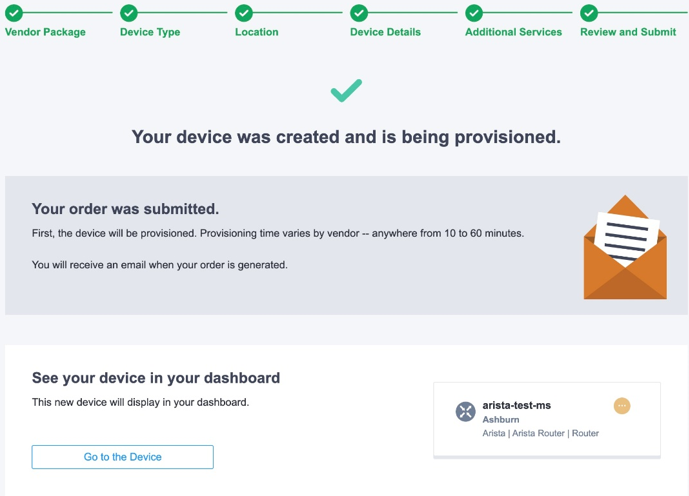
After your device is provisioned, upload the appropriate license file to the Arista CloudEOS virtual device
The confirmation screen will display. Click Go to the Device to navigate to the device detail page. After the device provisioning process is complete, you will receive an email notifying you that device provisioning has completed.