
Clustering allows Network Edge customers to create an HA configuration, designating the devices as clustered so that certain activities are carried out as a single unit. Customers can also control which device is active at any given time.
Note: When connecting clustered devices using Device Linking, the HA Group IDs must be unique on each cluster.
To create a Fortinet cluster:
- Sign in to the Equinix Customer Portal and navigate to Network Edge.
- From the Network Edge menu, select Create Virtual Device.
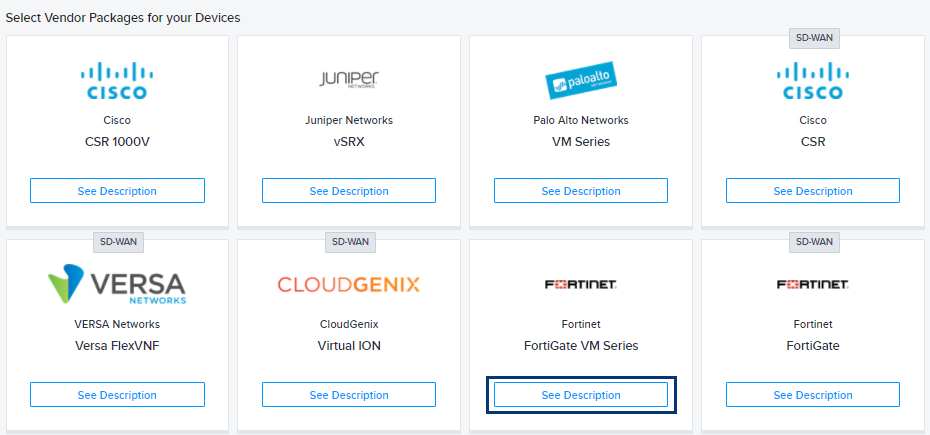
- In the Select Vendor Package(s) for your Device(s) section, locate the Fortinet card and click See Description.
- Click Select and Continue.
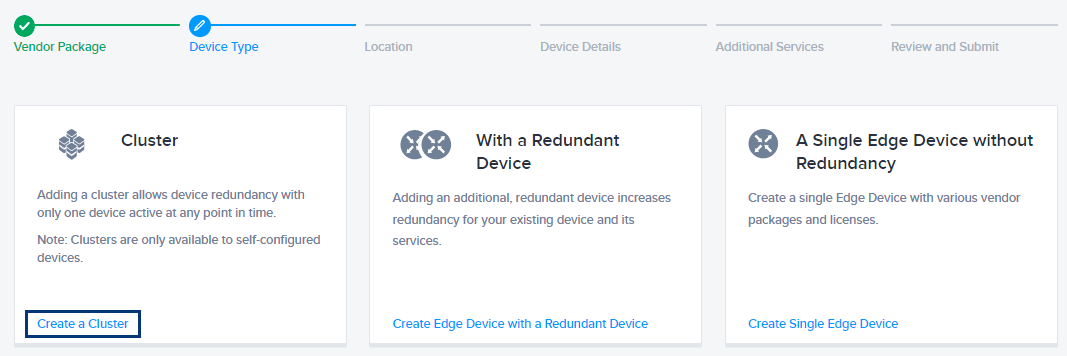
- In the Cluster card, click Create a Cluster.
- Click Begin Creating Edge Devices.
- In the Select Metro section, click a location.
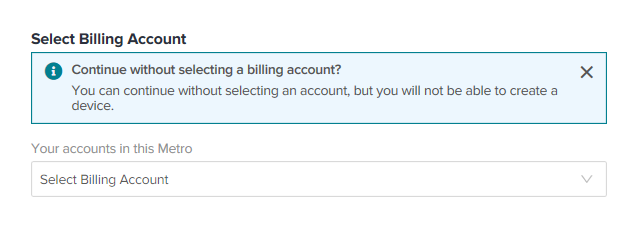
- Select a billing account.

In order to create a device in a specific metro location, you need a billing account for the metro. You can continue without selecting an account, but you won’t be able to create your device. -
Click Next: Device Details.
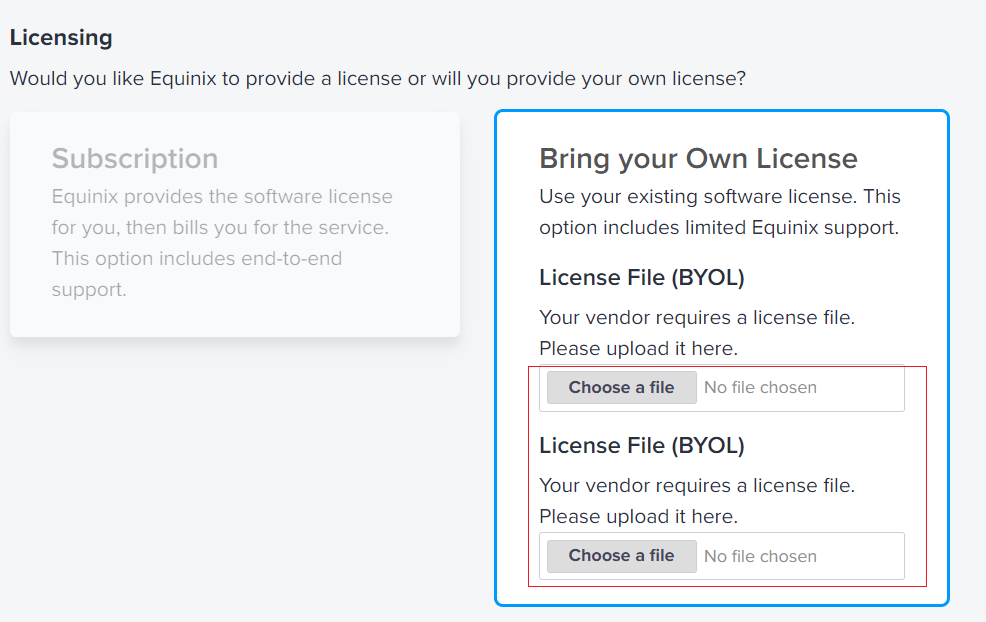
Licensing defaults to Bring your own License.
- In the License Files section, click Choose a license to browse to your license file(s).

-
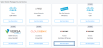
Select the Device Resources (2 cores, 4GB memory; 4 cores, 8GB memory; 8 cores, 16GB memory, or 16 cores, 24GB).

-
Select a Software Package.
-
Select a Software Version.
-
Enter the details for your cluster and the devices within the cluster:
- Cluster Name – Enter a name for the cluster.
- Device Name – Enter a name for the device.
- Primary Host Name – Enter a host name prefix for the primary device.
- Secondary Host Name – Enter a host name prefix for the secondary device.
- Interfaces – Select the number of interfaces.
- Select your WAN/SSH interface – Indicate whether you want to select the interface or if you want the next available interface to be automatically selected.
- Device Status Notifications – Enter the email addresses of anyone who should receive email notifications regarding device status. (Optional) Purchase Order Number – Enter the PO number.
- (Optional) Order Reference/Identifier – Enter the order reference number.
- Click Next: Additional Services.
- Add Users – Enter the user names for users accessing your virtual device(s) through SSH/HTTPS.
- SSH Public Key – Generate a public key and enter it in the Existing Public Keys field.
- Add Access IP Addresses – Select an access control list template.
- (Optional) Additional Internet Bandwidth – Add up to 2001 additional Mbps of internet bandwidth (for a fee).
-
Term Length – Select a term length. The default is one month.
- Click Next: Review and review your order.

If a software version is being retired within the next 2 months, you will see a ![]() icon next to the version number. It is strongly recommended that you select a different version because once a version is retired, Equinix will not support it.
icon next to the version number. It is strongly recommended that you select a different version because once a version is retired, Equinix will not support it.

Note: Applying an ACL template is a mandatory step in the device creation process. If you need to create a template to apply to your device, click Create Access Control List Template. See Configure Access Controls on Virtual Devices for more information.
- Click Create Virtual Device.
Important: If one or more devices in your cluster have to be deleted and re-created, the device(s) will have a new UUID. Manual intervention is necessary. You will have to associate the new UUID with your existing license.
