Connect to AT&T's NetBond to integrate public, private and hybrid clouds with your existing MPLS networks.
Prerequisites
-
An AT&T AVPN subscription.
-
An AT&T NetBond subscription.
Tip: If you're not a NetBond subscriber, complete the form to contact AT&T's product team.
-
An Equinix Fabric account.
-
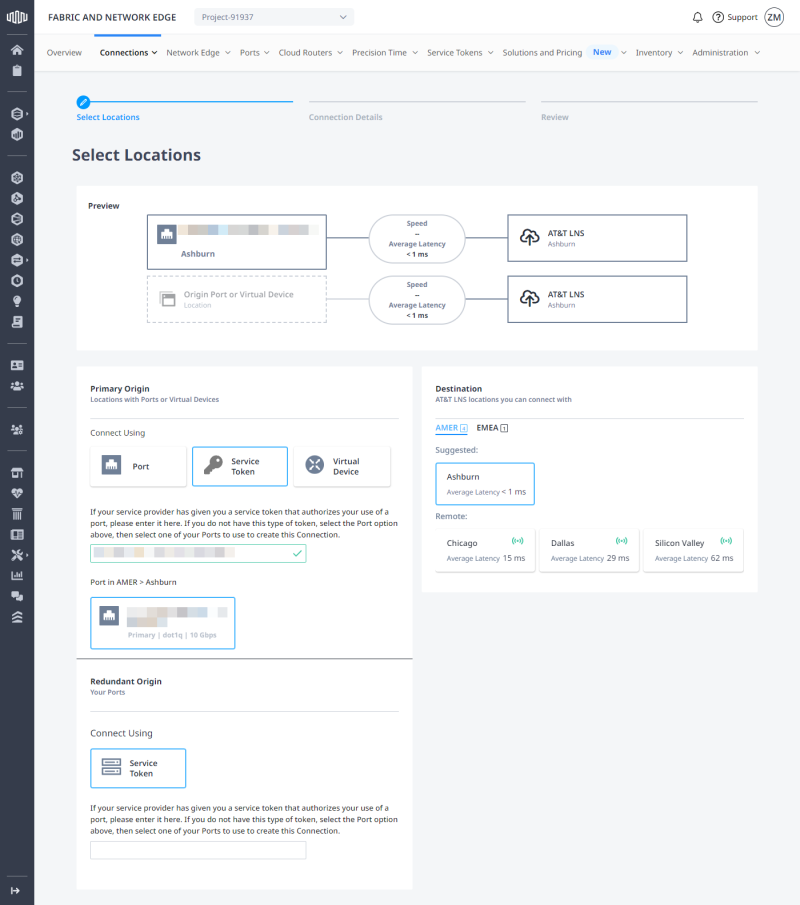
At least one Equinix Fabric port, a Network Edge device or an Equinix Metal instance (service token-based connection).
Important: This device must be VLAN and BGP capable.
Note: For information on ordering an Equinix Fabric port, see Order an Equinix Fabric Port. For information on ordering a Network Edge device, see Create a Single Virtual Device.
Considerations
-
High Availability – AT&T requires two Virtual Circuits for a connection to NetBond; one primary and one secondary. These two virtual circuits may be provisioned on the same port or Network Edge device if only one endpoint is available.
-
Remote Connections – AT&T NetBond is available over remote connections on the Equinix Fabric.
-
Turn-up and service delivery times are approximately two business days once the connection request is submitted in the Equinix Fabric portal.
Connect to AT&T NetBond
Create NetBond VNC and VLAN
To create a NetBond VNC:
-
Log in to the AT&T Cloud Portal.
-
Locate and click the appropriate service group.
-
Click Manage service settings, then click VNCs and VLANs.
-
Create a VNC for Equinix Fabric:
-
From the CSP list drop-down list, select Equinix Fabric.
-
Choose the location for the Equinix side of the connection.
-
Click Create VNC.
-
-
From the Routing domain drop-down list, select Private.
-
Choose the Standard VNC type.
-
Name your NetBond VNC.
-
From the VPN name drop-down list, select the VPN you want to tie the service to.
-
Select the desired Minimum Bandwidth Commitment, then click Submit.
Note: The bandwidth commitment must match the Fabric connection's bandwidth.
-
Click + to expand the VNC details, then click Assign VLAN.
-
Enter VLAN name, provide an IPv4 subnet and your Peer ASN.
Tip: The ASN can be private and should match the ASN you intend to peer with from your Equinix location. You can also use a BGP Authentication key at this point if you like as well.
-
Click Submit.
-
Click + next to your VLAN's name, then locate and copy the Partner Service Key.
Create a Fabric Connection
To establish a connection to AT&T NetBond service:
-
Log in to Equinix Fabric.
-
From the Connections menu, select Create Connection.
-
On the A Service Provider card, click Connect to a Service Provider and search for AT&T.
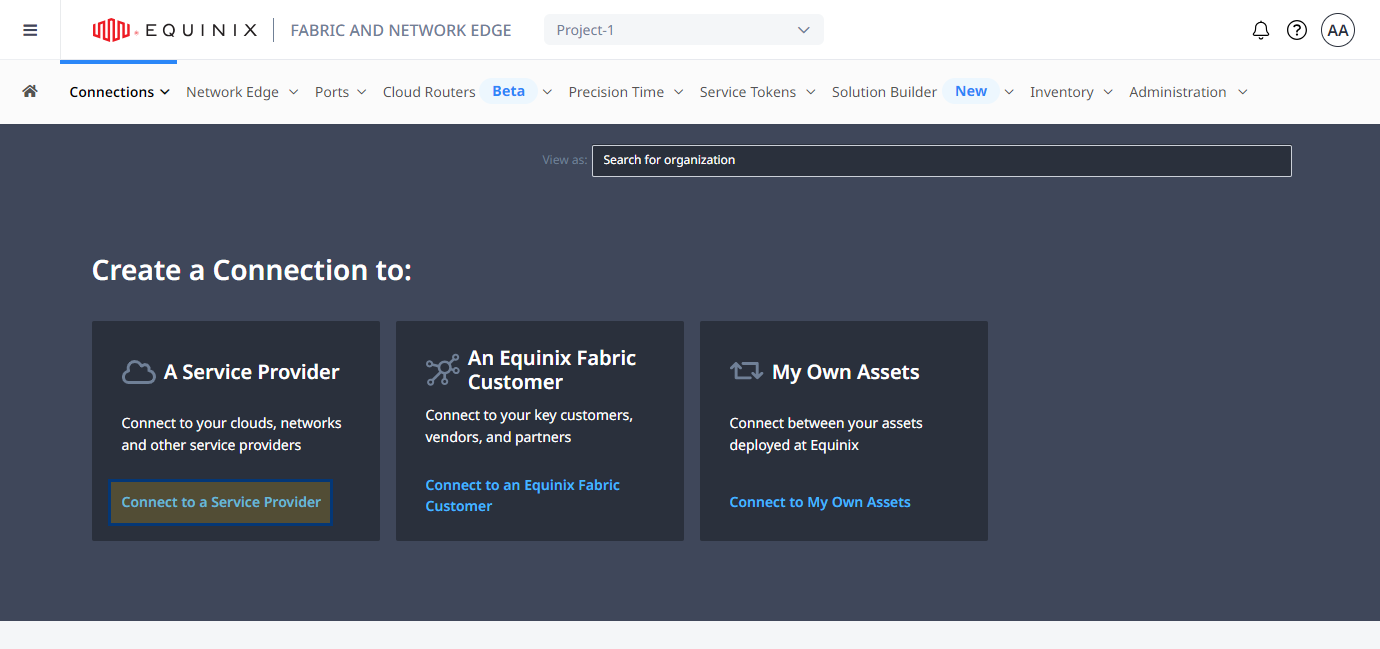
-
On the AT&T card, click Select Service, then click Create Connection.
-
Review the steps for connecting to AT&T NetBond and click Create a Connection to ATT NetBond.
-
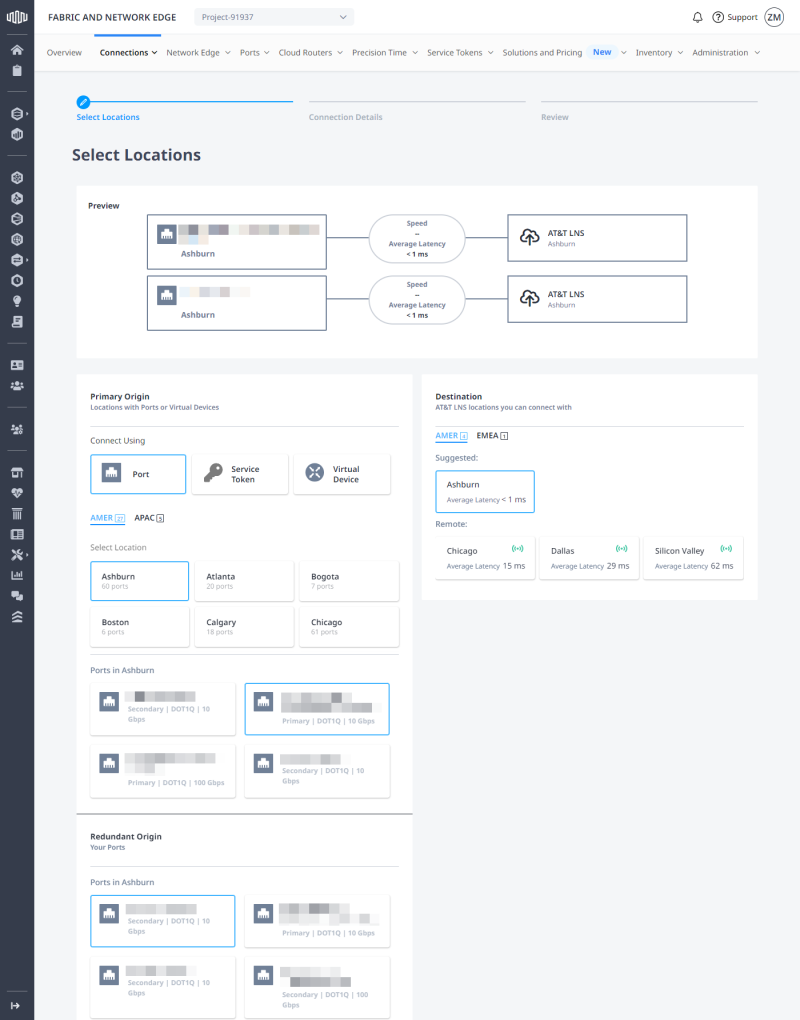
Configure your connection's origin depending on the asset type:
 Virtual Device
-
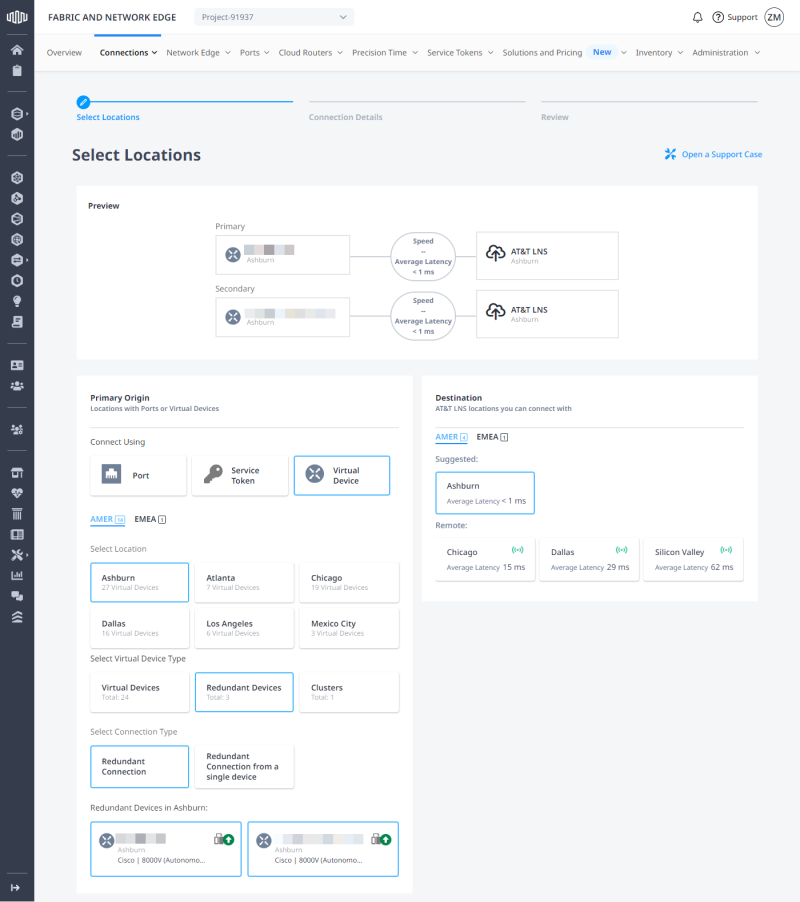
In the Connect Using section, select Virtual Device.
-
Select location, then select your virtual device type.
Tip: For best performance, choose the same metro location for which you created your NetBond VNC.
-
(Conditional) Choose connection type (applicable to Redundant Devices).
-
Choose a virtual device instance.
-
-
In the Destination section, select destination location, then click Next.
Tip: For best performance, choose the same metro location for which you created your NetBond VNC.
-
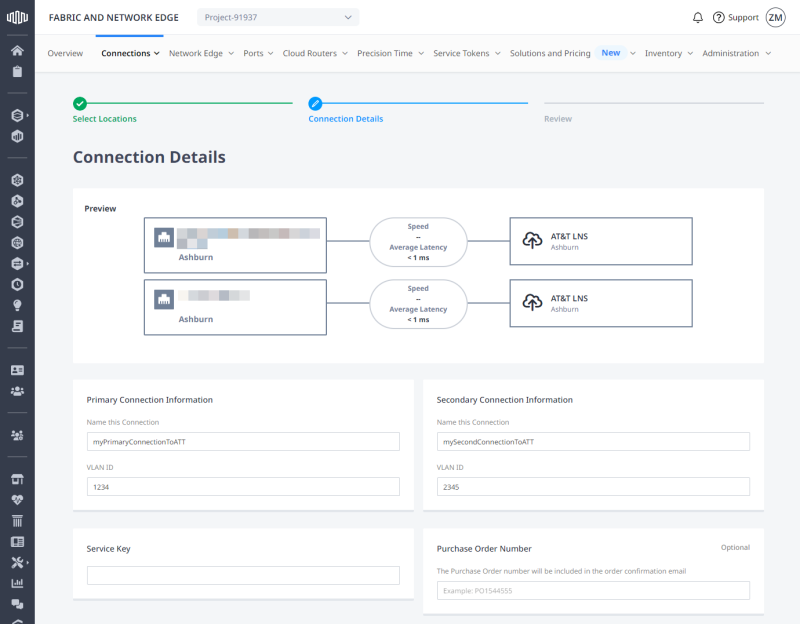
Enter Connection Name and VLAN ID, for both the primary and the secondary connections.
-
In the Service Key section, enter your Partner Service Key.
-
Enter purchase order number.
-
Select your connection speed, then click Next.
-
Review the Connection Summary, Pricing Overview, and Notifications sections, then click Submit your Order.
Note: Turn-up and service delivery times are approximately two business days once the connection request is submitted.
Tip: Navigate to connections inventory, locate and click your connection to verify its status. Your service should be up and running once the Equinix Status shows Provisioned and the Provider Status shows Accepted.

