
Implementing Your Networks
Create a Network
- Log in to Equinix Fabric.
-
From the Connections menu, select Create Network.
-
On the Create a Network page, review the information and click Next.
-
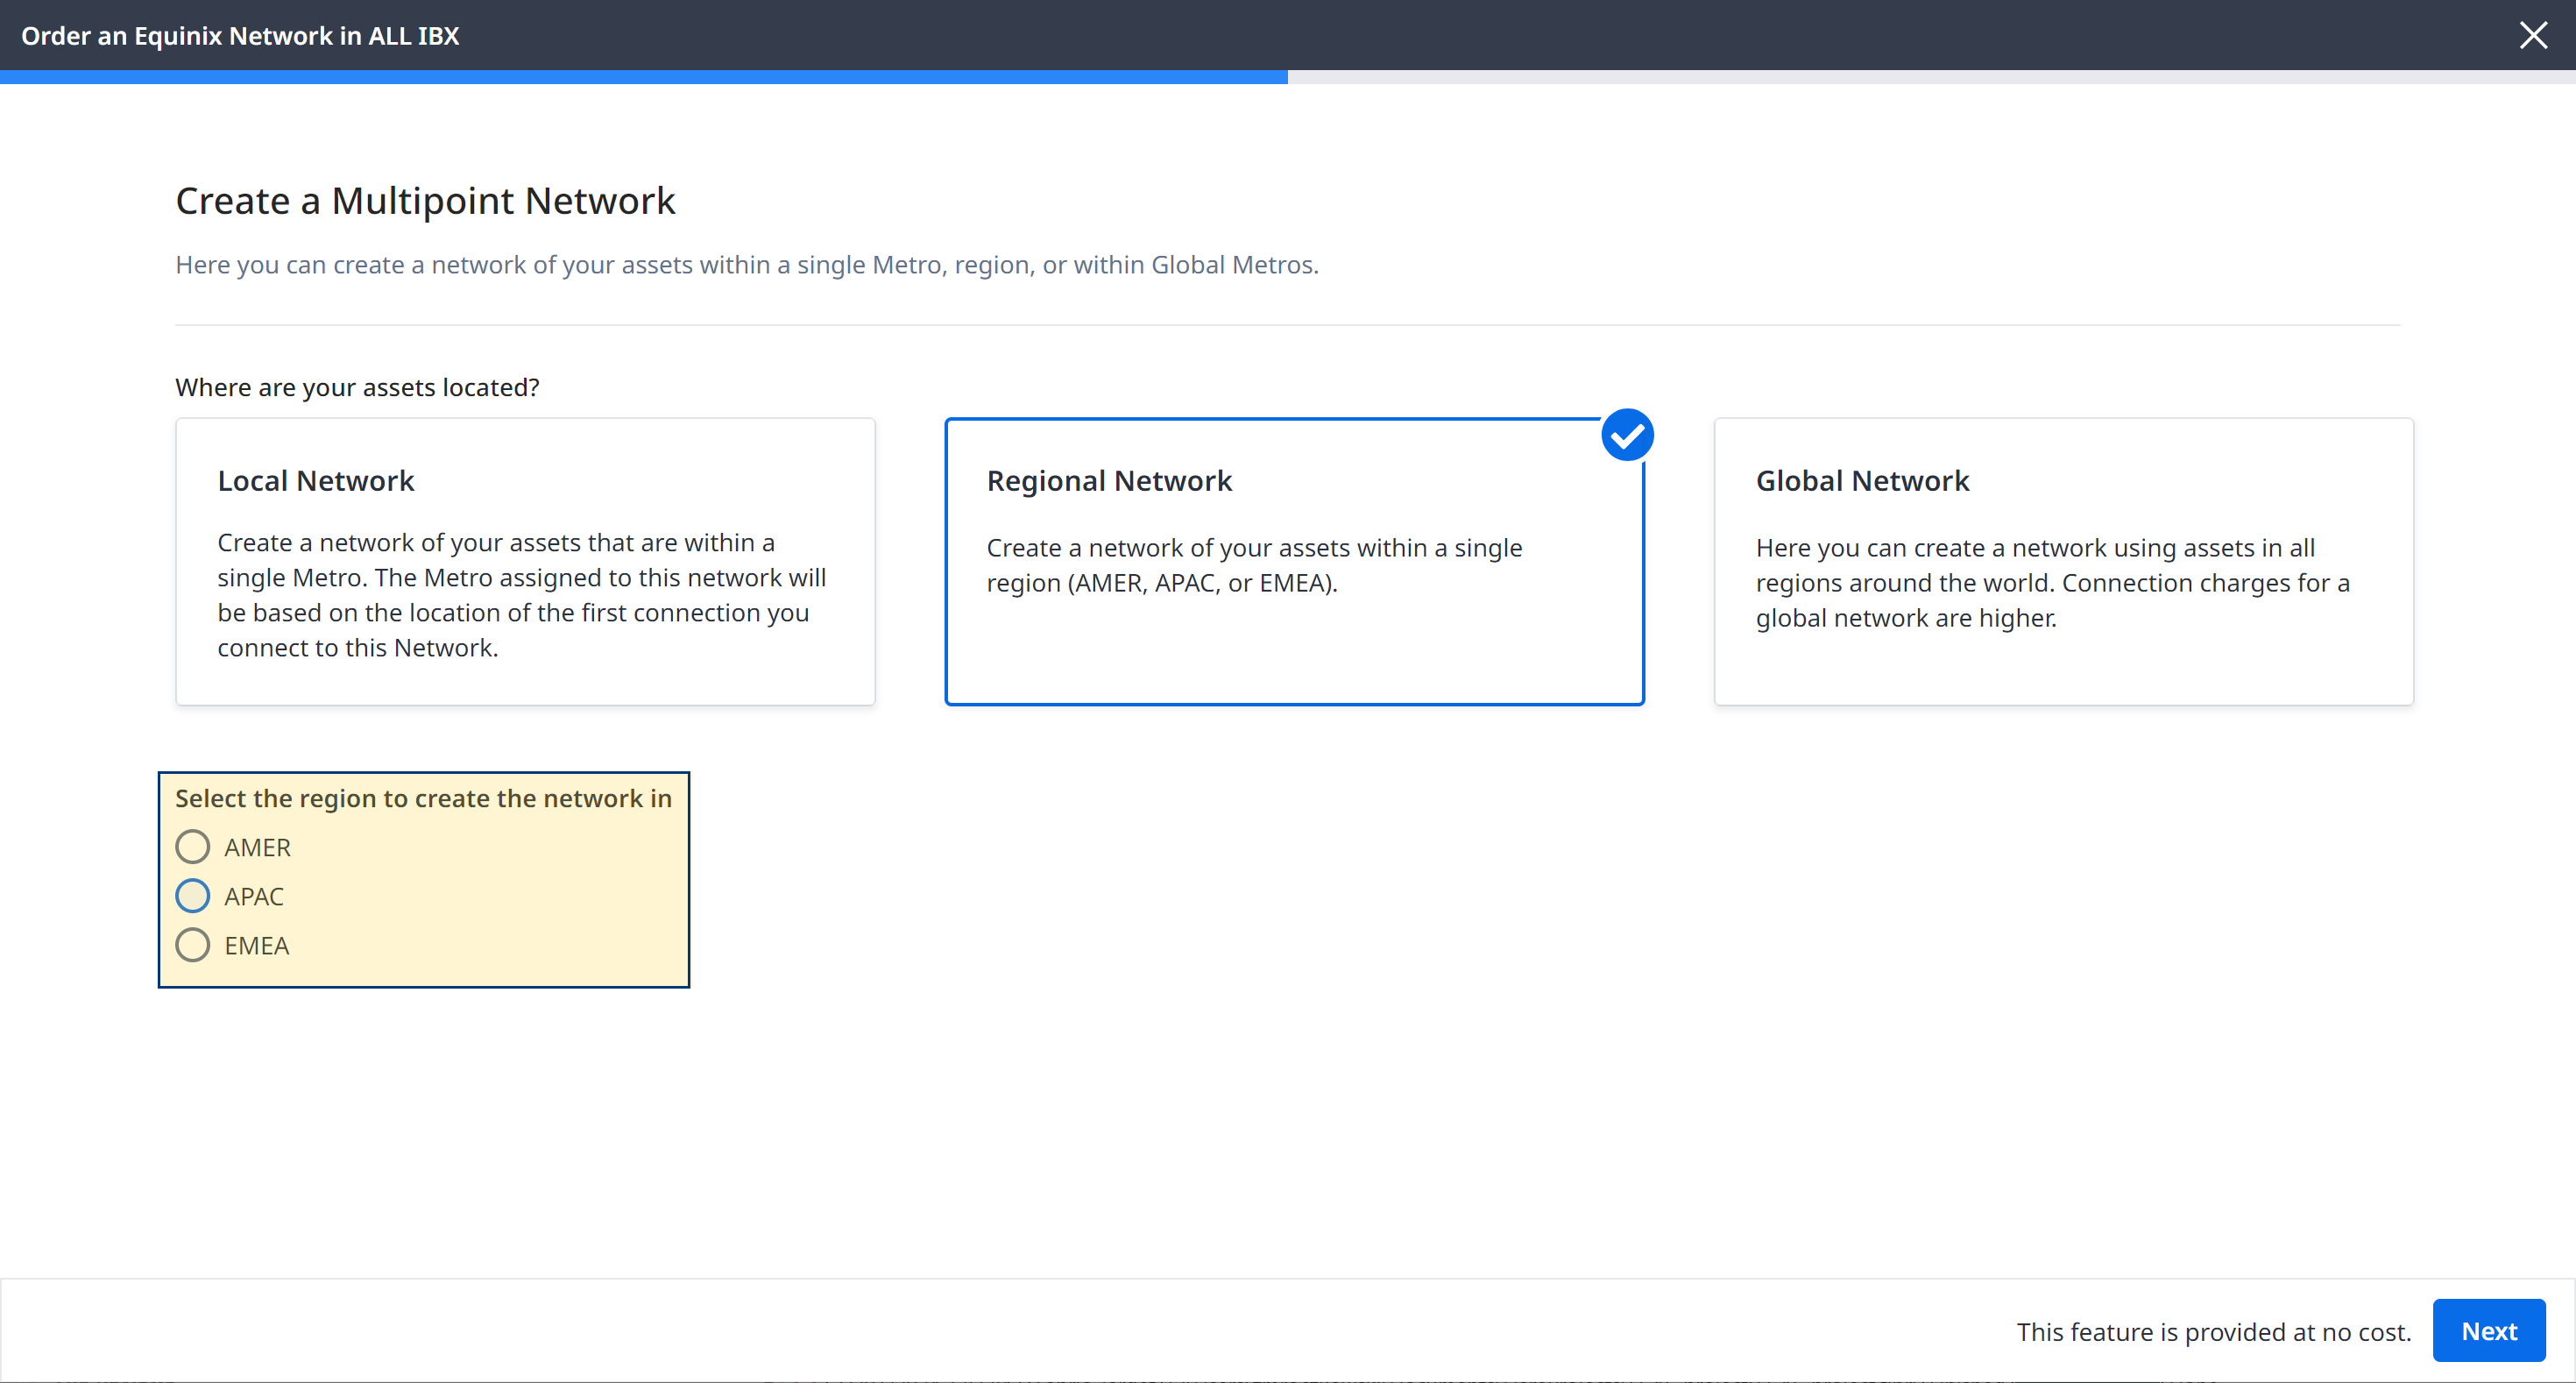
Select network option determined by where your assets are located.
Local Network – If you want to connect assets deployed in a single metro.
Note: The metro assignment is based on the location of the first connection associated with this network instance.
Regional Network – If you want to connect assets that solely reside within a particular region (AMER, EMEA, APAC).
Global Network – If you want to connect assets deployed across multiple regions.

-
Select region (applicable to Regional Networks).
-
Choose what type of assets you want to connect:
- Dot1Q Ports and/or Virtual Devices – Create an EVP-LAN network for connecting Dot1Q ports and/or Network Edge virtual devices.
-
EPL Ports – Create an EP-LAN network to connect untagged, EPL ports.
-
Fabric Cloud Routers – Create an IP-WAN network
-
Enter a name for your network and click Next.
-
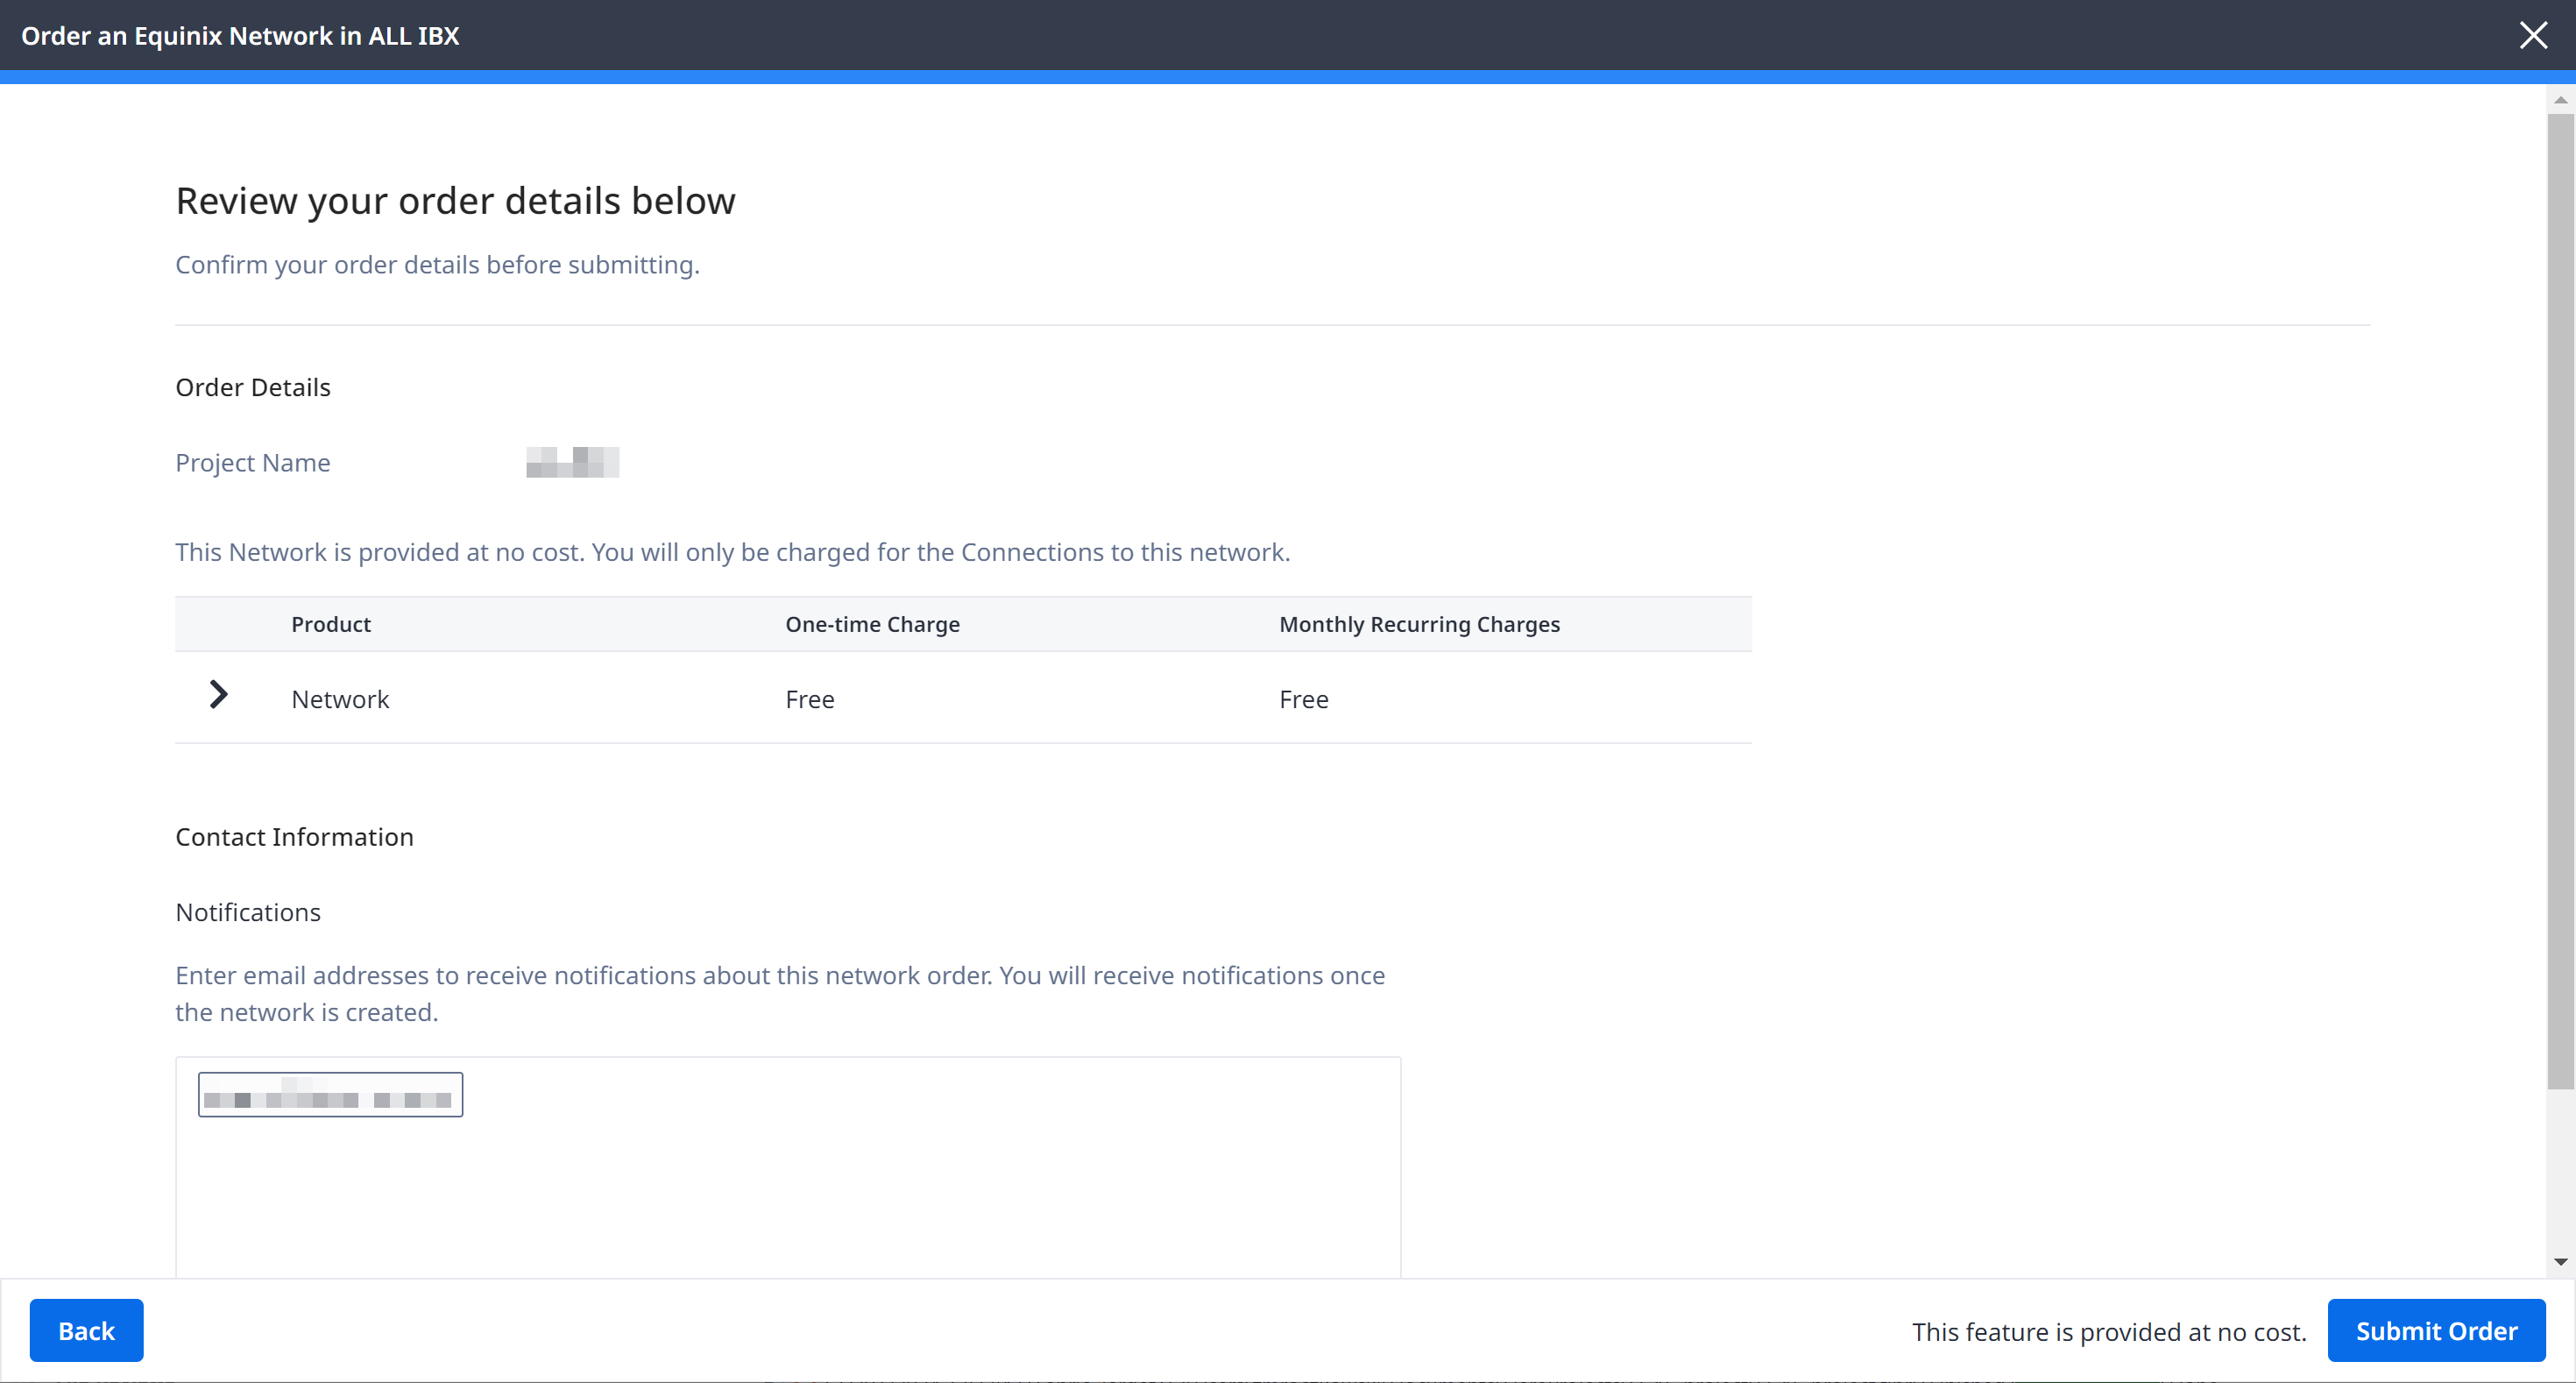
Review your order and enter the email addresses of anyone who should receive notifications about this order. Your email address is automatically added by default.
-
Click Submit Order.
-
In the order confirmation screen, click View this Network in your Inventory to see the network.
Tip: You can use Fabric's API to automate or integrate this procedure. For more information, see Equinix Fabric API - Create Fabric Network.
Once you’ve created a network, you can then add connections to it. To learn how to create a connection to your EVP-LAN network, see Connect to Your EVP-LAN Network. To learn how to create a connection to your EP-LAN network, see Connect to Your EP-LAN Network.
