
Purchase Order Management
On the Purchase Order Management screen, you can view all the active and expired purchase orders that have been submitted to Equinix for your accounts.
To view purchase orders in the portal, you need either of the following permissions:
-
Install Base permissions
-
Billing and Payments permissions
For more information, see Permissions.
Note: You can only view accounts for which you've been granted permissions.
-
From the Operations menu in the Customer Portal, choose Purchase Order Management.

-
From the list of accounts, select an Account Name.
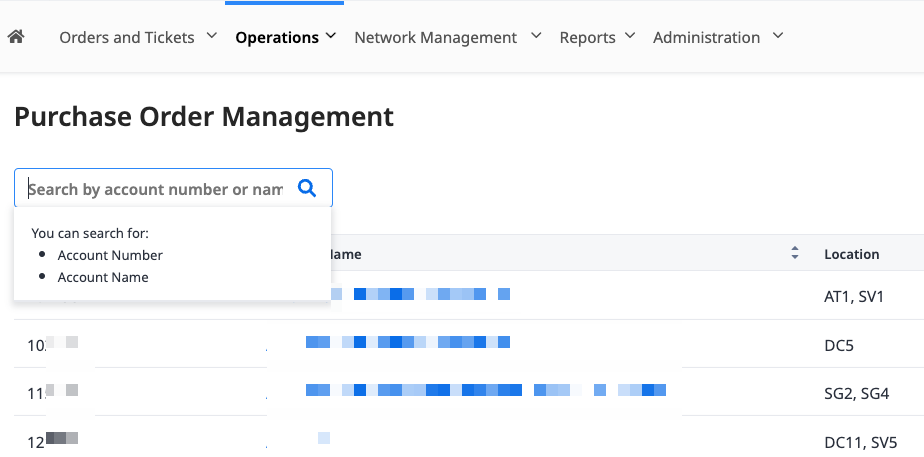
Tip: To find a specific account, enter the account name or number in the Search box (enter at least 4 characters). If you cannot find a specific account, you might not have permissions for that account.
All active purchase orders for the selected account are shown, ordered by start date:

Note: By default, expired purchase orders are not shown. To view expired purchase orders, use the Status filter.
-
To refine the list of purchase orders, click All Filters:

You can filter by:
-
Product Category: All, Interconnection, Power, Services, Smart Hands, Space. (Some purchase orders are valid only for specific products; other purchase orders are valid for all products.)
-
Location (Some purchase orders are valid only for specific data centers.)
-
Status: Active, Expired.
-
Type: Standard, Blanket. (A Blanket purchase order can be used for more than one order.)
-
Charge Type: Monthly, One-time.
Select one or more filters, then click Apply.
Tip: Reseller Administrators have the ability to view their customers' purchase orders, search them by customer name or number, and download the details in CSV format.
-
-
To save the displayed list to a file, click Download CSV. You can export a maximum of 100 purchase orders at a time.
-
Click the Purchase Order number to access additional information:
-
In Billable orders tab, you can see the upcoming billable assets and orders linked to your purchase orders.
-
In Details tab, you can view more details for your purchase order such as purchase order details, and contact details.
Tip: Below the purchase order header, you will see last edited details such as [Date], [Time], [User Name], and [Email Address]. This information provides an audit trail, allowing you to track who made changes and when.
-


Blanket purchase orders are a type of purchase order that is used to authorize multiple transactions over a specified period of time. Instead of creating individual purchase orders for each transaction, a blanket purchase order streamlines the ordering process.
-
You can create your own Purchase Orders and monitor their progress. (Note: Purchase Orders will take 0.5-2 hours to appear in the system)
-
Once visible, you can then track those Purchase Orders independently.
Creating Blanket Purchase Orders
To add blanket POs to a specific billing account, you require Billing and Payments permissions for that account.
-
You can create blanket POs from two different locations:
-
Purchase Order Management page – Click Add Blanket Purchase Order. A Purchase Order form will be displayed. Select the billing account to add a blanket purchase order.
-
Account Summary page – Click Add Blanket Purchase Order. A Purchase Order form will be displayed. There is no need to select billing account here as it will be pre-selected and cannot be edited.

-
-
Fill in the purchase order number. This is the number that users in your organization will see when selecting from a list of existing POs before submitting an order.
-
Number must be unique.
-
It must be between 4 and 127 characters long.
-
Special Characters such as ><&“'| are not allowed.
-
-
Fill in a description for the PO. Description is displayed when selecting an existing applicable PO in the order form. The description provides context to the PO and helps other users to choose which PO number to use.
Tip: If you are a Company Admin in a reseller organization, you can choose to assign the PO to an end customer. If you (as a reseller Admin) choose to assign this to an end customer, the Product Category, Location, and Charge Type will be fixed for them, so that the PO will appear later in Reseller Customer Management, where resellers can assign it to their end customers.

-
Select a Product Category, which determines order types that the PO can cover. You can include future products in this.
-
Select a Location. You can include future locations.
-
Select Charge Type (All Charges, Monthly or One-time).
-
Input Original Value amount.
-
Input Start Date and End Date.
-
Select Purchase Order contact. Equinix will communicate with the contact person for clarifications on the PO.
-
You will then need to upload a copy of the relevant Purchase Order document. After creating the blanket PO, you can view and download this document in the Purchase Order details section.
Note: It takes at least 30 minutes for blanket purchase orders to become visible in the dashboard. Once visible, you can verify submitted PO details, and refer to the associated case number for the PO attachment file. Reseller Administrators can proceed to Reseller Customer Management to assign the PO to their end customers.
For information about the Purchase Orders API, see the API Reference.
Tip: For assistance with your purchase orders, contact your CSM or the Global Service Desk (GSD).
