Starlink
Use Equinix Fabric to establish a direct, layer 2 connection to extend your network to your remote site. Equinix supports connecting to Starlink through the Starlink L2VPN - Existing Terminal service profile, where you already have a Starlink Enterprise terminal on a Layer 2 VPN plan. You provide Equinix your terminal ID as part of creating the connection.
-
Locations - Starlink has a presence in 7 Equinix Metro locations: Ashburn, Bogota, Dallas, Sao Paulo, Silicon Valley, Singapore, and Warsaw. You can also connect to Starlink in one of its metro locations from any Equinix location using a remote connection.
-
Bandwidths - Starlink supports the following connection speeds: 10 Mbps, 50 Mbps, 200 Mbps, 500 Mbps, and 1 Gbps.
Prerequisites
-
Check that your Starlink service line is on a layer 2 product rather than Internet. If you are not sure, ask your Starlink account manager.
-
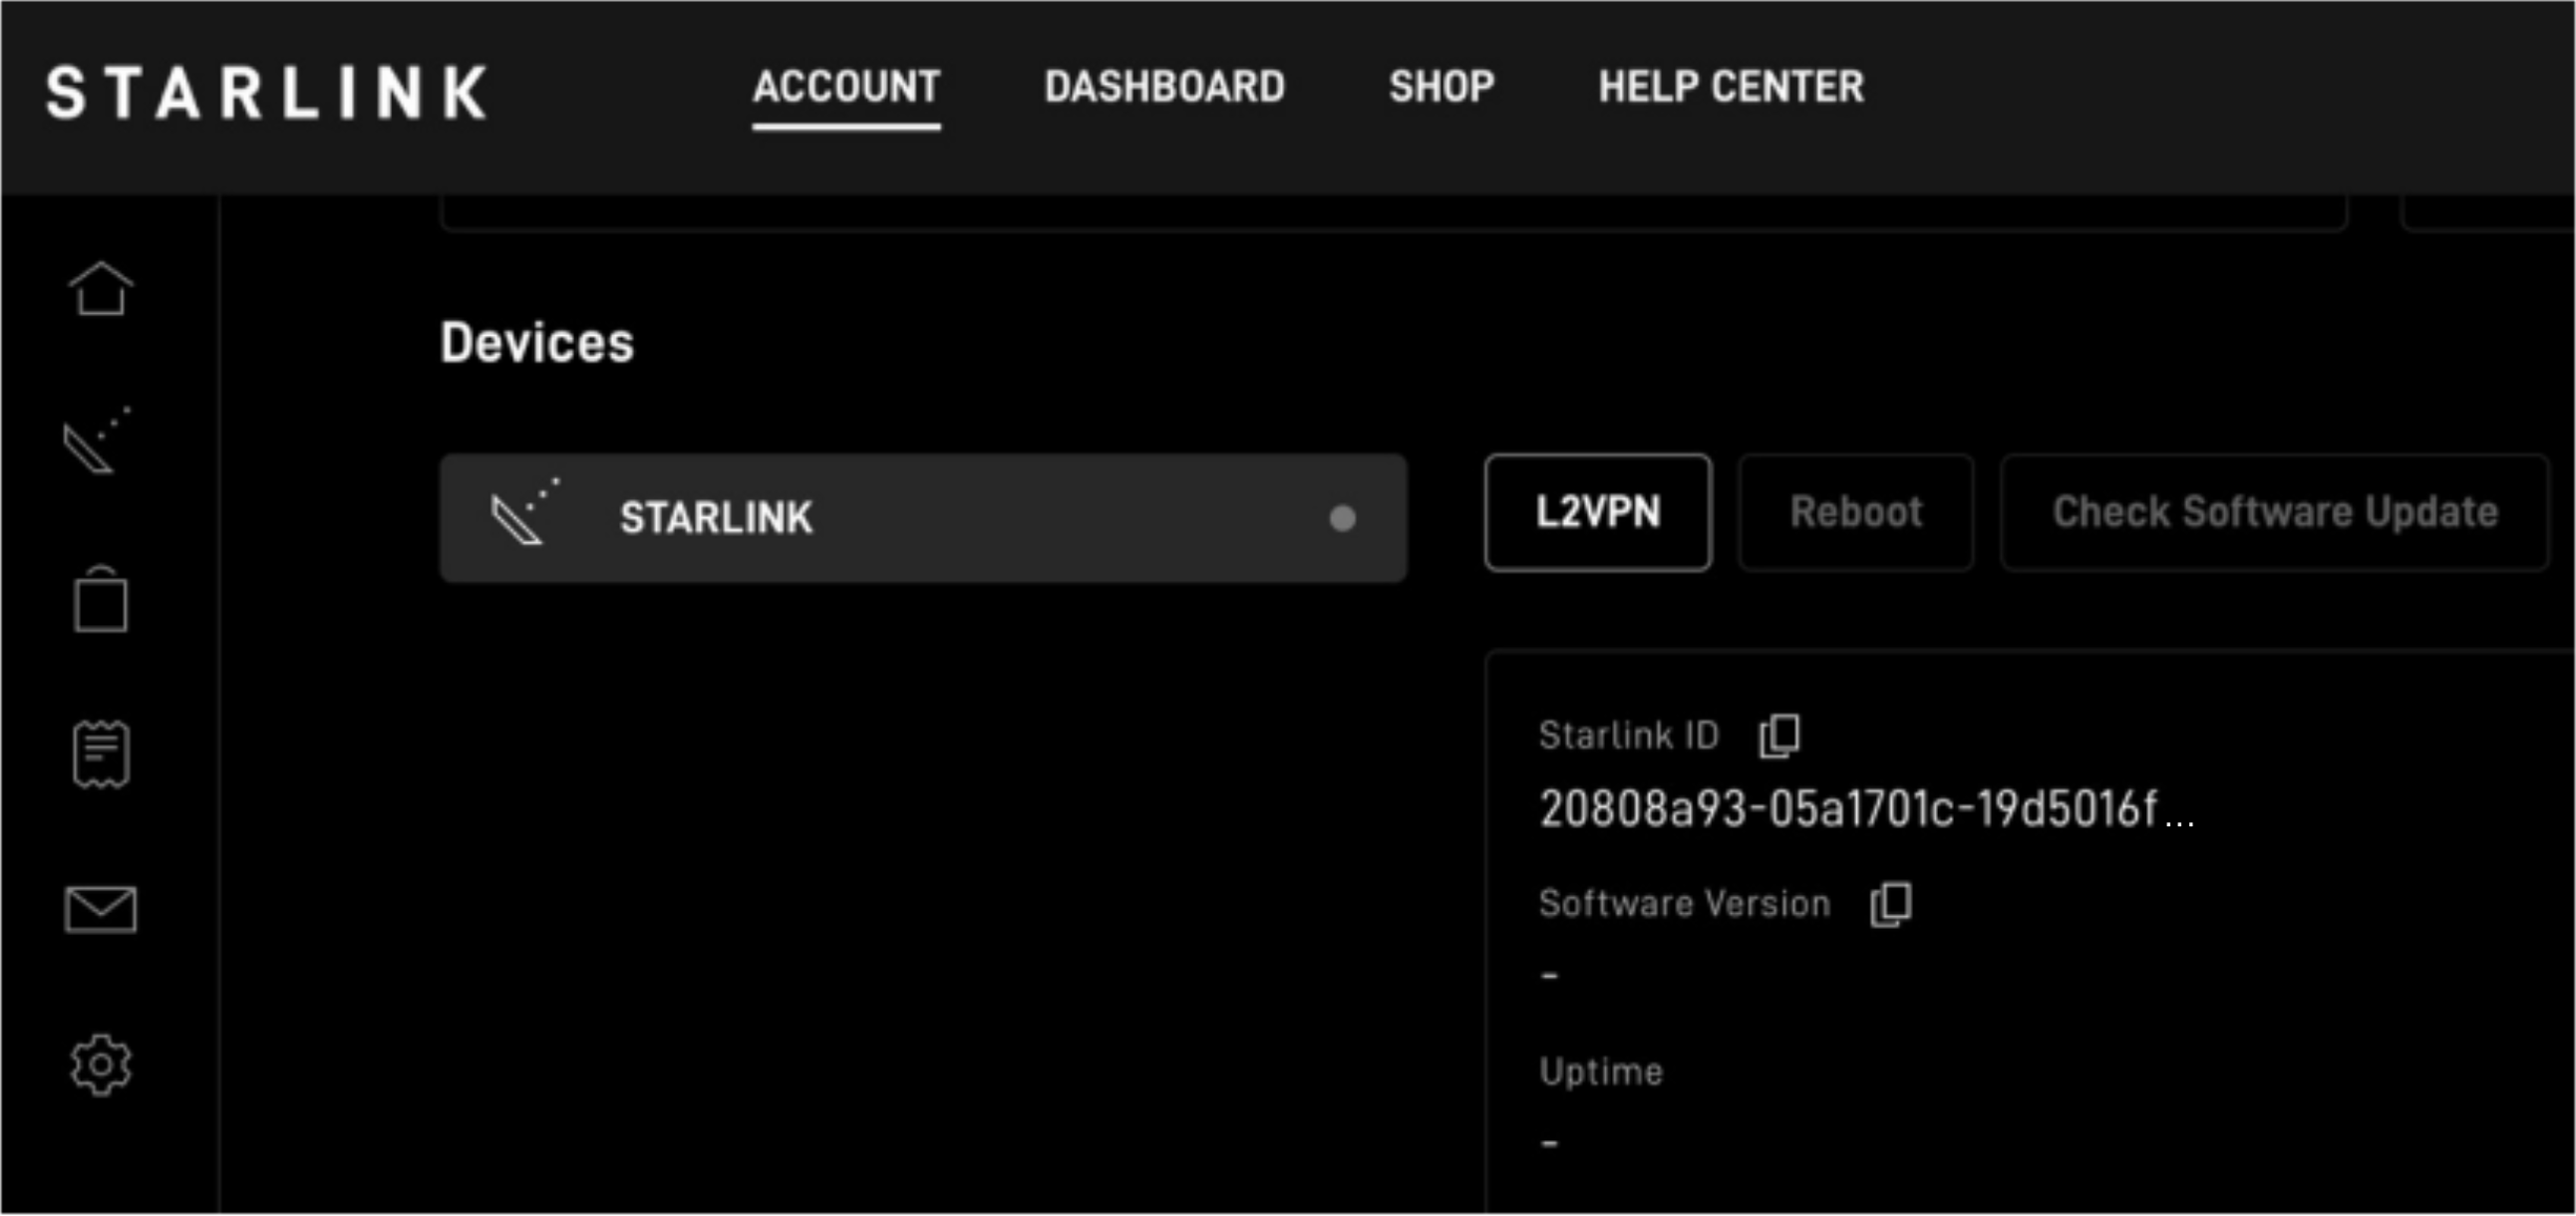
You need your Starlink terminal ID to create the connection on the Equinix Fabric side. If you don't know your Starlink terminal ID, it can be found on your Starlink dashboard.
-
You need to have your VLAN information when configuring the connection: both the origin VLAN ID for the Equinix side and the C-VLAN ID for the Starlink side. After the connection is created, don't forget to configure your routers connected to Starlink with the C-VLAN.
-
You need one of the options below on Equinix connect from:
- An Equinix Fabric port, or service tokens that authorize your use of a Port.
- A Fabric Cloud Router
- A Network Edge Virtual Device.
-
In order to create connections in Fabric, you must have the
Fabric Connections ManagerorFabric Managerrole.
Create a Connection
-
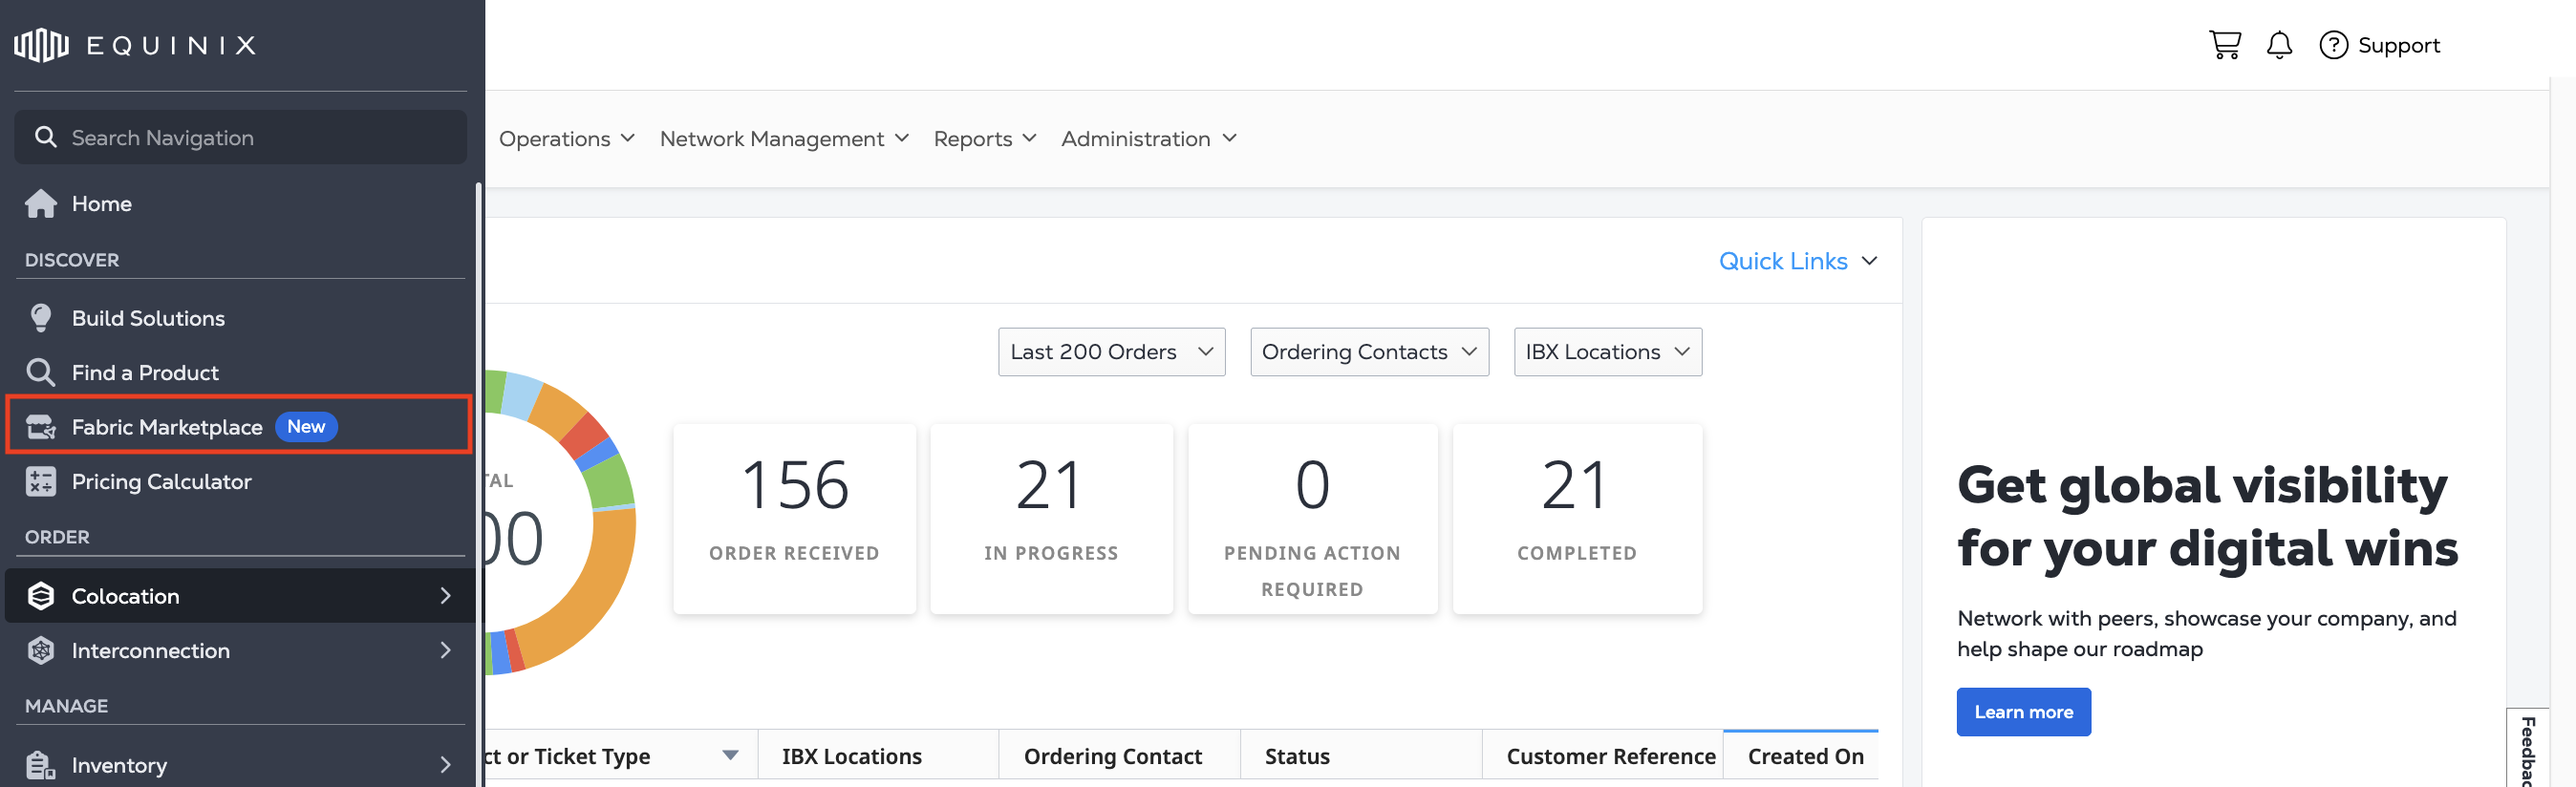
Sign in to the Customer Portal and click Fabric Marketplace.
-
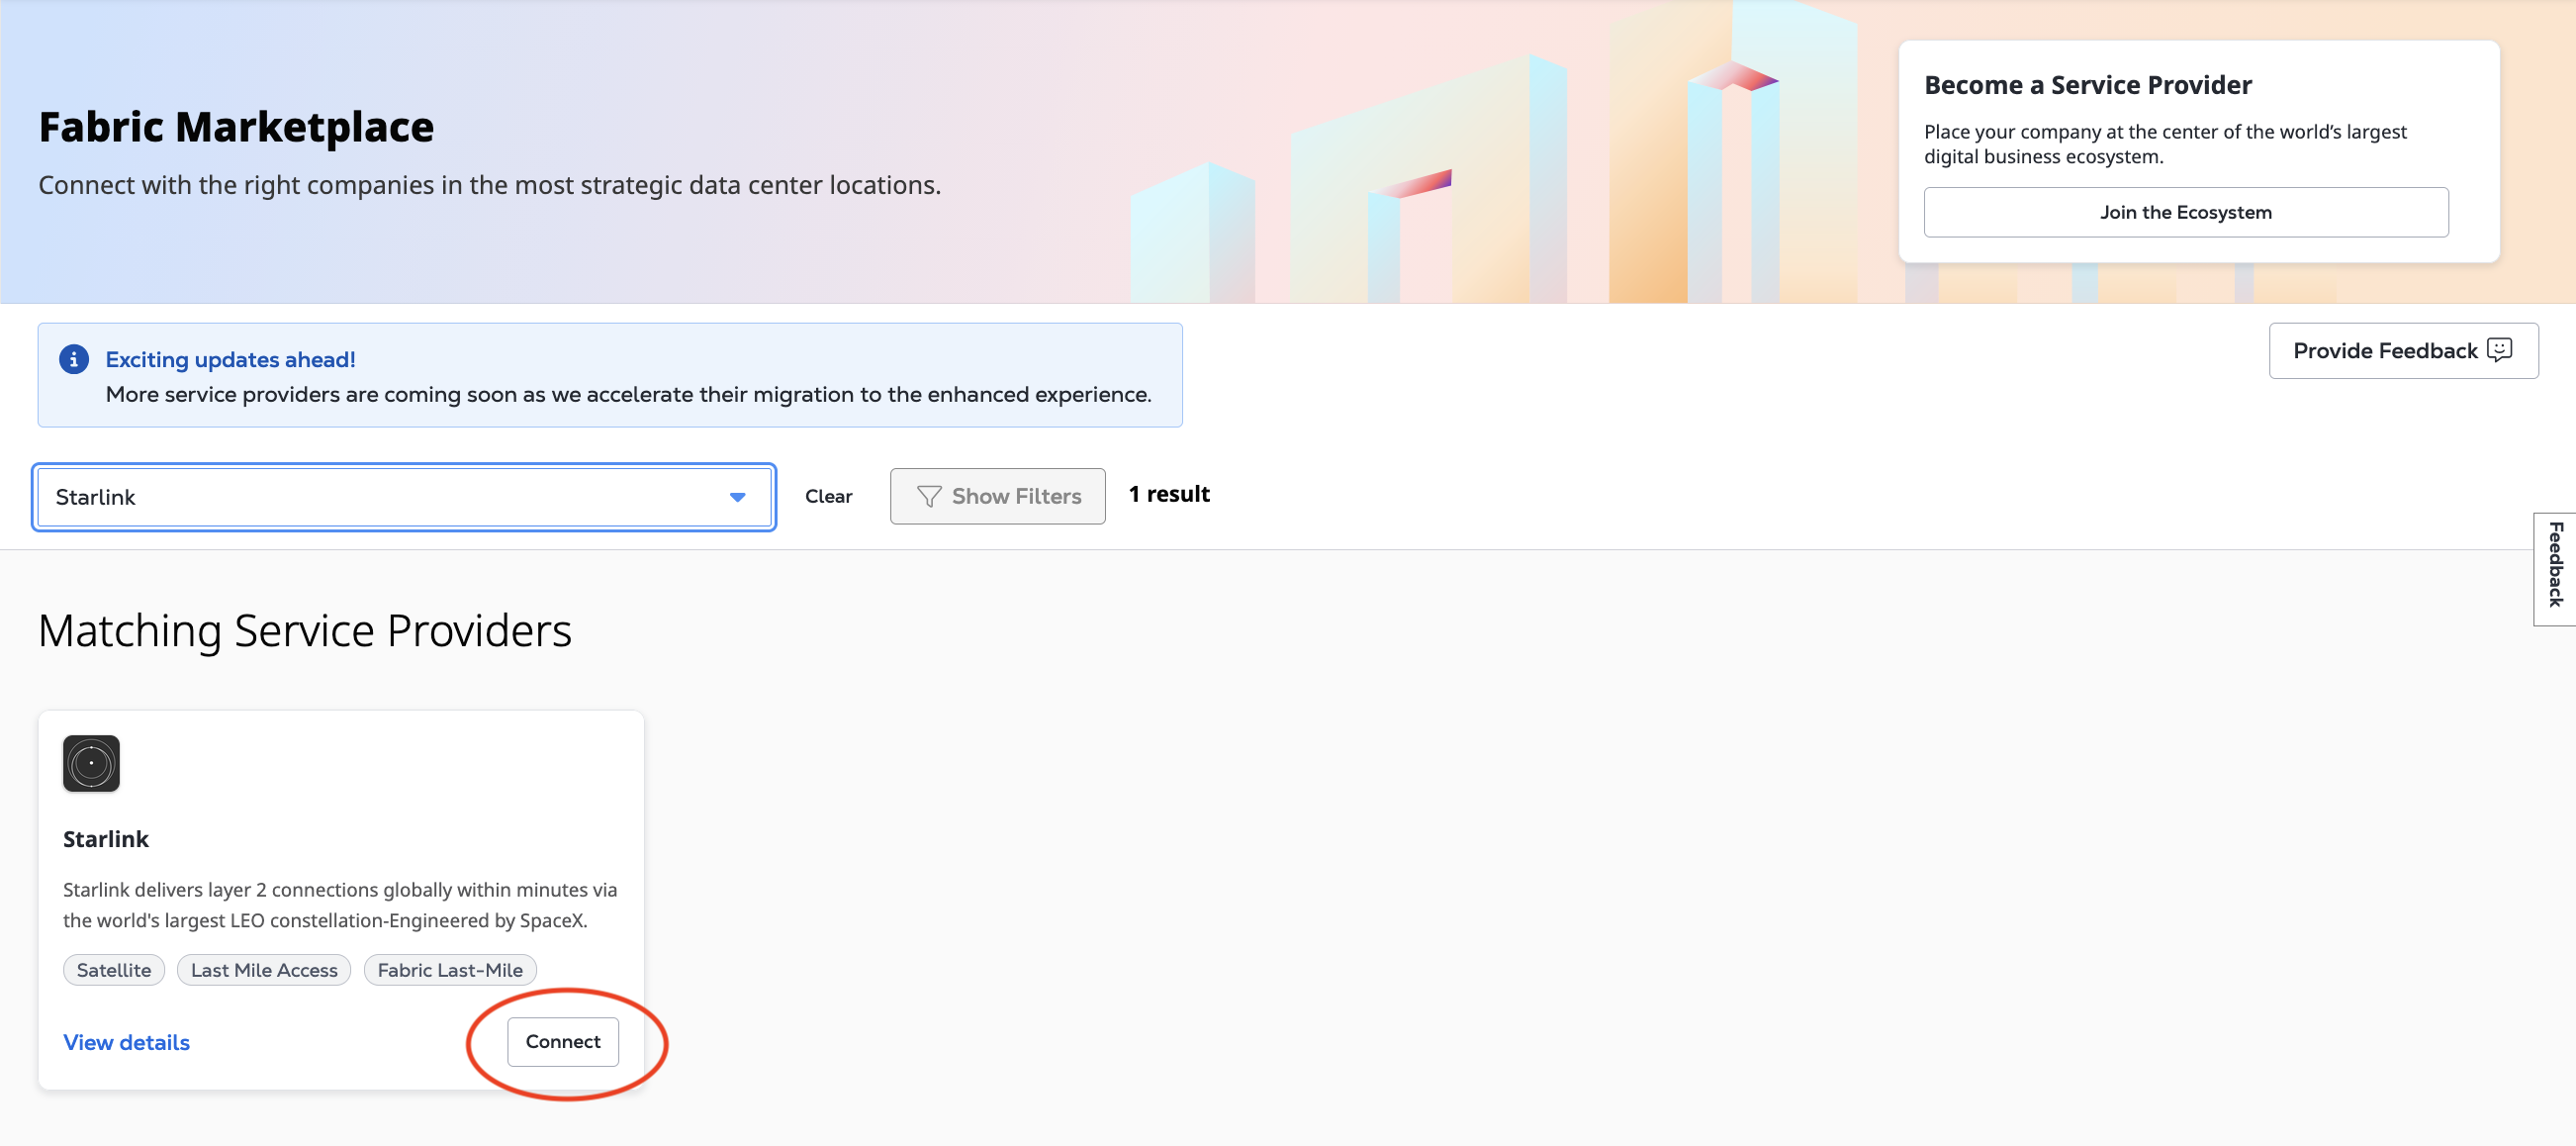
Use the Search by provider name field to search for "Starlink".
-
Click Connect in the Starlink company profile.
-
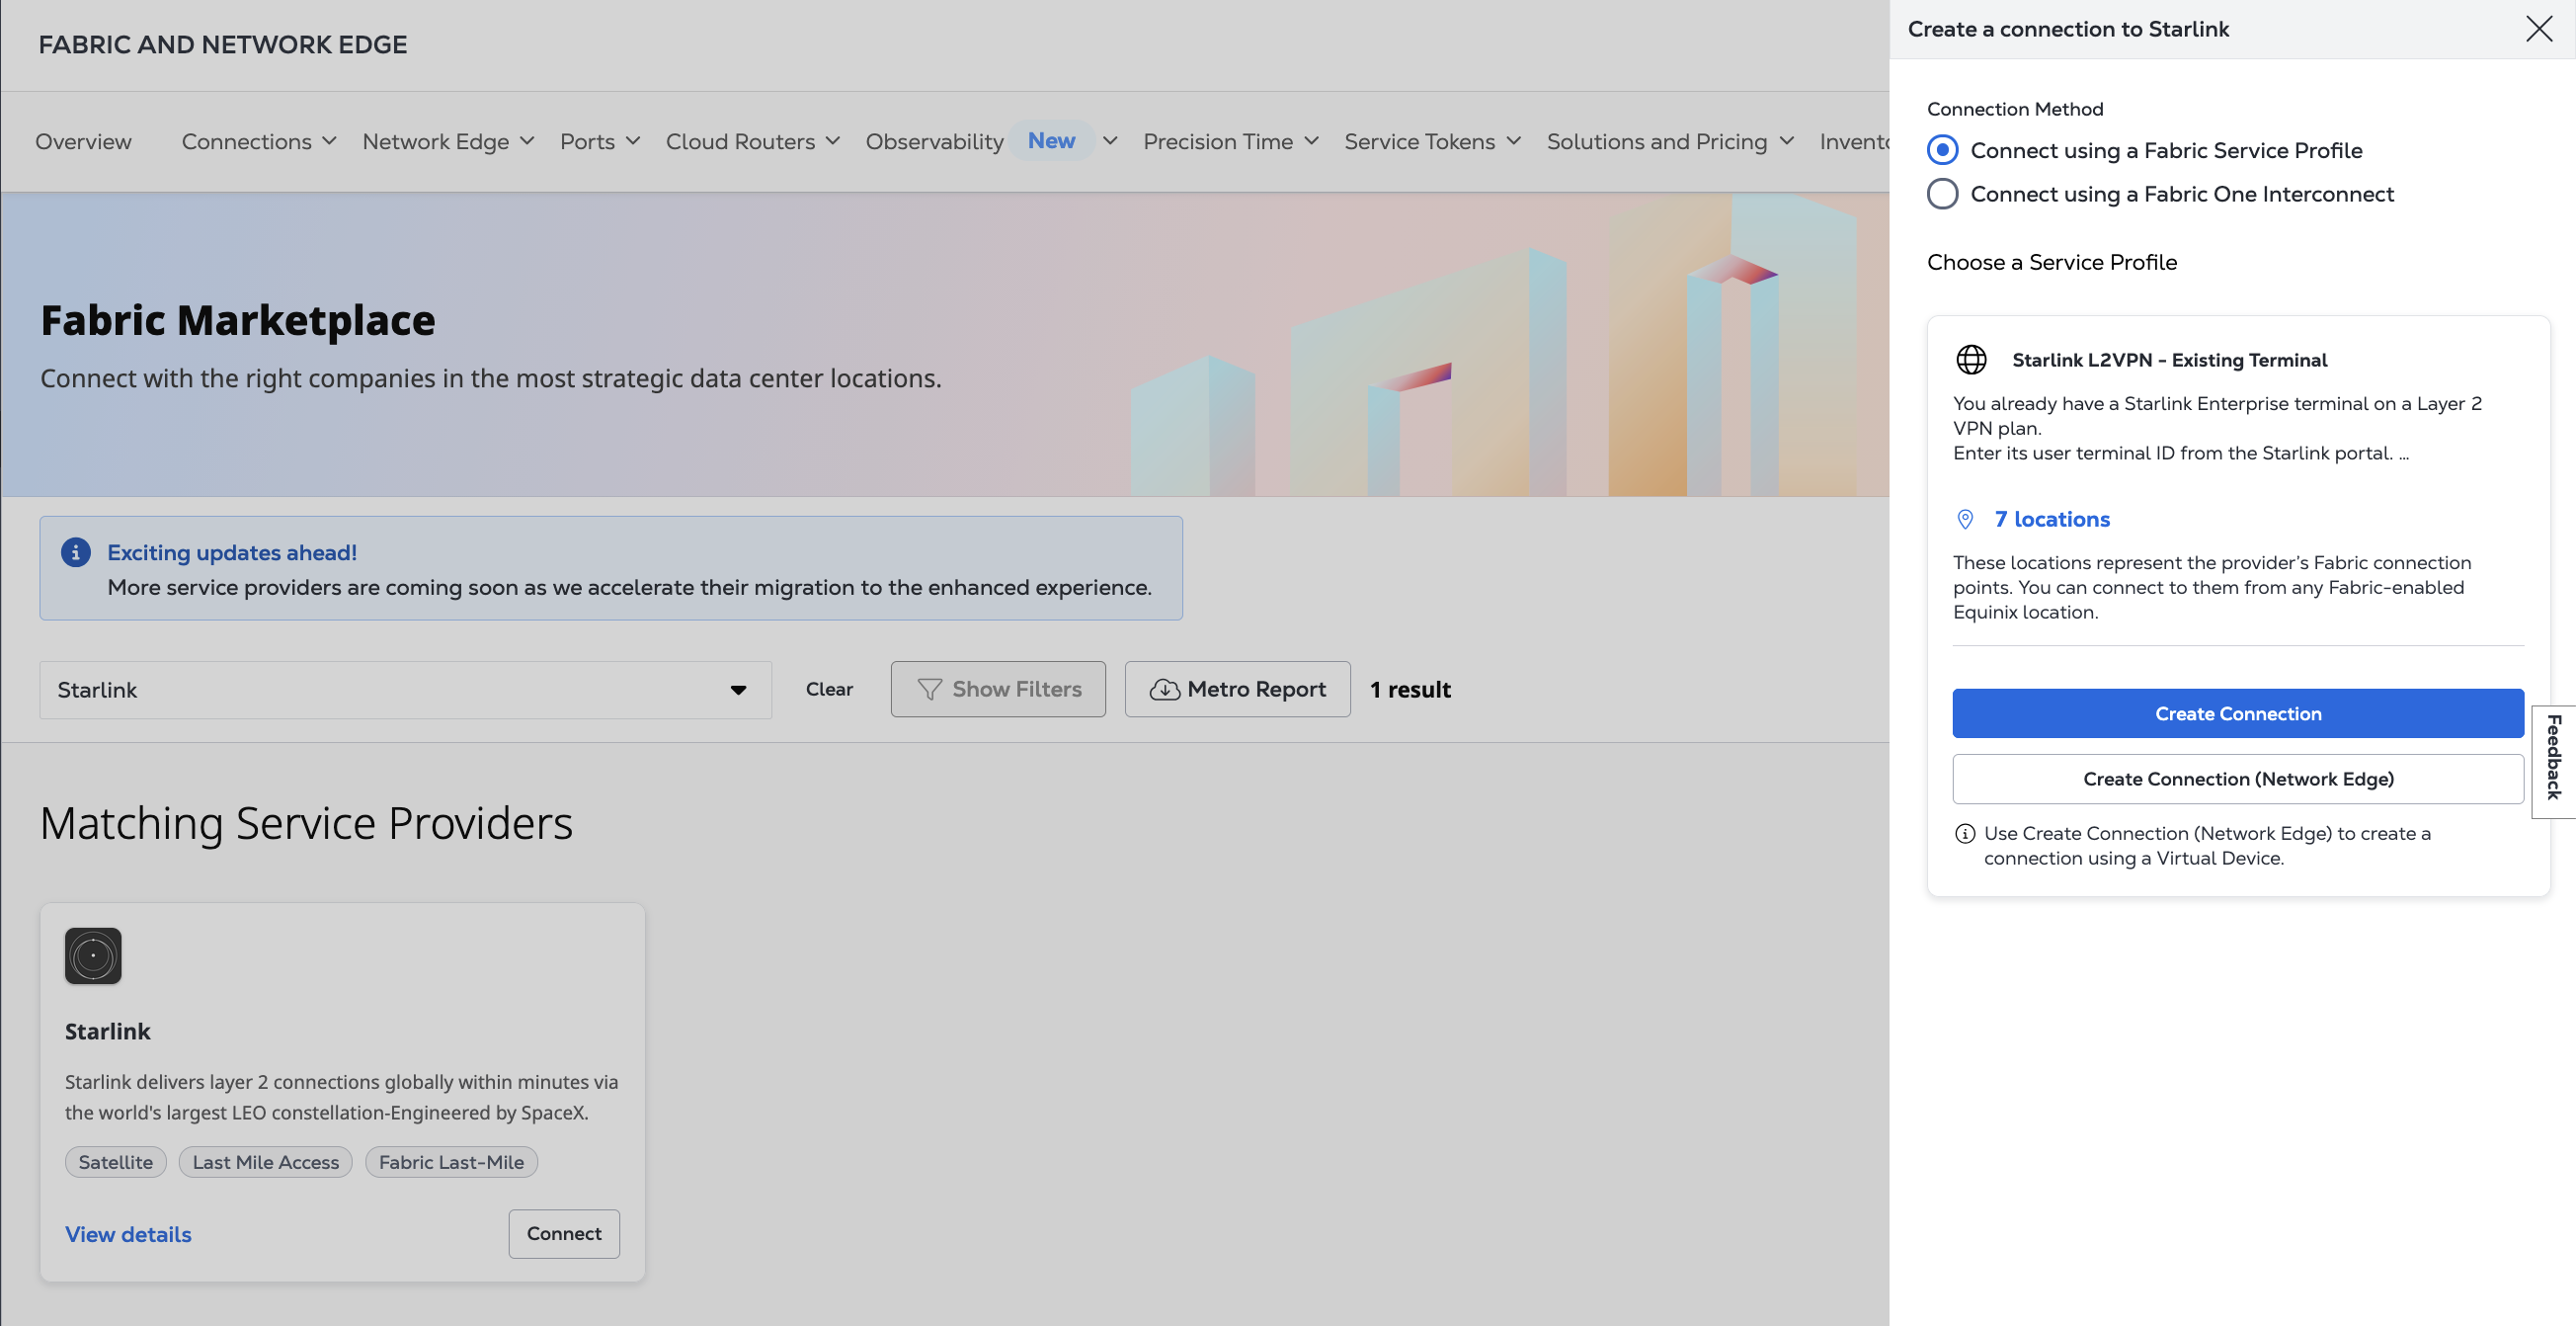
In the Starlink L2VPN - Existing Terminal service profile, click Create Connection.
 observação
If you are creating a connection from a Network Edge virtual device, click Create Connection (Network Edge), and follow the process documented on Network Edge's Connecting to a Fabric Service Provider
-
Review the requirements and click Okay.
Enter Your Starlink Information
-
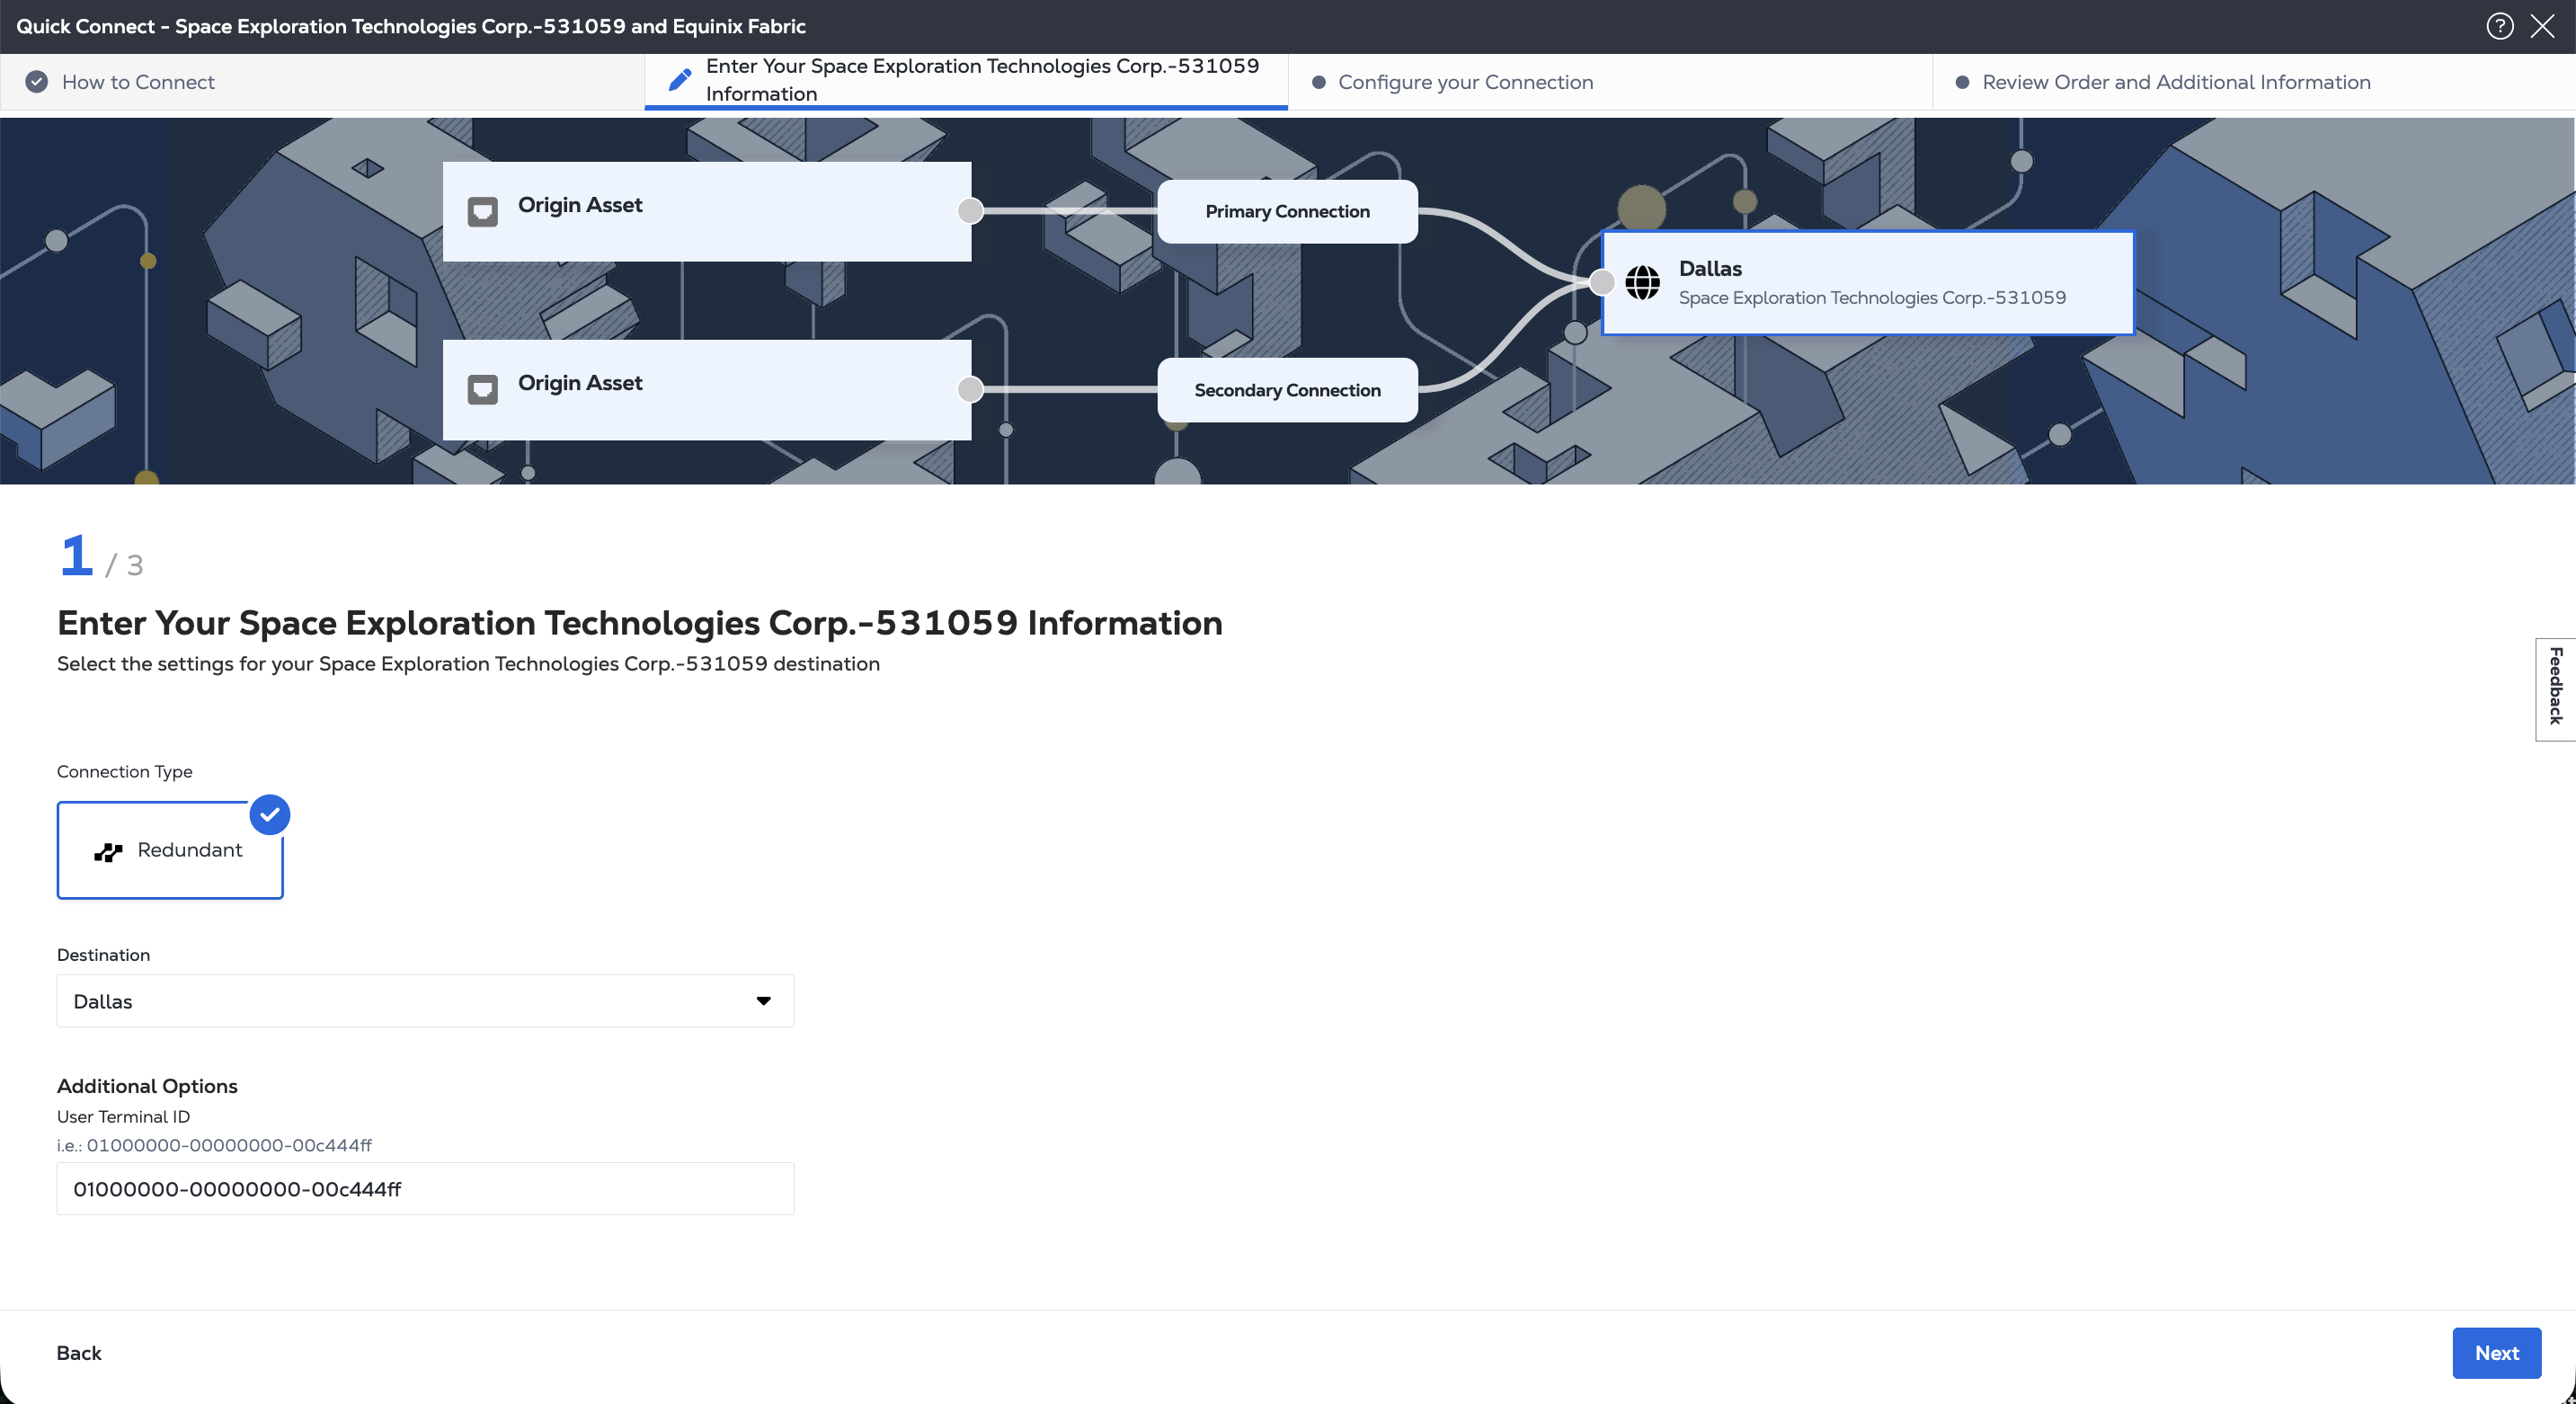
Starlink only supports redundant connections. The Redundant Connection Type is automatically selected.
-
In the Destination drop-down, select the Starlink location that you are connecting to.
-
Enter your Starlink Terminal ID in the Additional Options field. If you don't know your Starlink terminal ID, it can be found on your Starlink dashboard.
-
Click Next.
Configure Your Connection
-
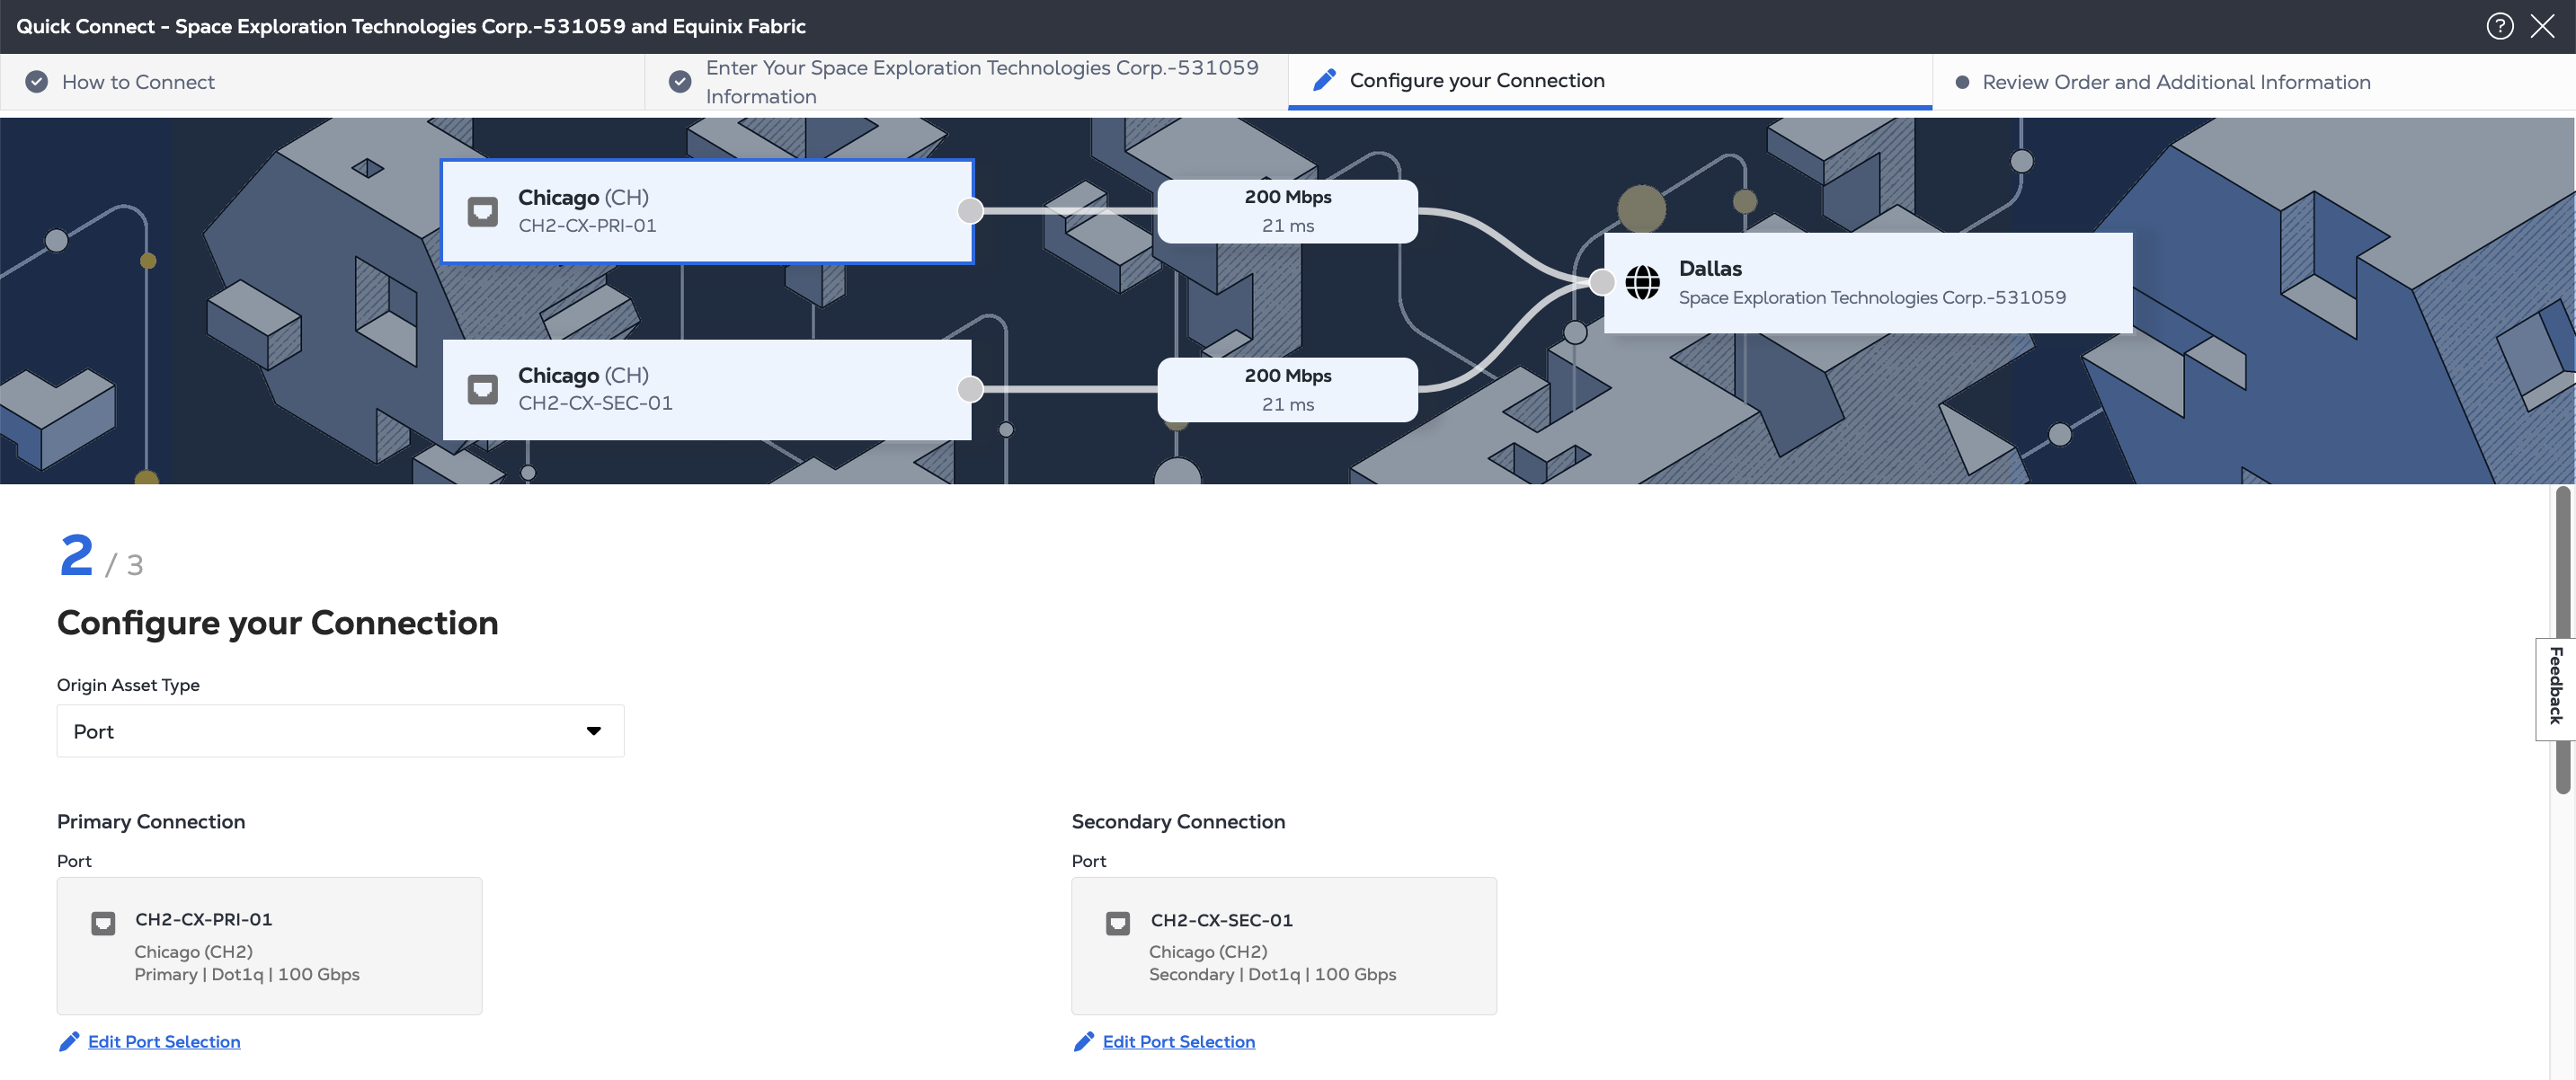
From the Origin Asset Type drop-down list, select either:
- Port - Choose the specific ports you are connecting from. Click Select Primary Port and choose the primary port. Click Select Secondary Port and choose a secondary port.
- Service Token - Enter the service token(s) that that authorizes your use of a Port.
- Cloud Router - Choose the specific cloud router you are connecting from.
-
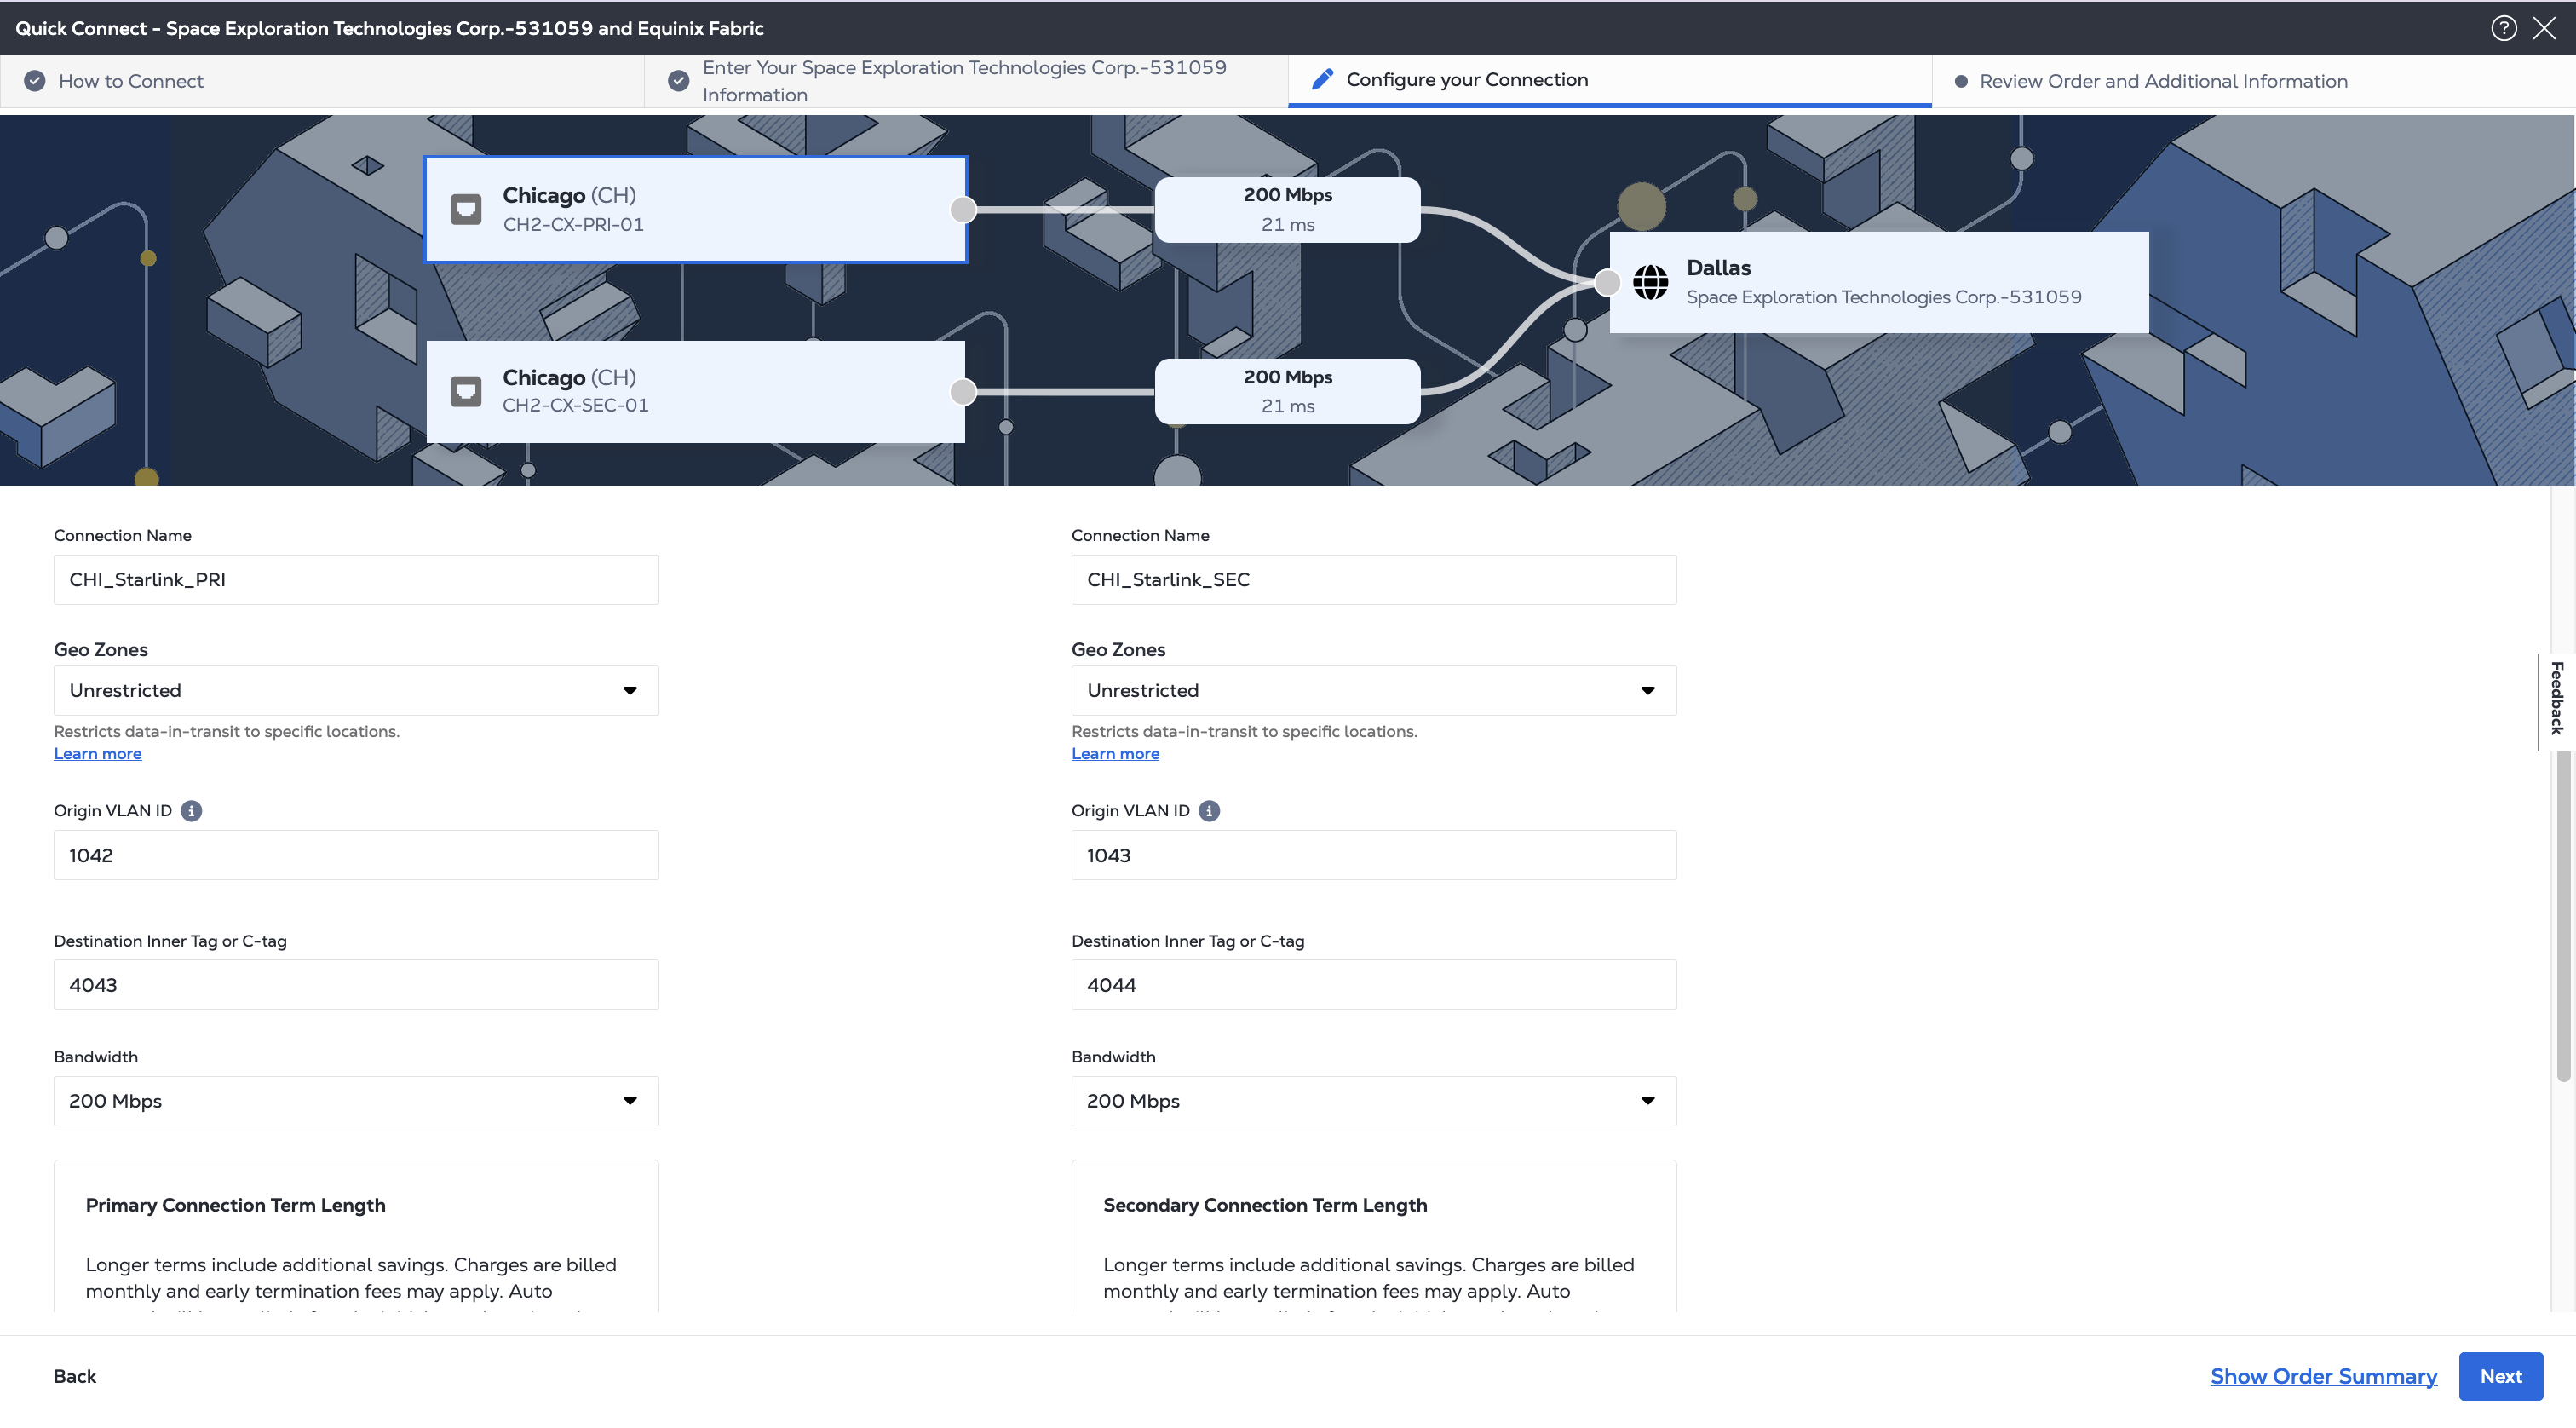
Use the Connection Name fields to give the primary and secondary connections names.
-
(Optional) If your Equinix origin assets and your Starlink destination are in the same geographical area, choose whether to enable Geo Zones.
-
Enter your VLAN information. VLAN IDs can be any number within the range of 1-4094. All traffic coming from the spoke or hub routers are expected to be tagged with these VLANs.
- In the Origin VLAN ID fields, enter the Equinix-side VLAN information.
- In the Destination Inner Tag or C-tag fields, enter the the Starlink-side VLAN information. The VLANs entered in this field are configured at the Starlink terminal.
-
Choose the bandwidth for each connection.
-
(Optional) If your Equinix origin assets and Starlink destination are in different Metro locations, you have the option to select a Term Length for your connections.
-
Click Next.
Review and Submit
-
On the Review Order and Additional Information page, review the information in the Space Exploration Technologies Corp.-531059 Destination and the Connection Configuration sections.
-
Use the Notifications field to provide the email addresses of the recipients to be notified about the connection's status. You can add up to 12 email addresses.
-
(Optional) Enter or add order information in the Purchase Order section.
-
Provide a customer reference identifier that will help you identify this order on your invoice.
-
Click Show Order Summary to see order details and connection pricing information.
When you are ready, click Create Connection.
Monitor the Connection Status
Creating a connection in the Equinix Customer Portal sends your connection request to Starlink. Once Starlink reviews and accepts the connection (usually within 24 hours), the virtual circuits from the Starlink terminal all way to your Equinix assets are created and you should be able to ping across both VLANs. Don't forget to configure your routers connected to Starlink with the C-VLAN.
You can monitor the connection status from your Connections Inventory.