VMware SD-WAN VNFs Specifications
Licensing
Bring Your Own License (BYOL) products require a valid license. You are responsible for purchasing and managing your own licenses from VMware. To purchase a software license, contact your VMware sales representative or partners.
Support
VMware SD-WAN support is available for BYOL licenses. Contact your VMware SD-WAN sales representative or partner to purchase a license and support contract.
VMware SD-WAN Edge Instance
| 2 Cores | 4 Cores | 8 Cores | 10 Cores | |
|---|---|---|---|---|
| Memory | 8 GB | 16 GB | 32 GB | 32 GB |
| Software Package | VMware-2CPU | VMware-2CPU VMware-4CPU | VMware-2CPU VMware-4CPU VMware-8CPU | VMware-2CPU VMware-4CPU VMware-8CPU VMware-10CPU |
| Virtual Data Interfaces Supported (Default/Max) | 8 / 8 | |||
| System Reserved Interfaces | GigabitEthernet 1 (MGMT)GigabitEthernet 2 (NSP/BYOC)GigabitEthernet 3 (Public) | |||
| Available License Type | BYOL | |||
| Access Methods | GUI through VMware SASE Orchestrator | |||
| Image Version | See Available Image Versions | |||
| Restricted CLI Commands | None | |||
| Deployment Options | Single Redundant |
Creating a VMware SD-WAN Edge Instance
Before creating the edge instance in NE, the following prerequisite steps that must be performed within the VMWare Orchestrator.
Create an Equinix Managed Segment in VMWare Orchestrator
The Global segment is the default segment, and an Equinix Managed segment must be created.
-
Log into the VMWare Orchestrator.

-
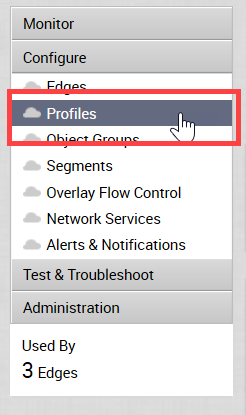
Click Profiles.
-
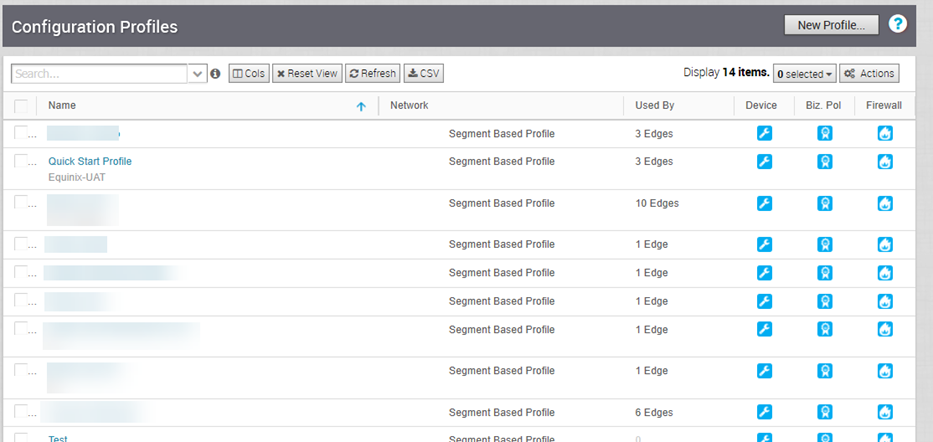
If a new profile needs to be created, click New Profile and create a new profile.
-
If a profile already exists, click that profile from the list.
-
Click Device.

-
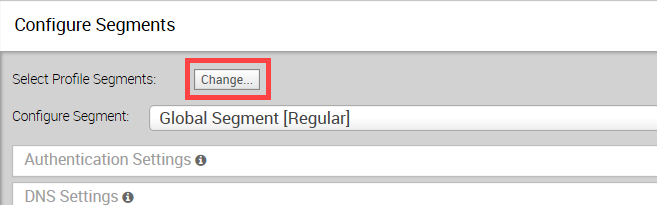
Click Change.
-
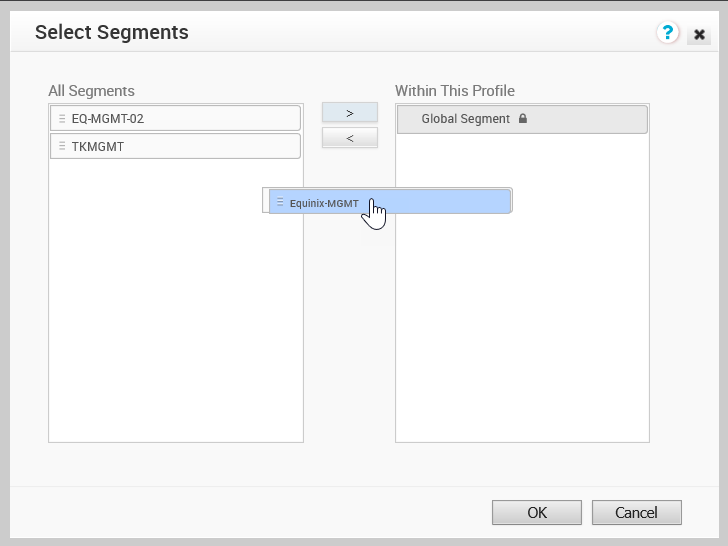
Drag the Equinix Managed Segment from the All Segments list on the left to the Within This Profile list on the right.
-
Click OK.
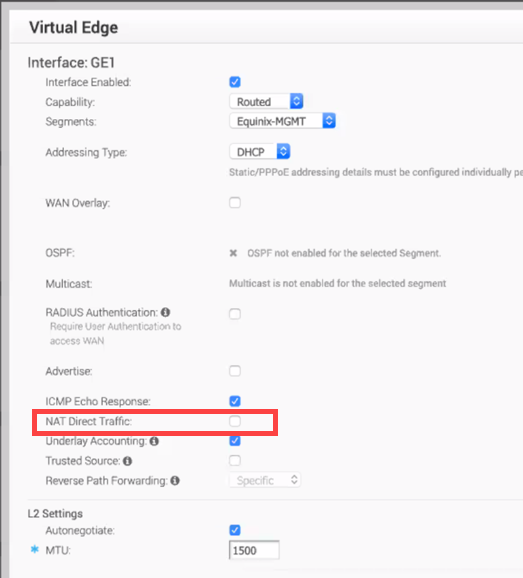
Edit GE1 Interface
GE1 is a common interface required by both Equinix Internet Access (EIA) and Bring Your Own Connections (BYOC)
If the GE1 interface is not edited as described, device provisioning will fail.
-
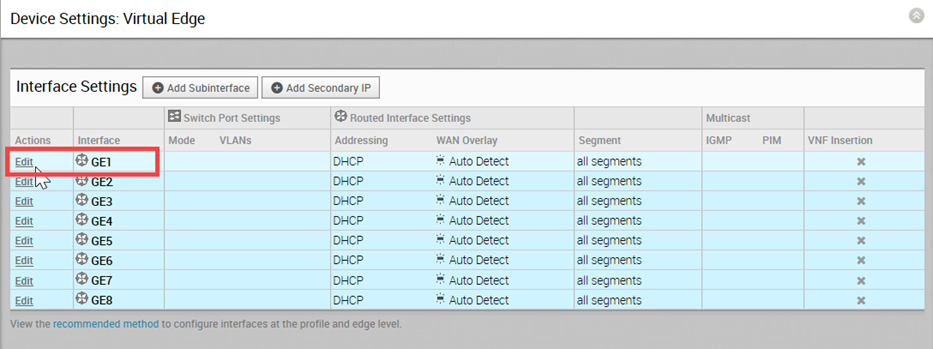
While still on the Configuration Profiles page in the VMWare Orchestrator, scroll to Device Settings: Virtual Edge.
-
In the Interface Settings section, click Edit for the GE1 interface.
-
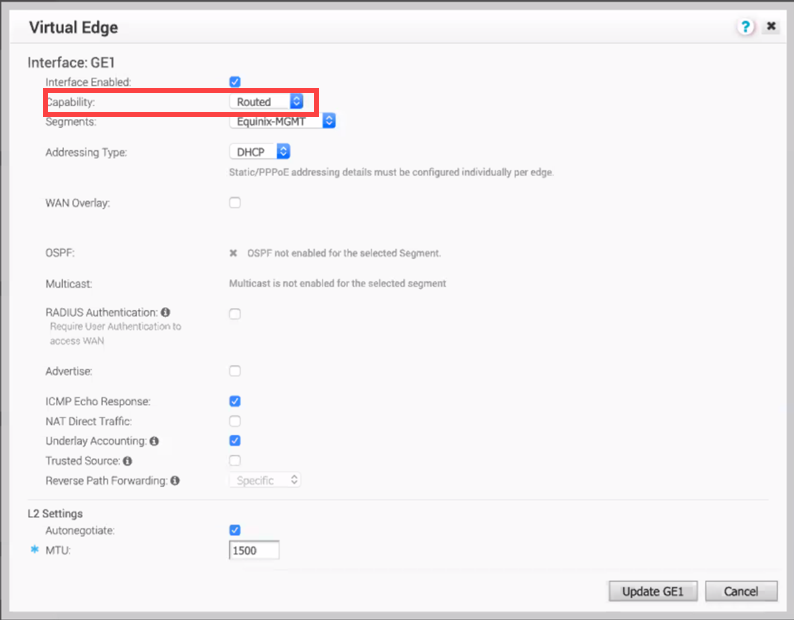
Make sure Routed is selected in the Capability drop-down menu.
-
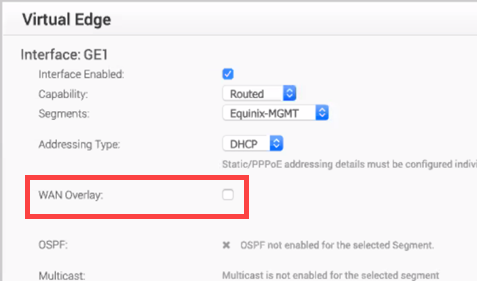
De-select WAN Overlay.
-
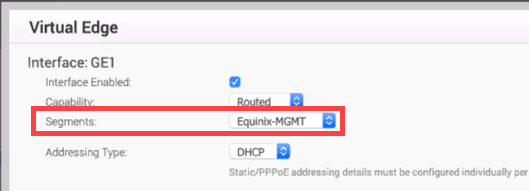
In the Segments drop-down menu, select Equinix-MGMT.
-
De-select NAT Direct Traffic.
-
Click Update GE1.
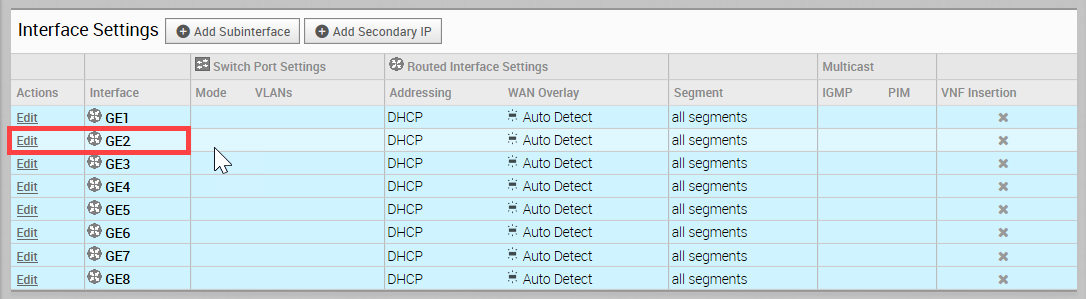
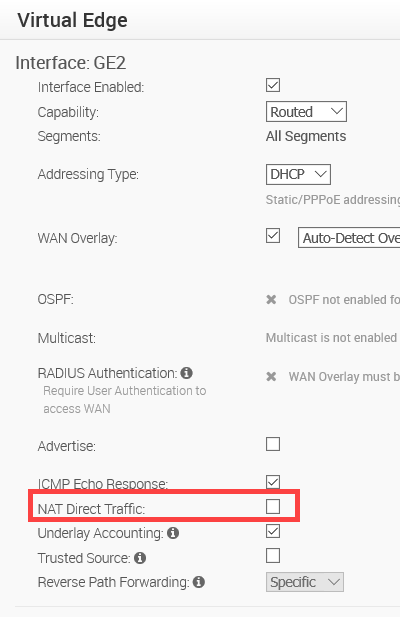
Edit GE2 Interface
A GE2 interface is required by BYOC connections.
-
In the Interface Settings section, click Edit for the GE2 interface.
-
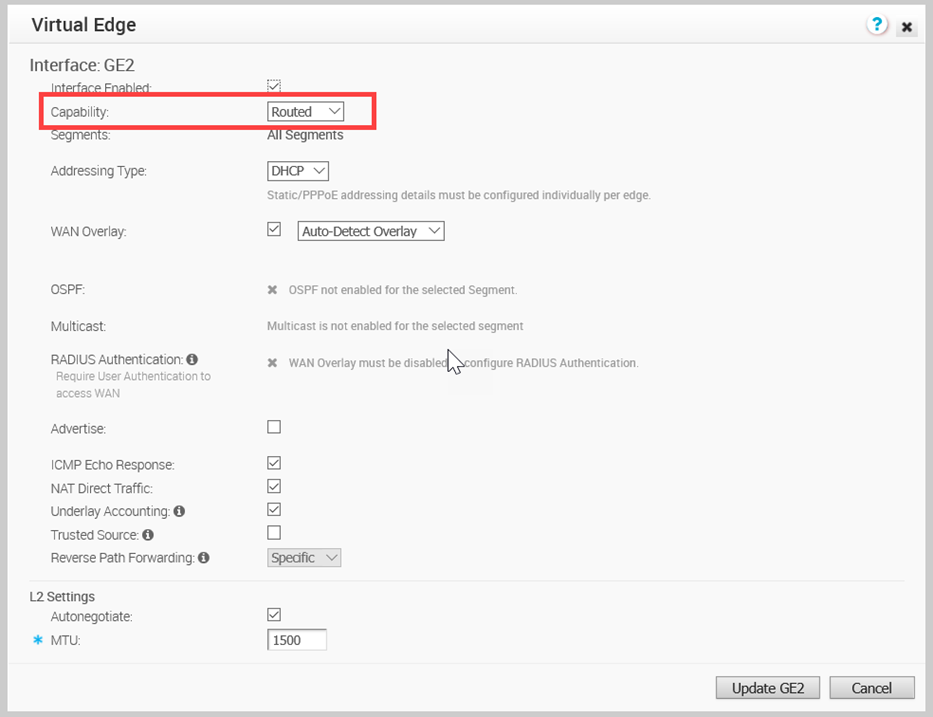
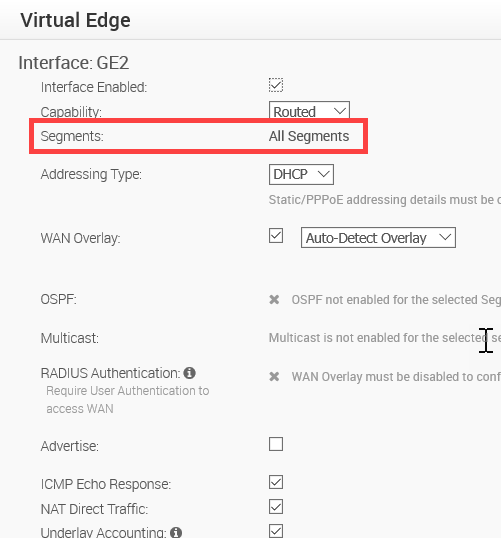
Make sure Routed is selected in the Capability drop-down menu.
-
In the Segments drop-down menu, select All Segments.
-
De-select NAT Direct Traffic.
-
Click Update GE2.
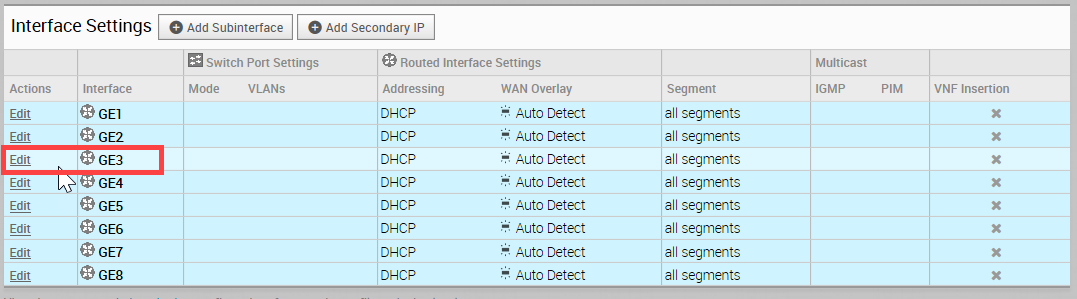
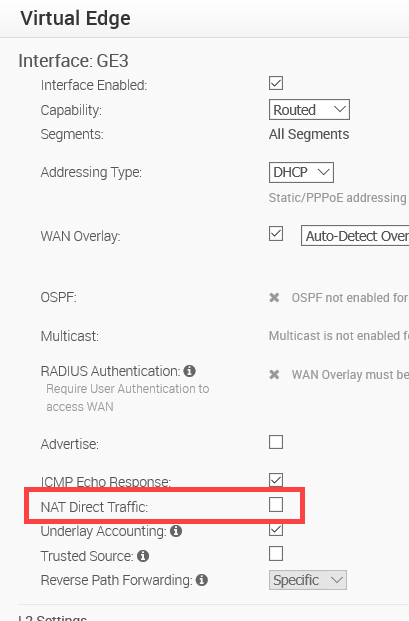
Edit GE3 Interface
A GE3 interface is required by Public (EC) connections.
-
In the Interface Settings section, click Edit for the GE3 interface.
-
Make sure Routed is selected in the Capability drop-down menu.

-
In the Segments drop-down menu, select All Segments.
-
De-select NAT Direct Traffic.
-
Click Update GE3.
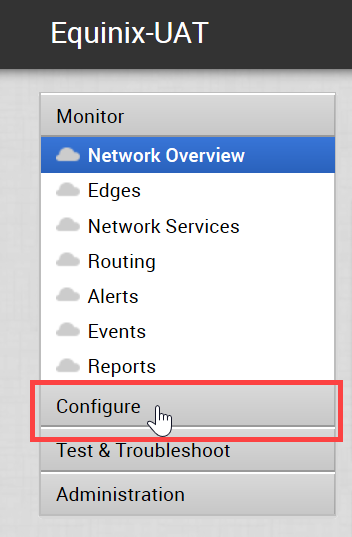
Locate the Activation Key and FQDN in VMWare Orchestrator
-
Log into the VMWare Orchestrator.
-
Click Configure.
-
Select the device you want to link to Network Edge.
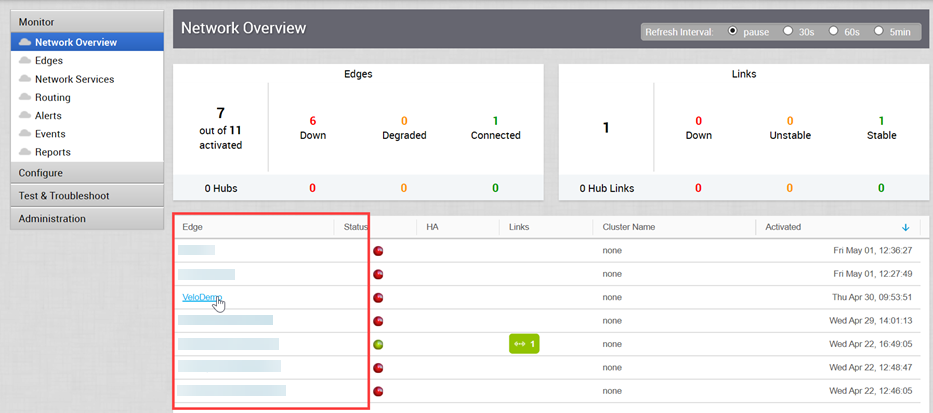
-
Locate the key and copy it. You will need this information when setting up the VMWare device in Network Edge.
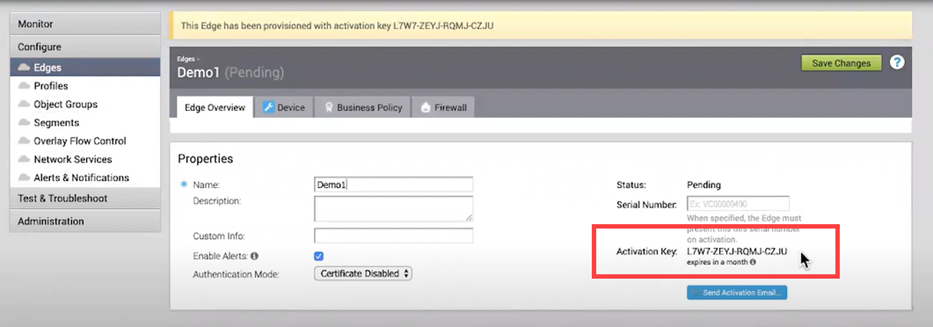
Create the Edge Instance in Network Edge
When you are creating the device in Network Edge, in the Device Details section, enter:
- Device Name – Enter a name for the device to be used in the Customer portal.
- Activation Key – A key generated in the VCO.
- Controller FQDN – VCO Orchestrator fully qualified domain name. Confirm the FQDN before entering. If the FQDN is incorrect, the device cannot connect to your VMware VCO Orchestrator.
- Root Password (optional) – Root password for the Edge instance