Cisco Meraki vMX SD-WAN (Beta)
Cisco Meraki vMX on Network Edge is currently available as a Beta offering only.
The Meraki vMX is a virtual instance of the Meraki MX security and SD-WAN appliance. It brings Auto VPN, secure connectivity, and cloud-managed control to your Network Edge footprint, all from the Meraki Dashboard. Deploy it in an Equinix metro and extend your Meraki SD-WAN fabric to the cloud and to your colocation environment.
Licensing Options
Meraki vMX is available on Network Edge with BYOL only. You are responsible for purchasing and managing your Meraki licenses and a device-level support contract with Cisco Meraki. Equinix support is limited to Network Edge infrastructure.
Each vMX requires its own license in your Meraki organization. To purchase licenses, contact your Cisco Meraki reseller or sales representative before you create the device.
Deployment Types
- Single Device
- Redundant Devices
Connectivity Options
- With Equinix Public IP Address
- Without Equinix Public IP Address
Create a Meraki vMX
Prerequisites
Before you create a Meraki vMX, make sure you have:
- An Equinix account with the
Network Edge Device Managerrole and a global billing account or a local billing account for the target metro. - A Meraki Dashboard account with an organization that has a valid vMX license.
- A design for your network: IP addressing plan, VLAN assignments, and Auto VPN topology (hub or spoke).
- For devices without a public IP address, a helper device (a router or firewall) that provides DHCP and NAT, see Configuring a Meraki vMX Without a Public IP Address.
Prepare the Meraki Dashboard
Before beginning the device deployment process in Network Edge:
-
Create an account in the Meraki Dashboard.
-
Sign in to the dashboard and create a new Organization and Network, selecting Security appliance as the network type.
-
Choose the required Meraki vMX device size.
-
On the device page, select Generate authentication token to create the Day-0 configuration file. If you are creating redundant devices, create separate Day-0 tokens for each device.
Do not generate the Meraki Day-0 token until you are ready to create the vMX. The token is valid for one hour.
Create the Device
-
Sign in to the Equinix Customer Portal and go to the Network Edge Dashboard.
-
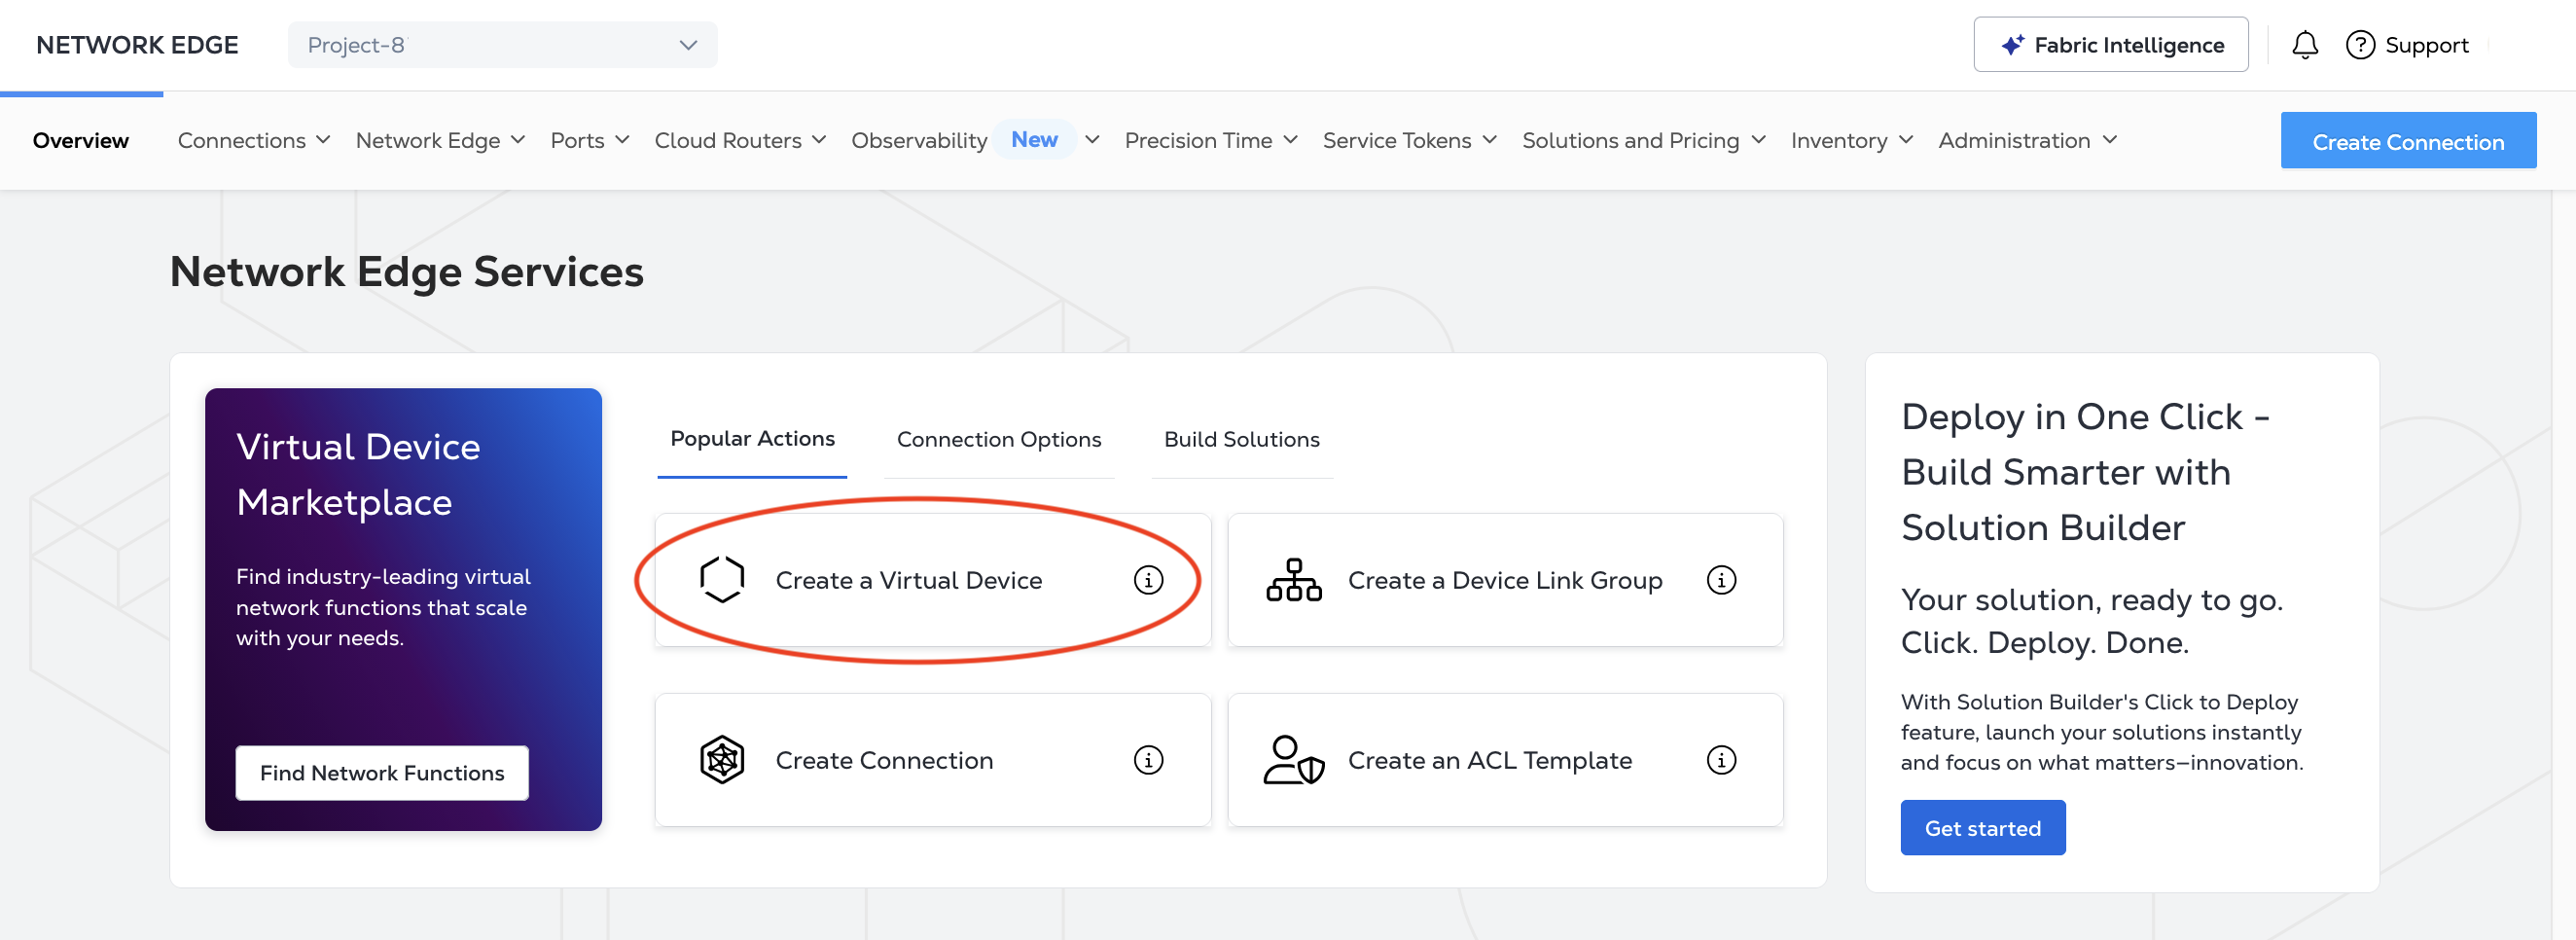
Click Create a Virtual Device.
-
In the vendor package section, locate the Meraki vMX card and click View Details.
-
Click Select and Continue.
-
Review the prerequisites and click Create SD-WAN Device.
-
In the Deployment Type section, click Single.
-
Click Begin Creating Edge Devices.
-
Select a Metro.
-
Select a Billing Account or create a new billing account.
-
Click Next: Device Details.
-
In the Connectivity Option section, select With Equinix IP Address or Without an Equinix IP Address.
-
Select the Device Resources.
-
In the Device Details section enter:
- Device Name - Enter a name for your device.
- Host Name Prefix - Enter the host name prefix.
- Token - Paste the Day-0 authentication token created during the Prepare the Meraki Dashboard process.
infoThe default number of interfaces is 2, so there is no selection to make in the Interfaces drop-down.
-
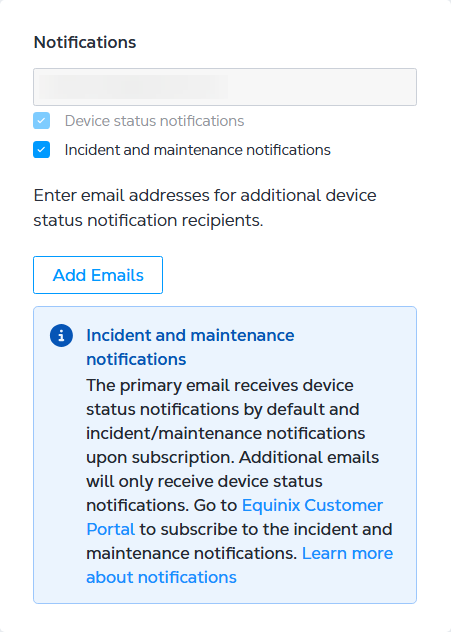
Your email address will automatically populate the Notifications field as the person who will receive all notifications about the device. Click Add Emails to add the email addresses of anyone else who should receive notifications.
-
Select a purchase order in the Purchase Order Number drop-down.
-
(Optional) Enter an Order Reference/Identifier for the device.
-
Click Next: Additional Services.
-
In the Device Access section, enter your username.
-
Select Set up SSH with RSA Public Key to generate an RSA key.
-
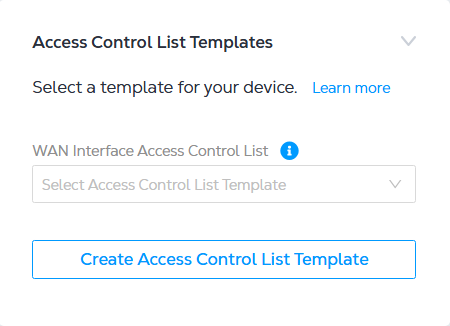
In the Access Control List Templates section, select an existing ACL template to apply to your device, or click Create Access Control List Template to create a new template.
-
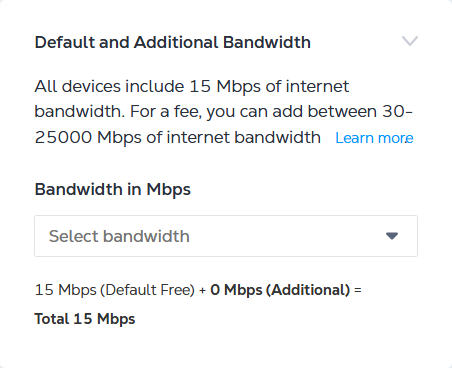
In the Default and Additional Bandwidth section, select additional bandwidth in the drop-down if you want to add bandwidth to the default 15 Mbps of internet bandwidth that comes with your device deployment.
-
Click Next: Review.
-
In the Shared Support section, click I have reviewed this support policy and acknowledge it..
-
Click Create Virtual Device.
Meraki vMX Specifications
| Device Resources | 2 Cores - 4 GB (supports vMX Small) 4 Cores - 16 GB (supports vMX Medium and vMX Large) |
| Software Package | vMX - Small vMX - Medium vMX - Large |
| Interfaces Supported (Default) | 2 |
| Access Methods | Meraki Dashboard |
| Connectivity | With Equinix Public IP Address Without Equinix Public IP Address |
| Image Version | See Available Image Versions |
| RMA | Supported |
| Snapshot | Not Supported |
| Resize | Supported |
Verify the Deployment
In the Meraki Dashboard, select Security & SD-WAN > Monitor > Appliance status. Confirm the vMX is online. Allow about five minutes after the link is active.
In the Equinix Customer Portal, confirm both devices are Provisioned and the device link group is active.
Support and Resources
Troubleshooting
If the vMX is not visible in the Meraki Dashboard:
- Token expired - The Day-0 token must be used within one hour of generation. Generate a new token in the Meraki Dashboard.
- Device not provisioned - Confirm the device status is
Provisionedin the Virtual Device Inventory. - ACL blocks required traffic - Review the ACL template applied to the device. For a helper device, make sure return traffic from the Meraki cloud is permitted.