Connecting to a Fabric Service Provider
Make a connection from your Network Edge devices to clouds, networks, and other service providers.
This topic covers connecting to service providers from Network Edge in general. For instructions and examples on connecting to a specific service provider, see the Connecting to a Service Provider section. Including:
Prerequisites
- An Equinix Customer Portal account, with the following roles assigned:
Fabric Connections ManagerandNetwork Edge Connections Manager. - A Network Edge virtual device.
- Portal
- API
- Terraform
-
Sign in to the Equinix Customer Portal and navigate to Network Edge Dashboard.
-
Use the Project Selector drop-down to select the project under which you want to create the connection. For more information on projects, see Managing Projects.
-
Authenticate - submit your user credentials, Client ID, and Client Secret for OAuth2 authentication. Refer to API Authentication for instructions on how to call OAuth API to validate and authenticate your credentials.
-
Determine your Network Edge device information using the
/ne/v1/devicesor/ne/v1/devices/{uuid}endpoints. You may choose any available interface on the device for your connection. Equinix will select an interface if you do not specify one. -
Determine the service provider's service profile information. Use the
/fabric/v4/serviceProfiles/searchendpoint to search for a specific service profile or use the/fabric/v4/serviceProfilesendpoint to list all available service profiles, and identify the profile you want to connect to. You need the service provider's profile UUID.
-
Determine your Network Edge device information. Check your available devices using the
equinix_network_devicedata source. -
Determine the service provider's service profile information. Use the
equinix_fabric_service_profilesdata source to search for a specific service profile. You need the service provider's profile UUID.
Creating the Connection
- Portal
- API
- Terraform
-
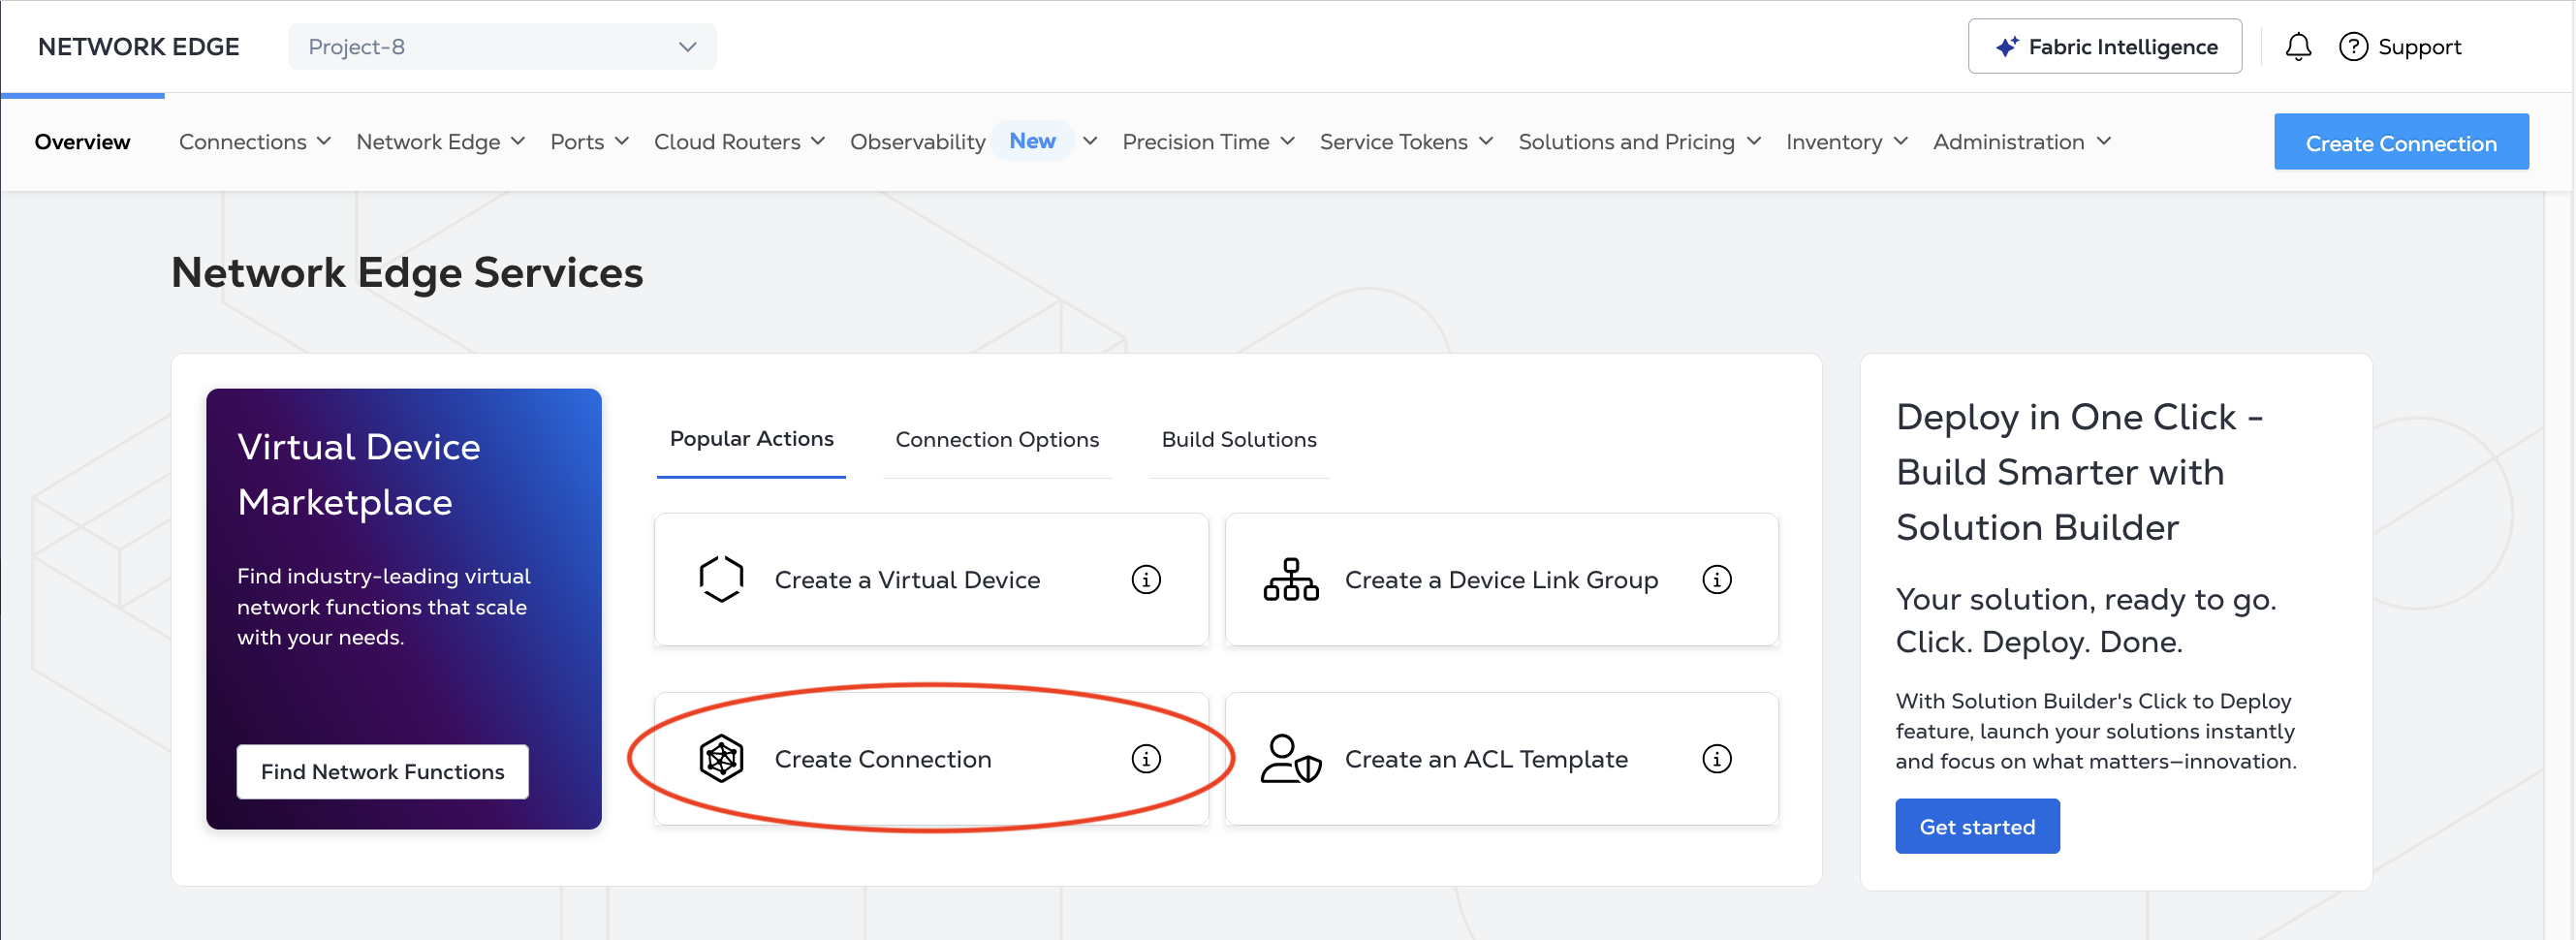
From the Network Edge Dashboard, click Create Connection.
-
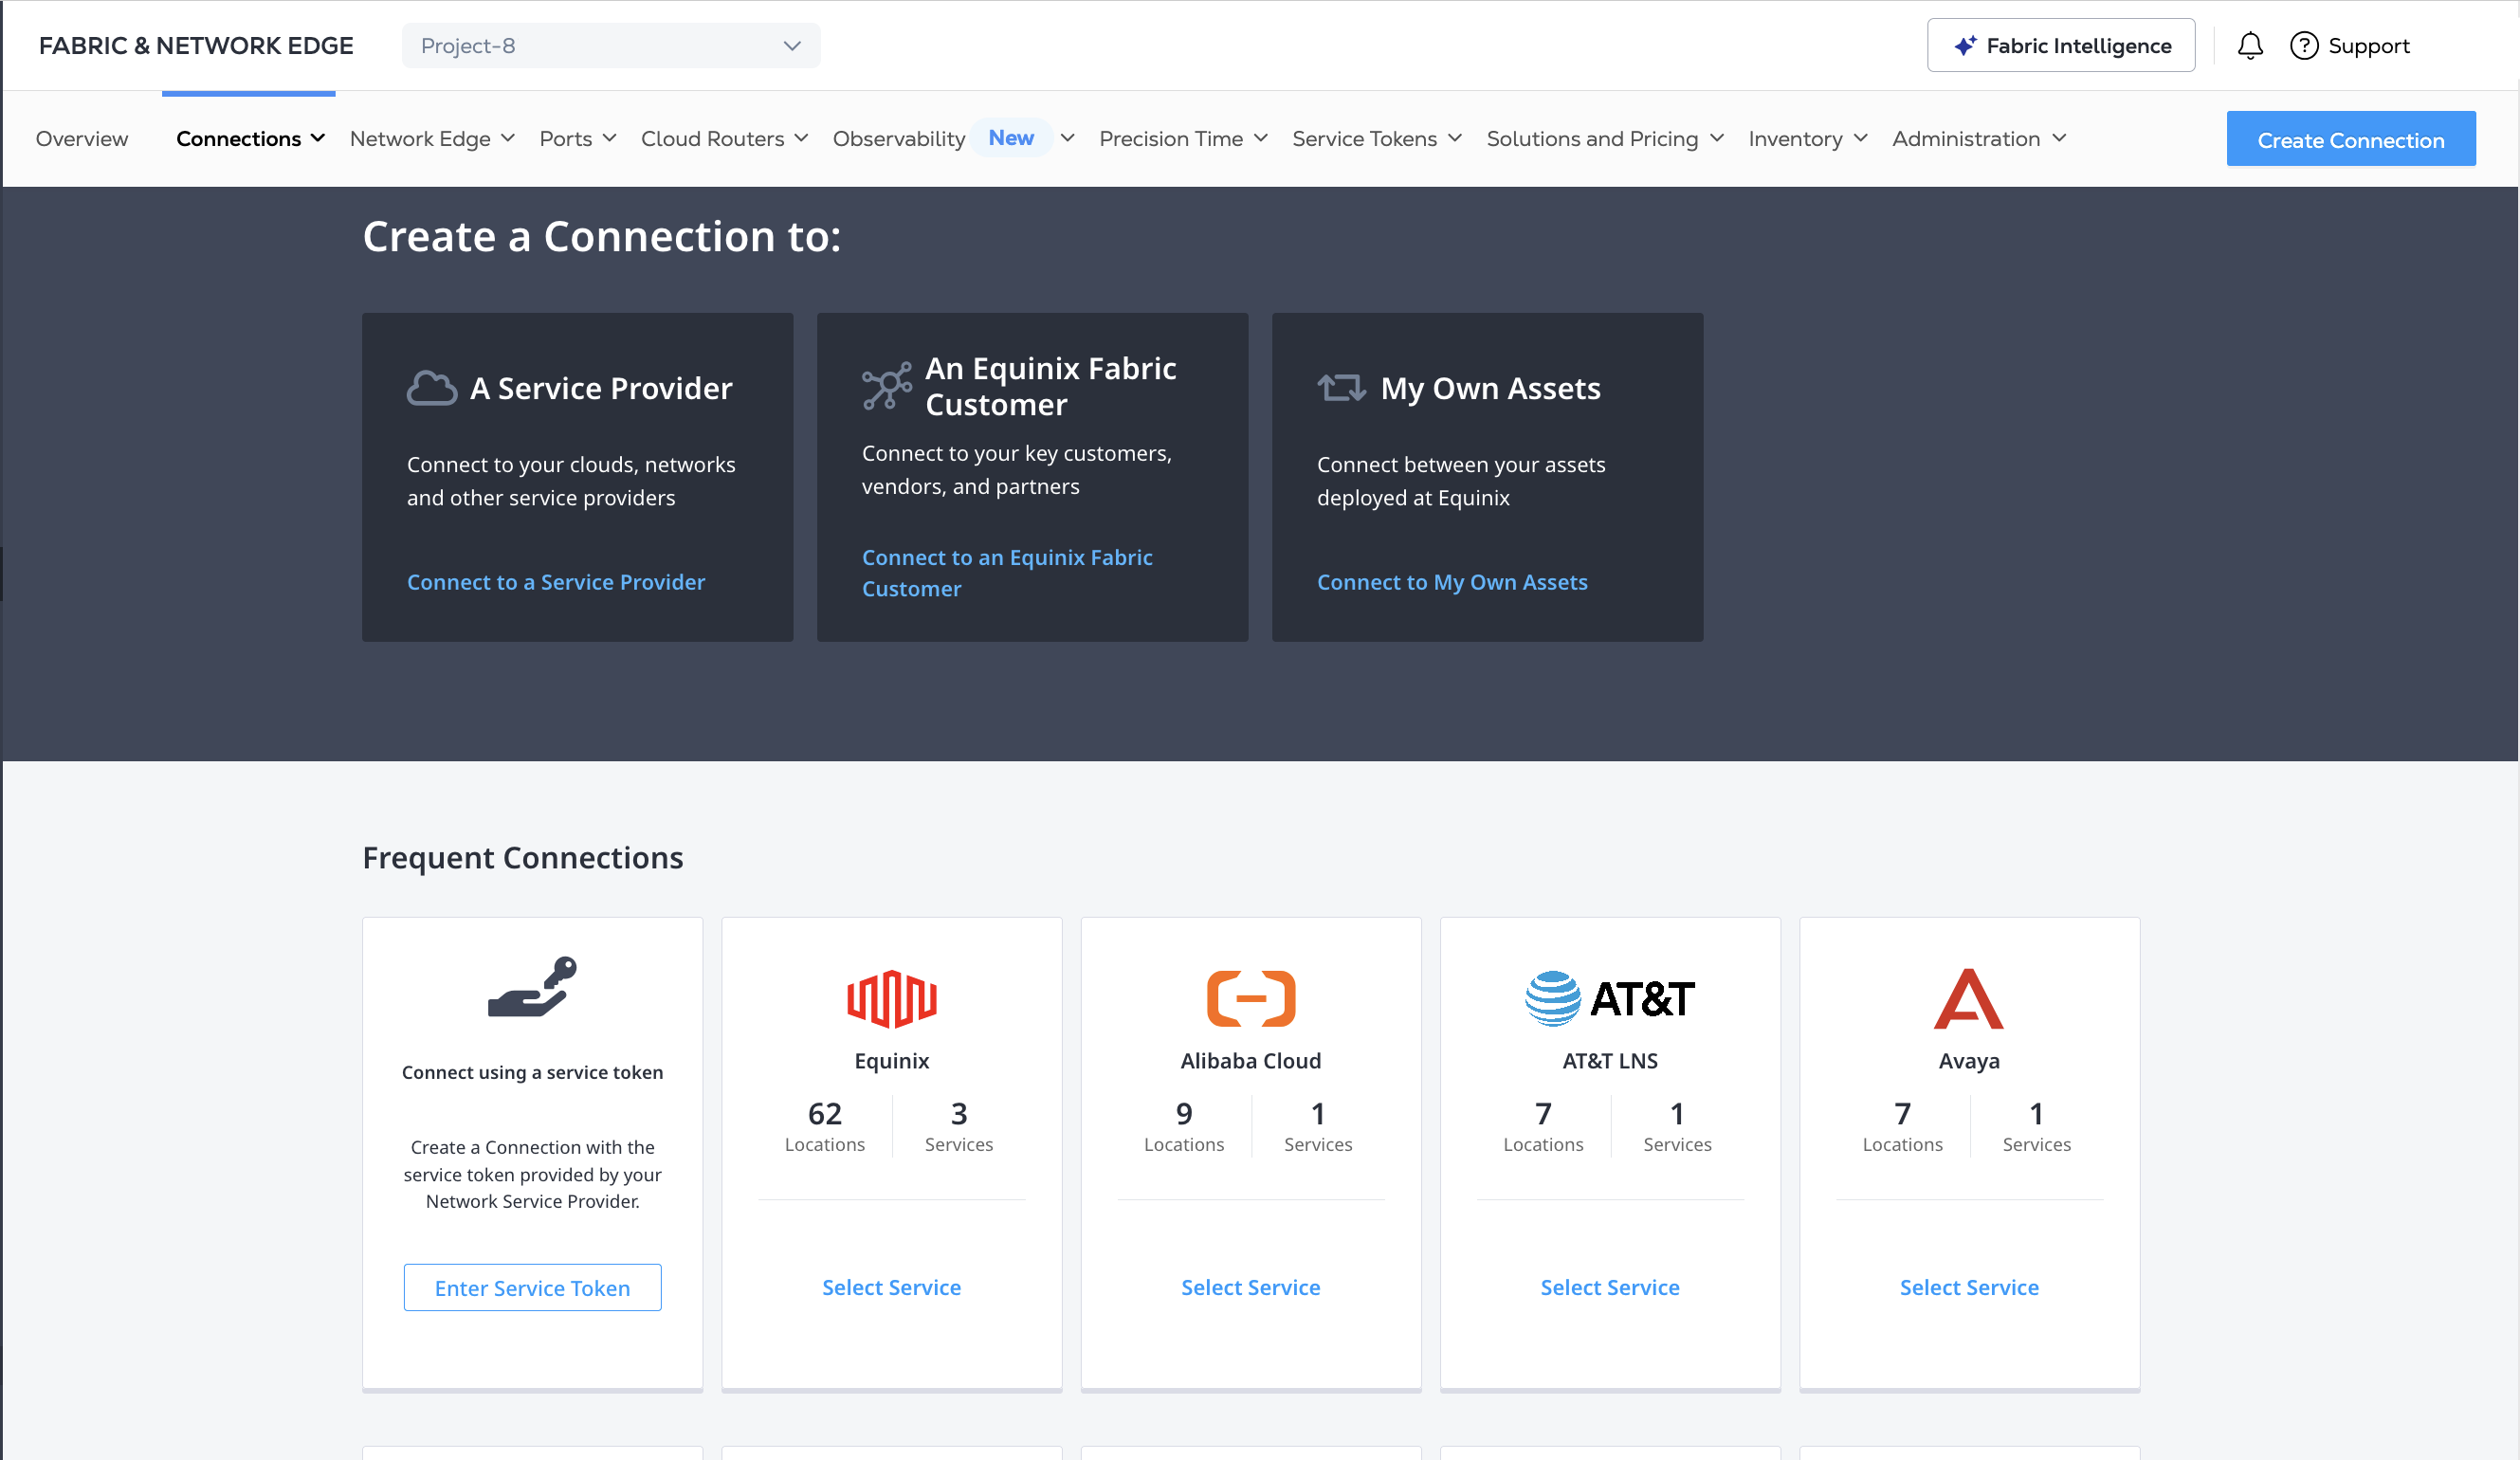
In the Frequent Connections section, select the service provider you are connecting to. Or click A Service Provider, and search for the service provider.
-
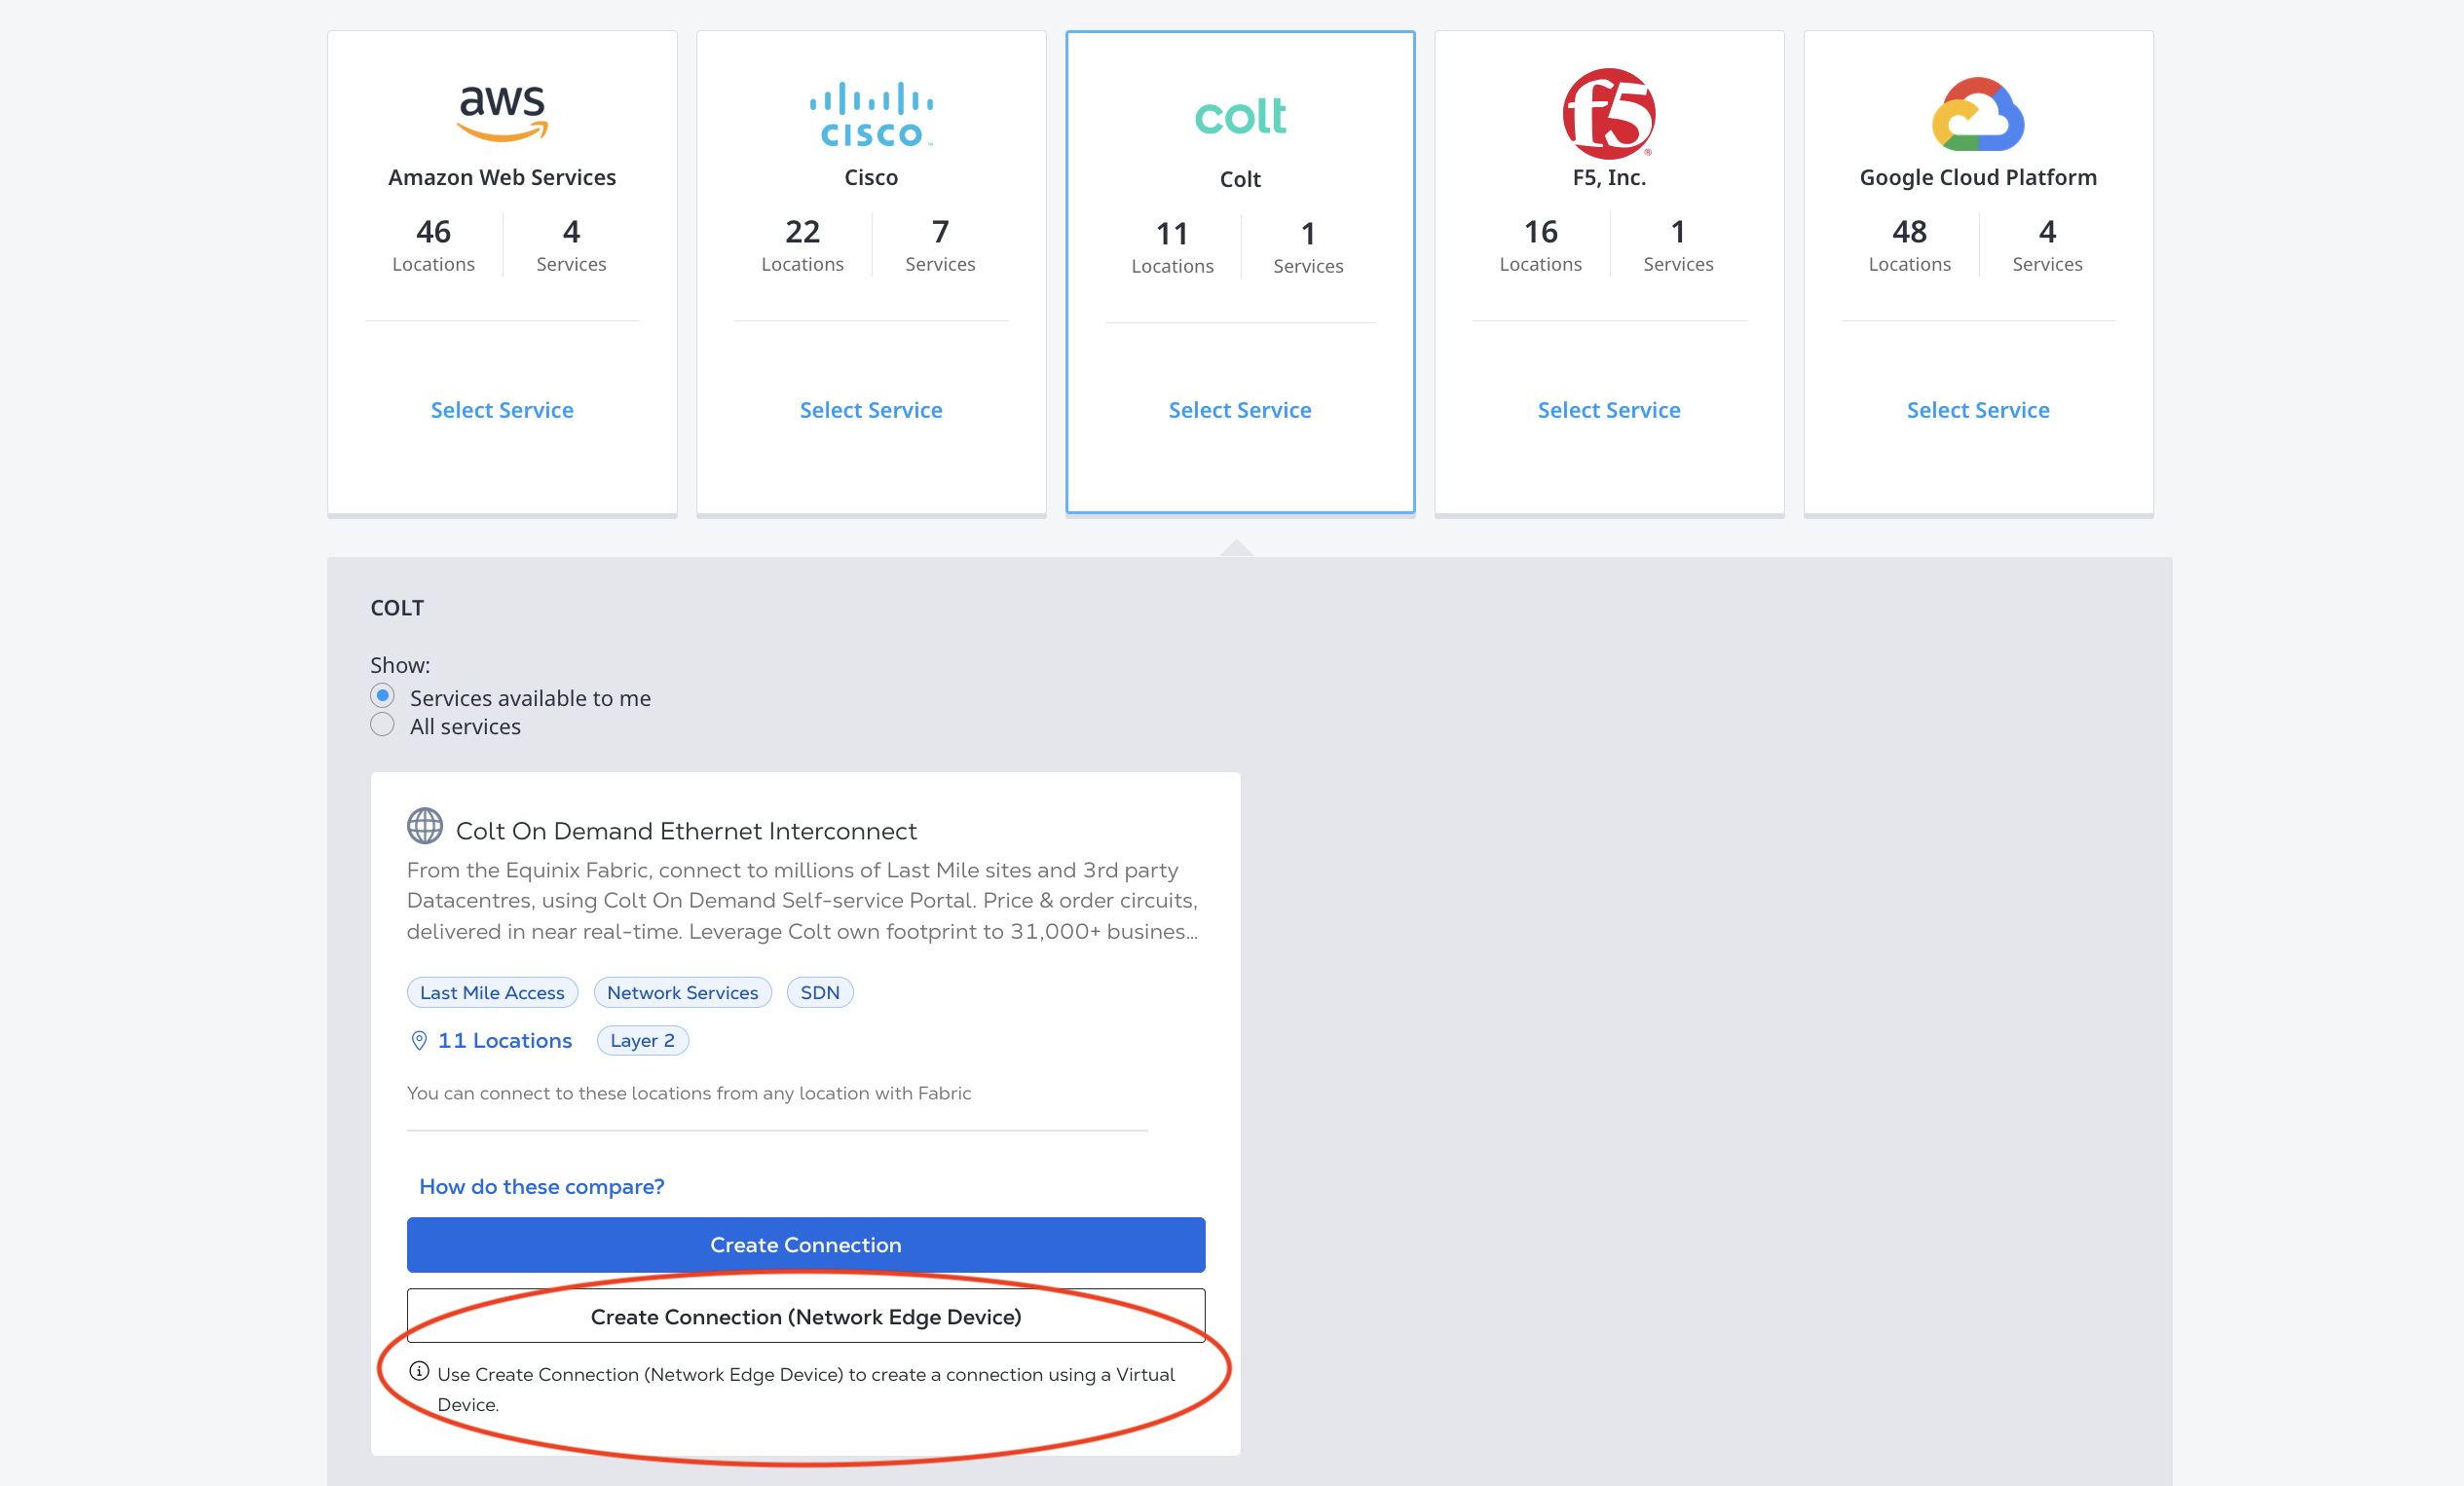
Click the service provider's card, and click Create Connection (Network Edge Device).
Select Locations
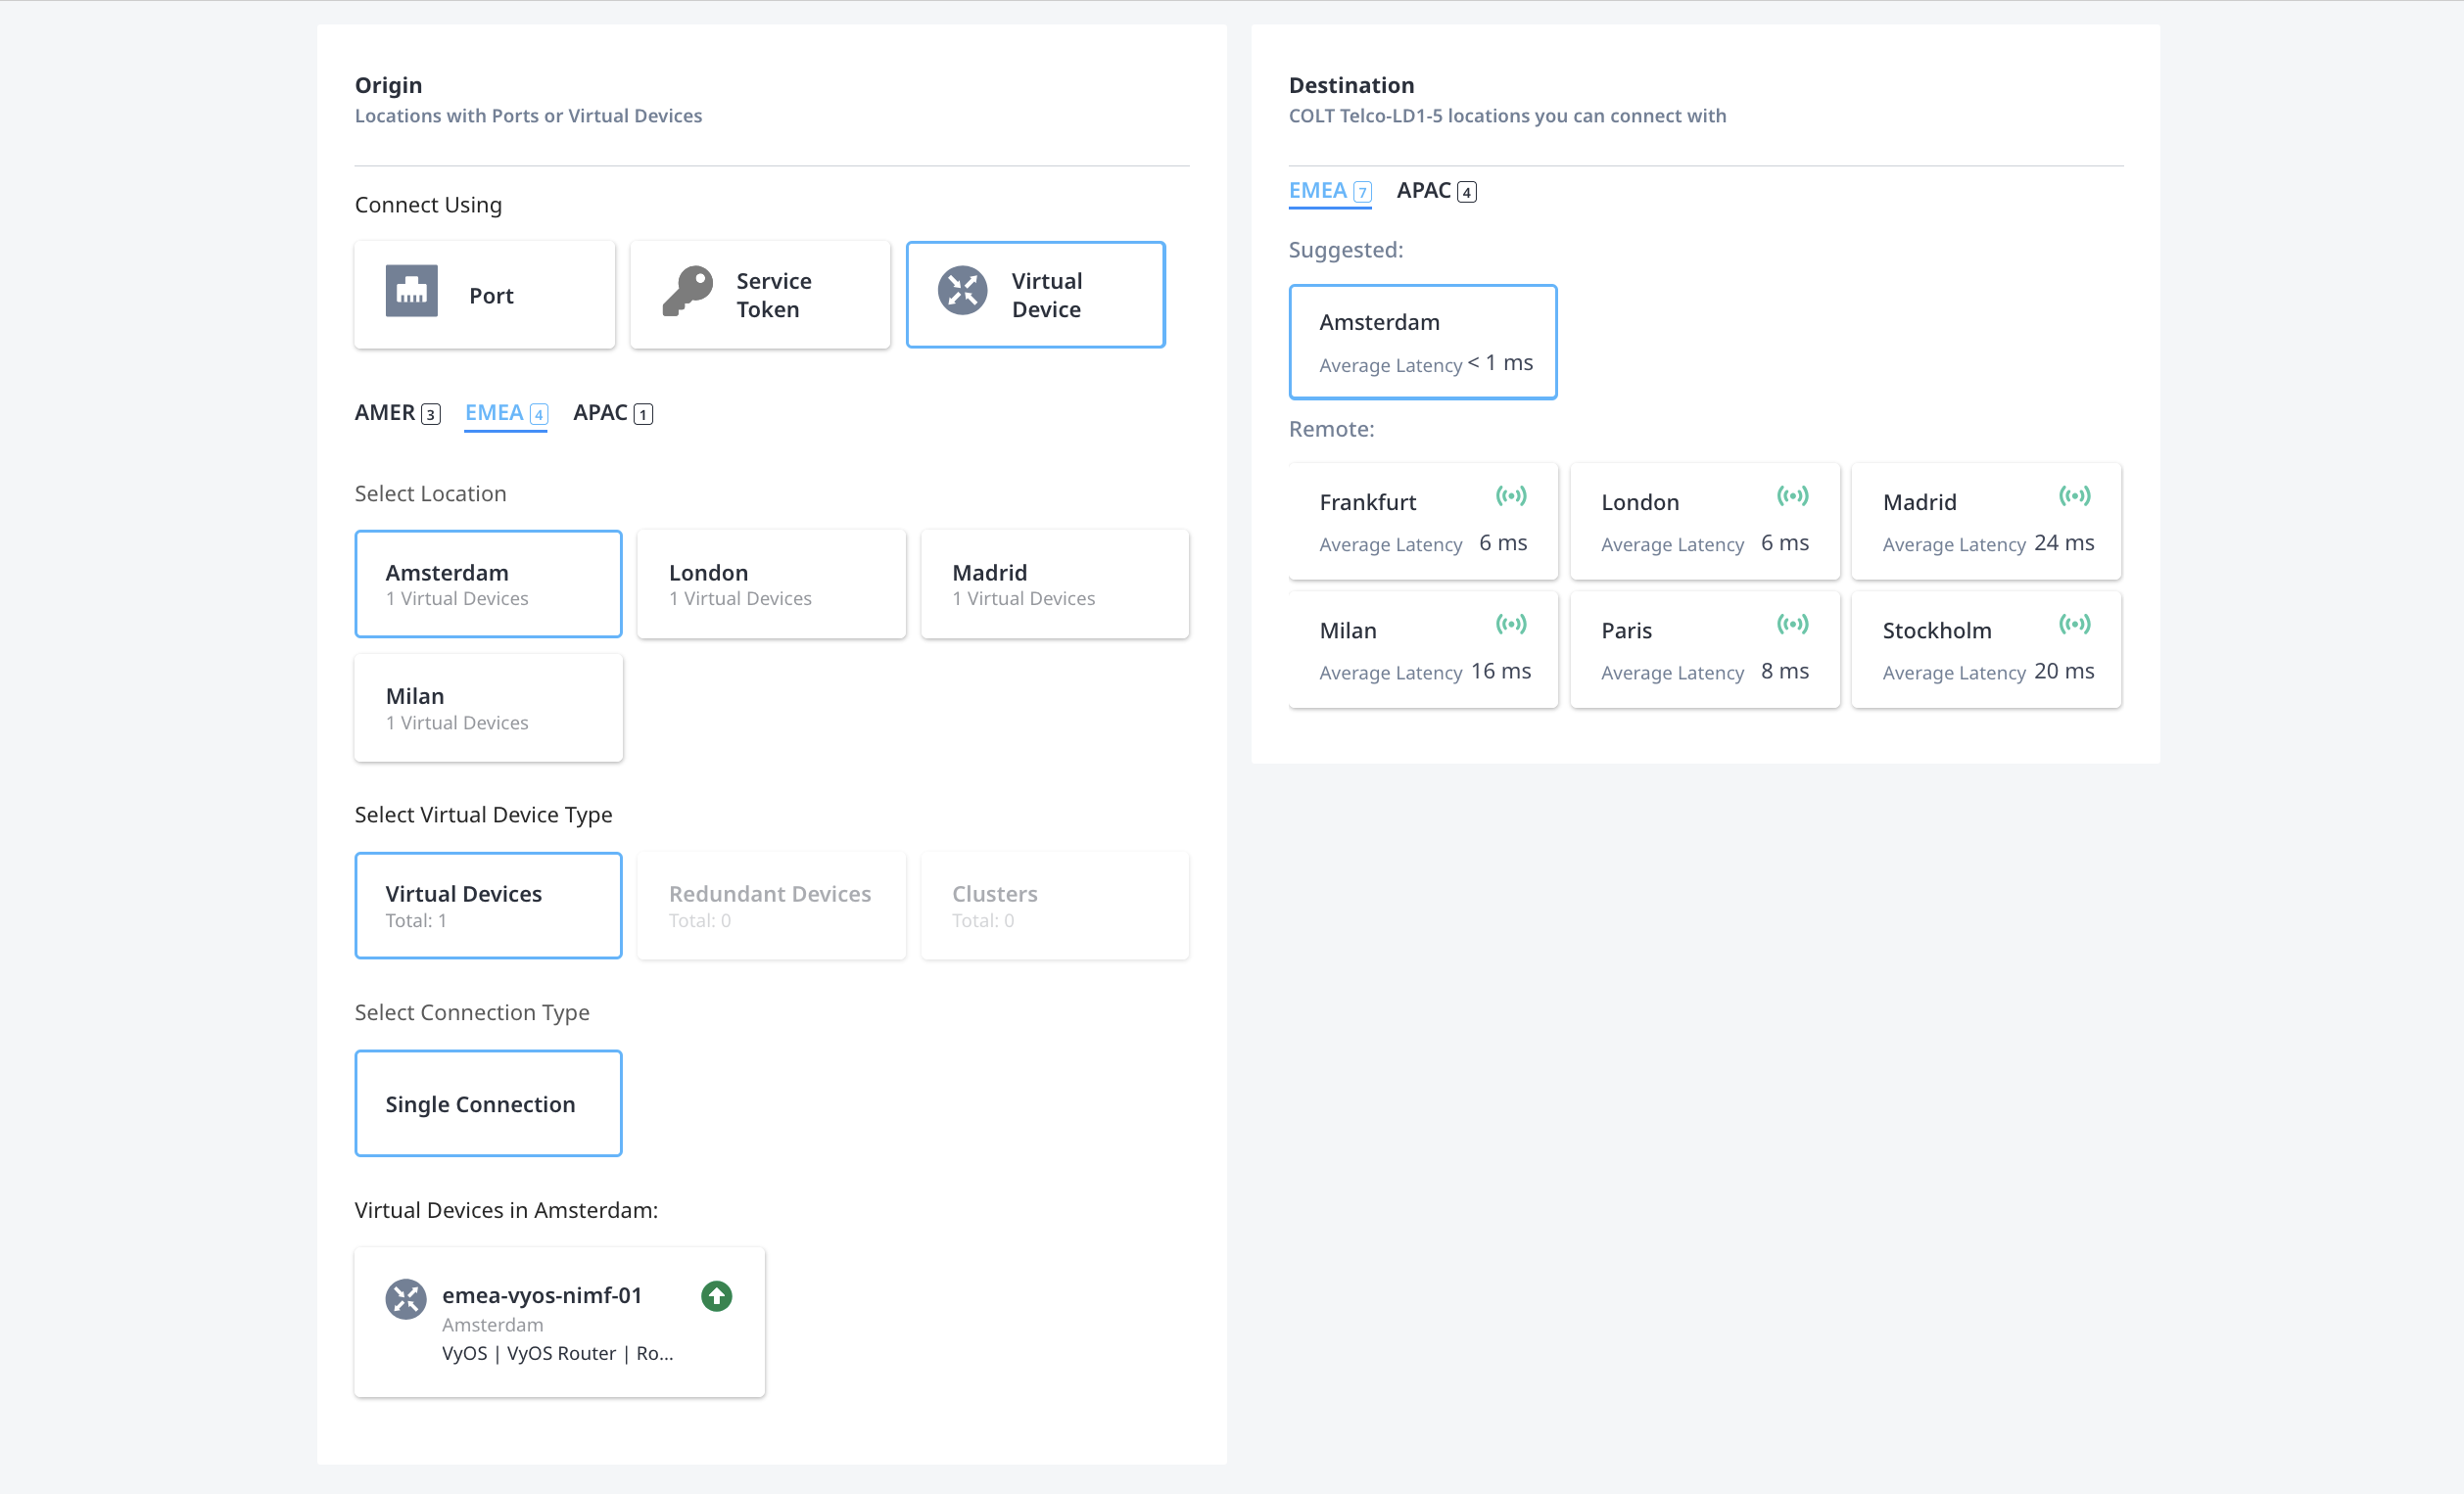
On the Select Locations page:
-
In the Origin section, under Connect Using, click Virtual Device.
-
Select the device and connection origin location.
-
In the Select Virtual Device Type section, select a device type: Virtual Devices, Redundant Devices, or Clusters.
-
Select the Connection Type. If you selected a single virtual device, Single Connection is automatically selected. If you are connecting to a cluster or redundant devices, you can choose to create a Redundant Connection or a Single Connection from a single device in the redundant pair or cluster.
-
Select the Device(s) you are using for this connection.
-
The Destination section is populated with your location options from the Service Provider you are connecting to. Select the service provider's location you are connecting to.
Click Next.
Connection Details
On the Connection Details page:
-
In the Connection Information section, enter a connection name. For redundant connections, enter a name for the primary connection in the Connection Information field and a name for the secondary connection in the Redundant Connection Information field.
-
In the Interface Selection section, select:
- Automatically select the next available interface on my device(s) if you want to create the connection on the next available interface.
- I will select an interface if you want to specify the interface for the connection. Select an interface from the drop-down menu.
-
If the Service Provider requires an account ID, pairing key, or other identification, enter your information in the provided fields. The Additional Buyer Options section contains options specific to the Service Provider you are connecting to. Some of them may be required to connect.
-
(Optional) Enter the purchase order number.
-
Select the Connection Speed for the Primary Device. For Redundant Connections, select the Connection Speed for the Secondary Device also.
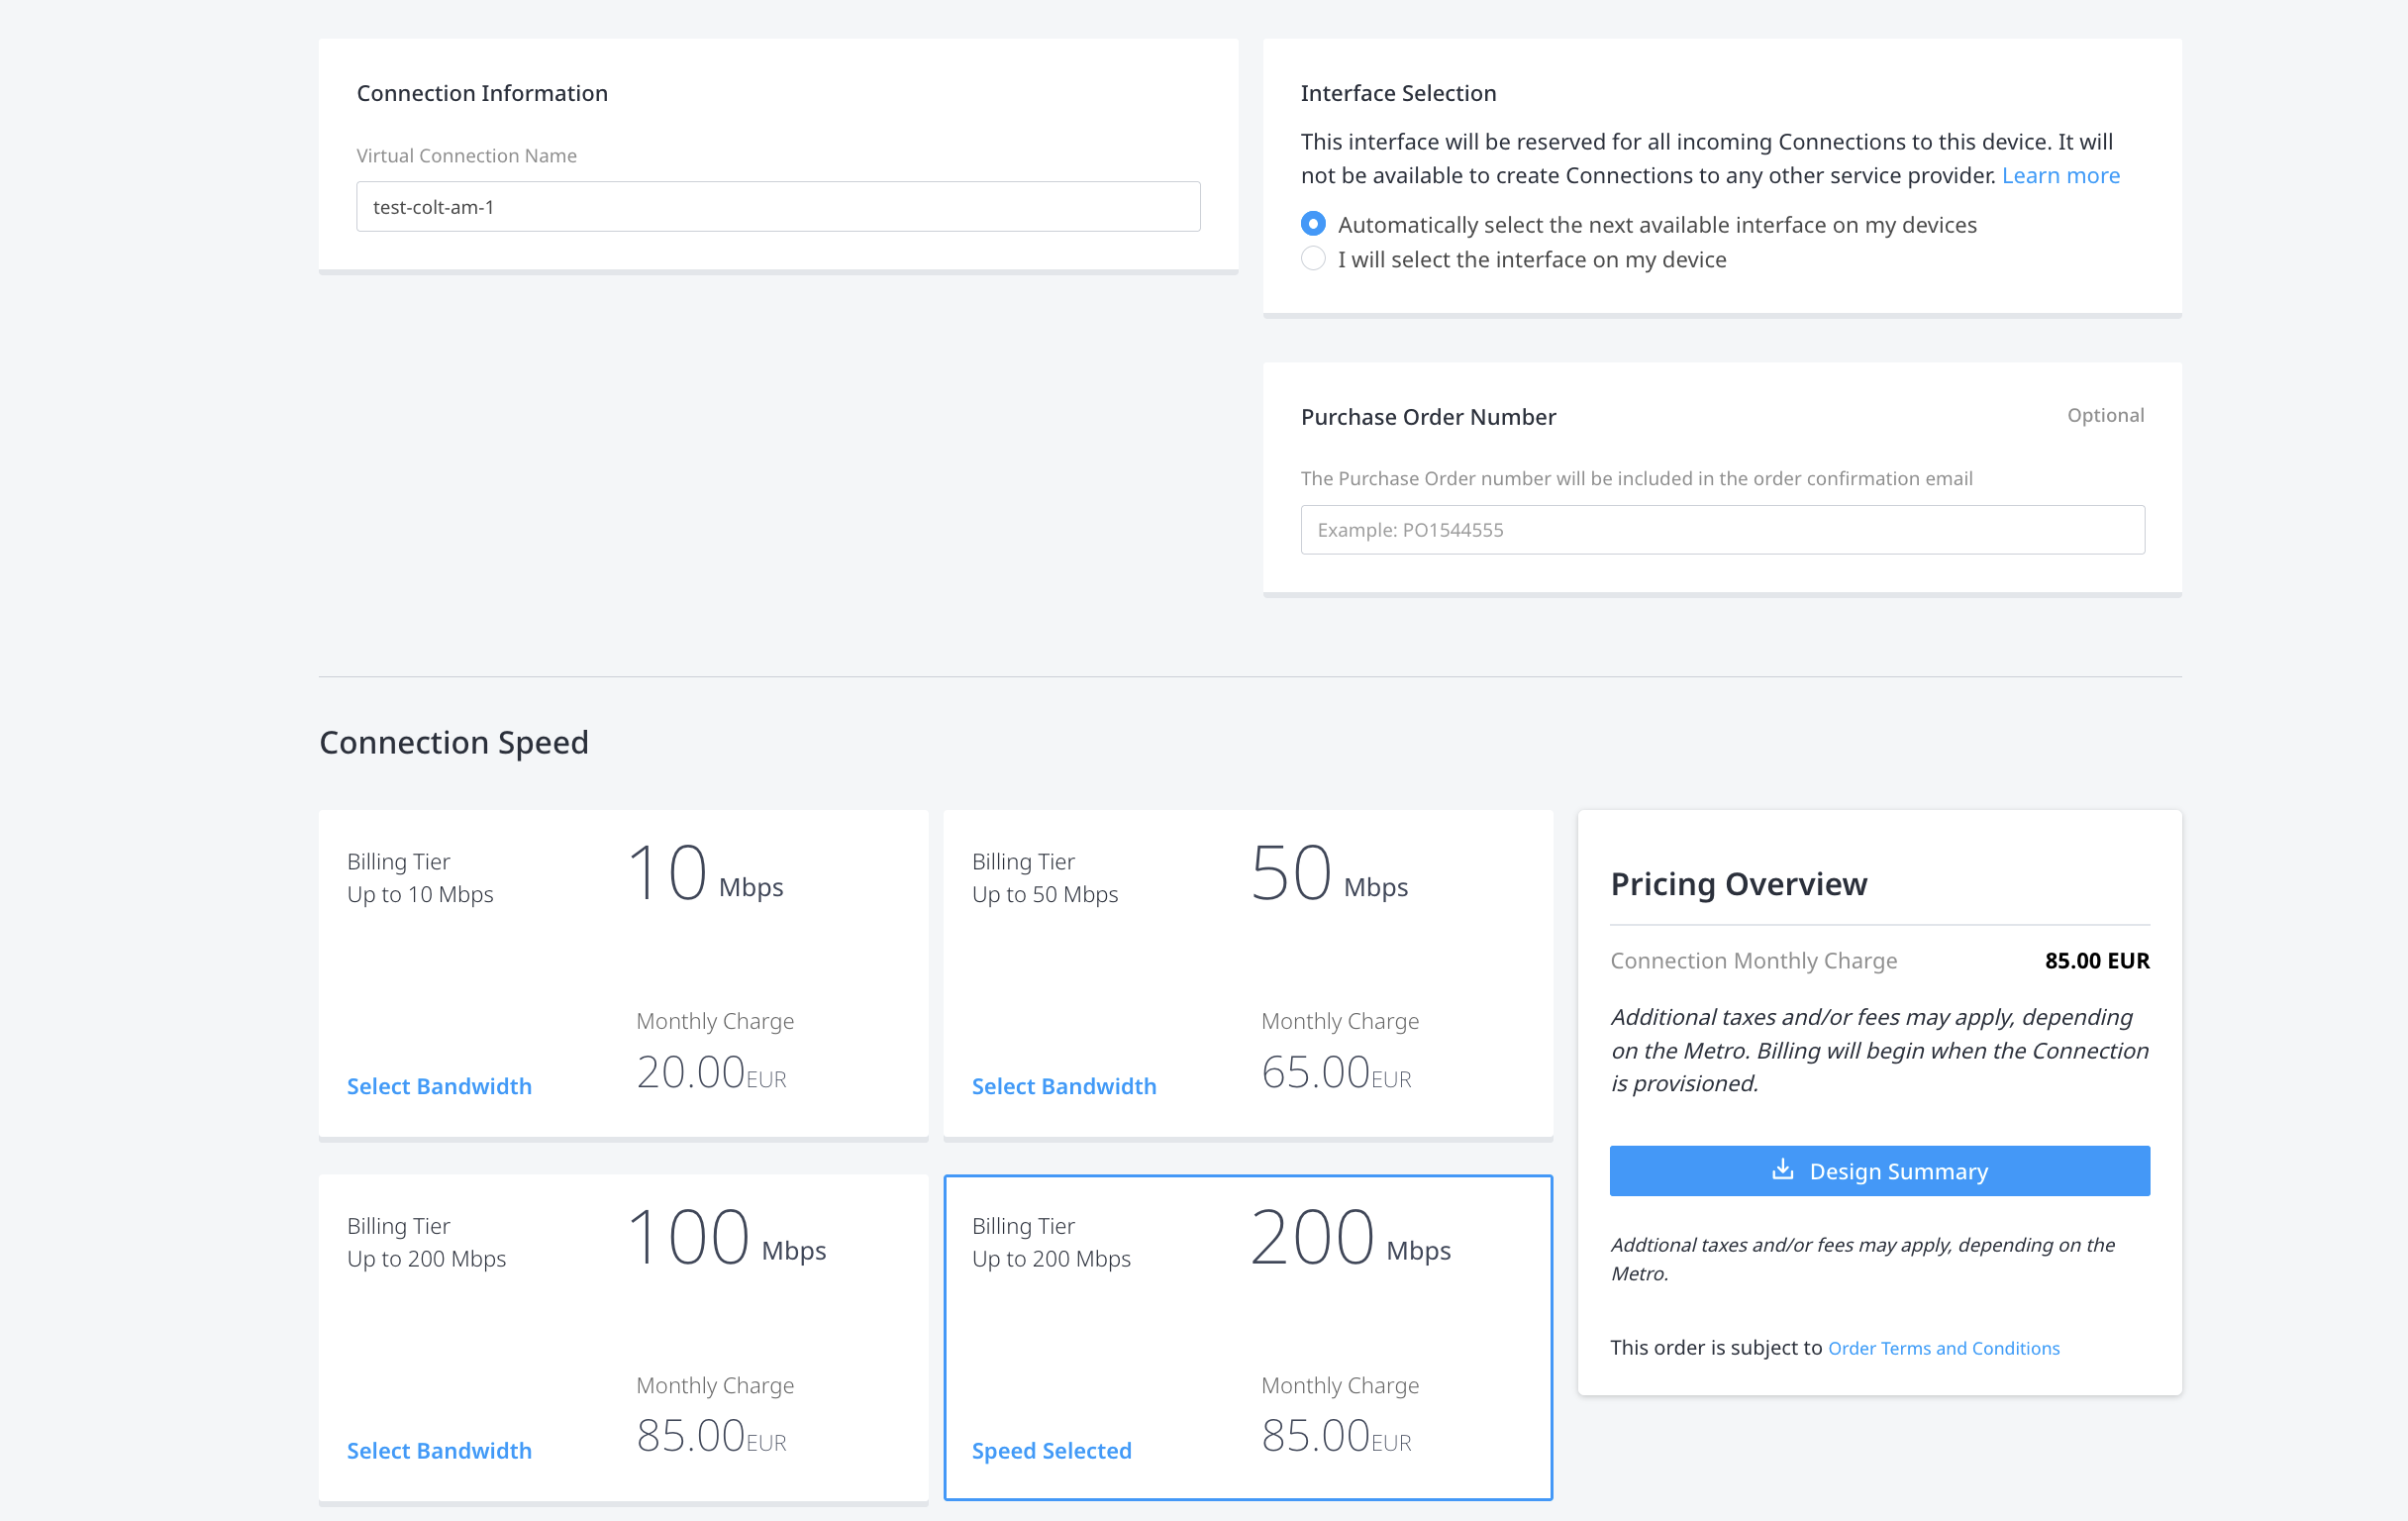
Click Next
Review and Submit
On the Review page:
-
Review the information in the Connection Summary and Pricing Overview.
-
In the Notifications section, add the email addresses for all users who should receive notifications about this connection.
-
When you are ready, click Submit Your Order.
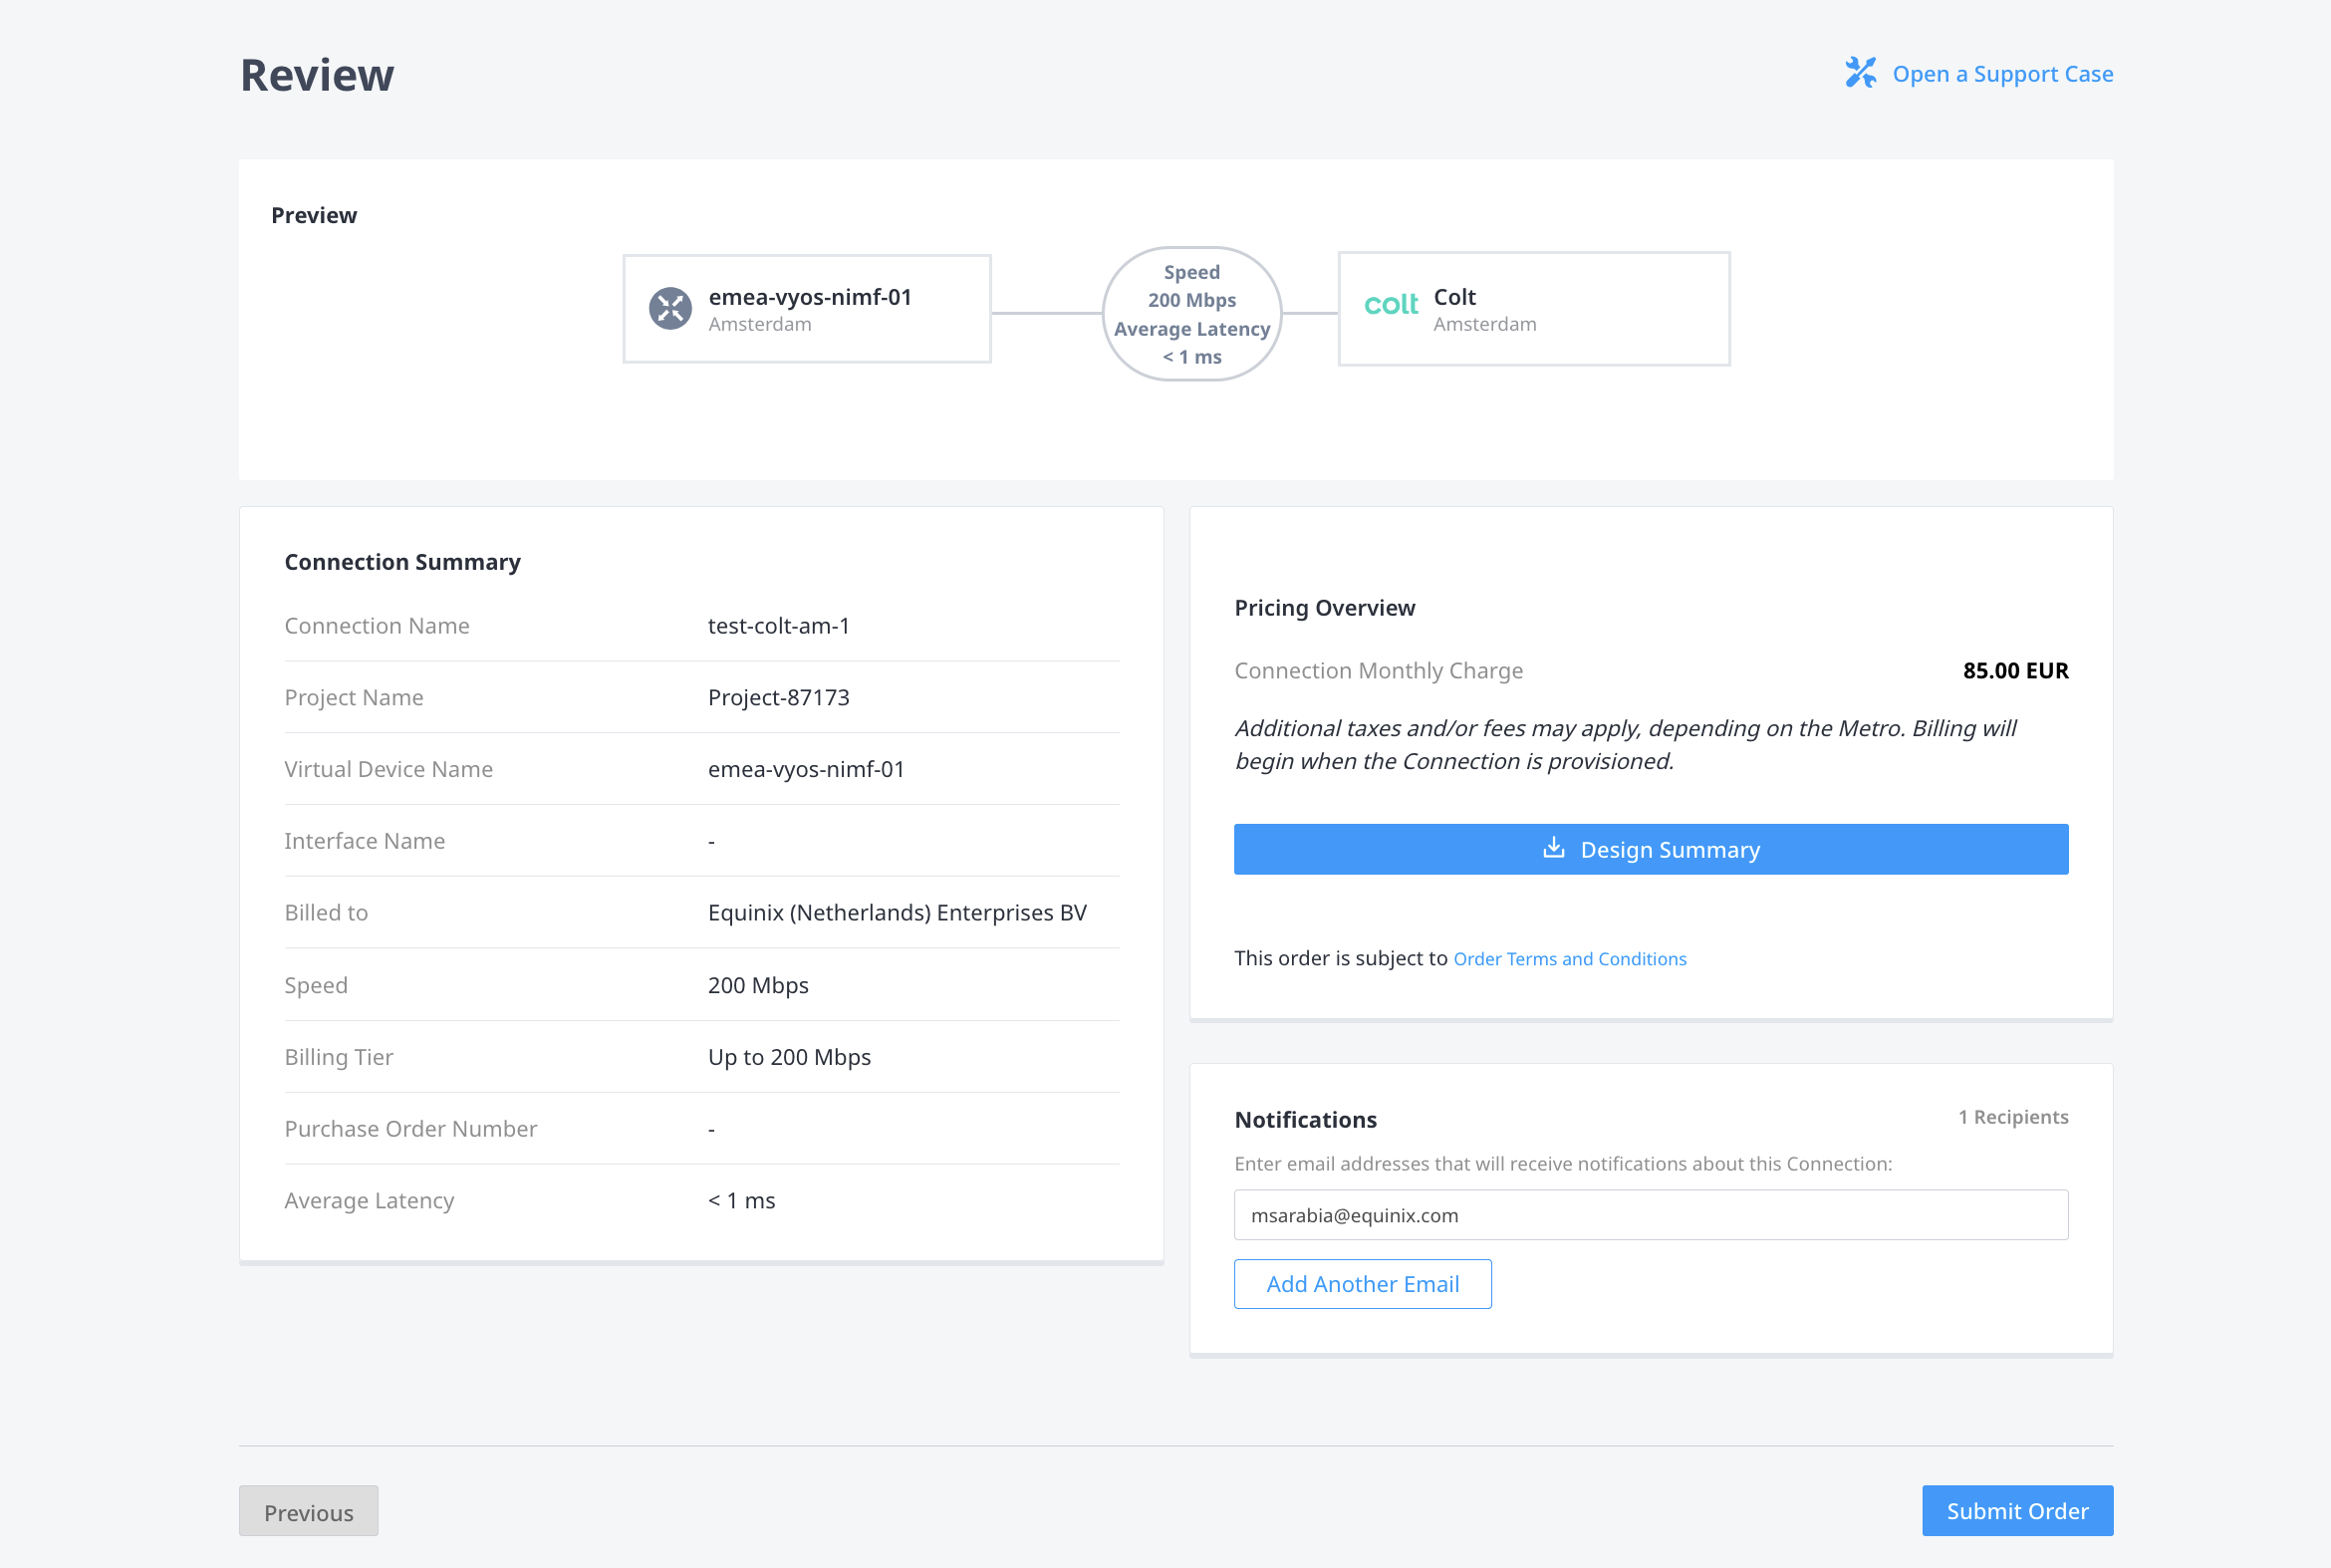
To create a connection from your Network Edge device to a Service provider, send a POST request to the /fabric/v4/connections endpoint.
- Specify your virtual device details in the
aSide.accessPointobject. - Specify the service provider information in the
zSide.accessPointobject. Required parameters vary by service provider, see the Connecting to a Service Provider documentation for specific examples.
Sample cURL Request:
curl -X POST 'https://api.equinix.com/fabric/v4/connections' \
-H 'content-type: application/json' \
-H 'authorization: Bearer <token>' \
-d '{
  "type": "EVPL_VC",
  "name": "<connection_name>",
  "bandwidth": 1000,
  "aSide": {
    "accessPoint": {
      "type": "VD",
      "virtualDevice": {
        "type": "EDGE",
        "uuid": "<virtual_device_uuid>"
      }
    }
  },
  "zSide": {
    "accessPoint": {
      "type": "SP",
      "profile": {
        "type": "L2_PROFILE",
        "uuid": "<service_profile_uuid>"
       },
      "location": {
        "metroCode": "<metro_code>"
      }
    }
  },
  "project": {
    "projectId": "<project_uuid>"
  },
  "notifications": [
    {
      "type": "ALL",
      "emails": [
        "<email_address>"
      ]
    }
  ]
}'
Create the connection using the equinix_fabric_connection resource.
- Specify your virtual device details in the
a_side:access_pointobject. - Specify the service provider information in the
z_side:access_pointobject. Required parameters vary by service provider, see the Connecting to a Service Provider documentation for specific examples.
resource "equinix_fabric_connection" "vd2csp" {
  name = "<connection_name>"
  type = "IP_VC"
  notifications {
    type = "ALL"
    emails = ["<contact_email>", "<contact_email>"]
  }
  bandwidth = <bandwidth_speed>
  a_side {
    access_point {
      type = "VD"
      virtual_device {
        type = "EDGE"
        uuid = "<device_uuid>"
      }
    }
  }
  z_side {
    access_point {
      type = "SP"
      profile {
        type = "L2_PROFILE"
        uuid = "<cloud_service_provider_uuid>"
      }
      location {
        metro_code = "<metro_code>"
      }
    }
  }
}
After submitting the order, an email verification of the order is sent to the notifications contacts. Once the connection is provisioned, the contacts also receive a confirmation email.
Monitoring the Connection Status
- Portal
- API
- Terraform
Once you have created a connection in the Customer Portal, monitor its status from your Connections Inventory.
To check the connection status, send a GET request to the /fabric/v4/connections/{connectionId} endpoint.
Fetch the connection status with the equinix_fabric_connections data source.
| Equinix Status | Provider Status | Description |
|---|---|---|
PROVISIONING | PROVISIONING | Connection request has not been sent to the service provider. |
PROVISIONED | PROVISIONING | Connection establishment in progress. |
PROVISIONED | PROVISIONED | Connection established. |