Migrating Connections Between Devices
The Virtual Connection Self-Migration workflow provides more controls for you to migrate your virtual connections from one device to another, eliminating the need to rely on Equinix to manually migrate those connections.
Use Cases
You might want to migrate your virtual connections from one device to another to transition:
- From one device vendor to a different device vendor.
- From one device type to a different device type (for example, Cisco CSR1000v to Cisco Catalyst 8000v).
- From one device resource type to another device resource type (for example, 4 GB Memory to 16 GB Memory).
The Virtual Connection Migration workflow supports following use cases.
-
VNF Vendor - All Network Edge vendors in the Marketplace.
-
Device Type - All Network Edge devices in the Marketplace.
-
Deployment Type - Supports Single, Redundant, and Cluster devices.
-
Connection Deployment Type:
- Supports Single Connections
- Supports Redundant Connections
- Single Device
- Redundant Device
- Cluster Device (Same Interface, Different Interface)
-
L2 Connections:
- Supports Fabric Service Profile
- Z-Side Token Connections
- Bring Your Own Connections
- Fabric Ports
-
Intra/Inter Metro - Allows migration within the same metro device only.
-
Other - Allows migration within the same billing account devices only.
The following is NOT supported with the Virtual Connection Self-Migration workflow:
- Migration of EVP-LAN Based Connections
- Migration of Network Edge Service Profile-based Connections
- Sub-Interface migration. The sub-Interface needs to be re-configured by you at the device interface configuration level after the interface VC is migrated.
Migration Workflow
The following high-level workflow illustrates the migration process. This workflow assumes that there is a new destination device already created prior to the migration.
- Select the device and the virtual connection to migrate from.
- Select the new device to migrate the virtual connection.
- Migrate the virtual connection.
- Perform connectivity after the migration.
Migrating Virtual Connections
-
Sign in to Network Edge and go to your Virtual Device Inventory.
-
Click the device you want to migrate.
-
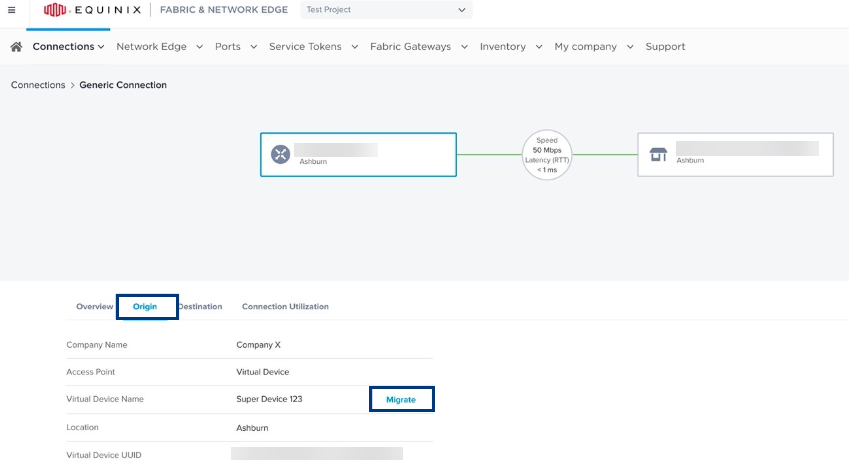
In the Virtual Device Details, click the Connections tab and click the connection you are migrating.
-
Click the Origin tab and then click Migrate.
-
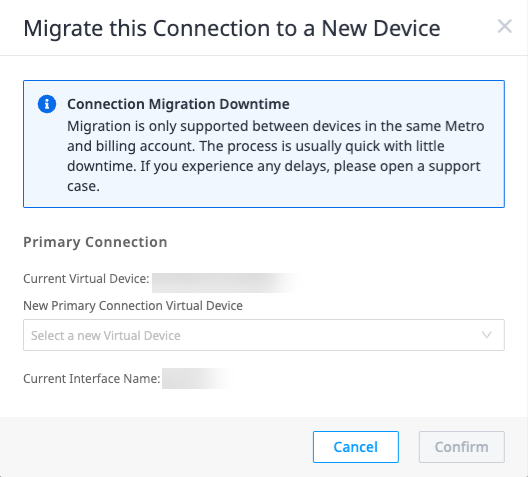
In the Migrate this Connection to a new Device box, select a New Virtual Device and a New Interface Name.
-
Carefully review the terms and conditions for this order, and then check the terms box.
-
Click Confirm.
Migration is limited within the same metro. Additionally, migration will cause service interruption and downtime of the device. This process should be done during your maintenance window to avoid any service interruption.
When the migration is initiated, a banner displays indicating that migration is in progress. When migration is successfully completed, you’ll receive an email notifying you of the completed migration.
If migration fails, a banner displays indicating failure appears in the connection detail page. If this happens, you can either retry the migration or open a support case with Equinix.
Migrating Via Support Ticket
Network Edge users can submit a support ticket to have their connections migrated from one device to another device. Migrating the connection allows you to upgrade your device or create a new device without needing to create new connections.
To submit a support ticket and have your connection migrated to a different device:
-
Sign in to the Equinix Customer Portal and navigate to Network Edge.
-
Go to Support and select Open a Support Case.
-
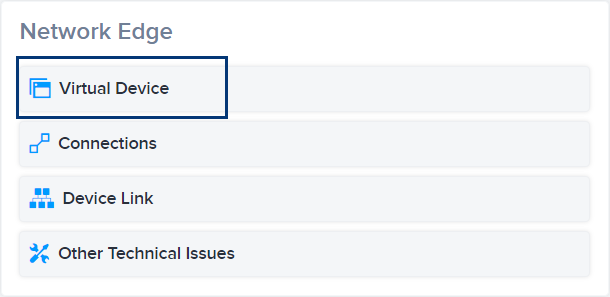
In the Network Edge section, click Virtual Device.
-
In the list of devices, select a device.

-
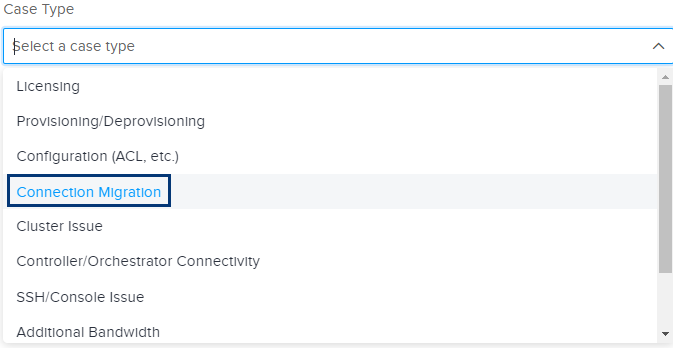
In the Case Type drop-down, select Connection Migration.
-
Indicate which connection you want to migrate and the devices involved. Click Submit.