# Connect to a Private Network Edge Service Profile
**According to the Portal, this is no longer needed** Under *Connect to Your Own Assets*: " Customers no longer need to create a private service profile to enable this capability."
Network Edge customers can create a connection to a private service profile using a service token provided by the owner of the private profile.
To connect to a private Network Edge service profile:
1. Sign in to the [Equinix Customer Portal](https://portal.equinix.com/ne/new-virtual-device) and navigate to Network Edge.
2. On the Connections menu, select Create a Service Profile.
[](https://docs.equinix.com/assets/files/NE-SP-create-conn-e4485a368bcd5c355b00027e81f01b1e.png)
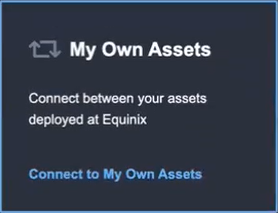
3. On the **My Own Assets** card, click **Connect to My Own Assets**.
[](https://docs.equinix.com/assets/files/NE-SP-connect-own-assets-b0186b5a1cd5354a79f07079ef3a0650.png)
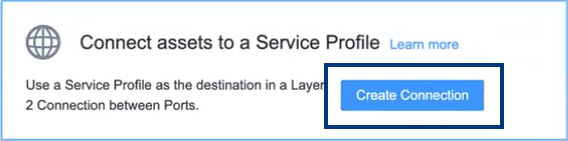
4. On the **Connect assets to a Service Profile** card, click **Create Connection**.
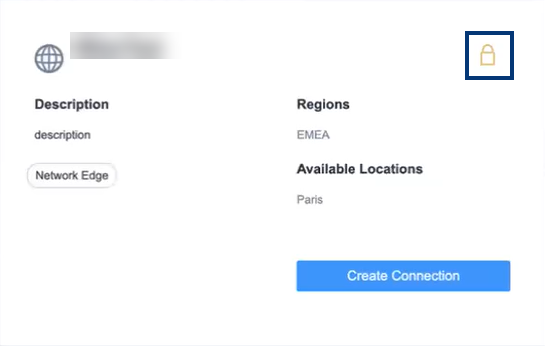
5. Scroll to the private service profile you want to connect to and click Create Connection. Private service profiles can be identified by the lock icon in the upper right corner of the service profile card.
[](https://docs.equinix.com/assets/files/NE-SP-private-card-65c171429fe96b25e72eb68e28b26b37.png)
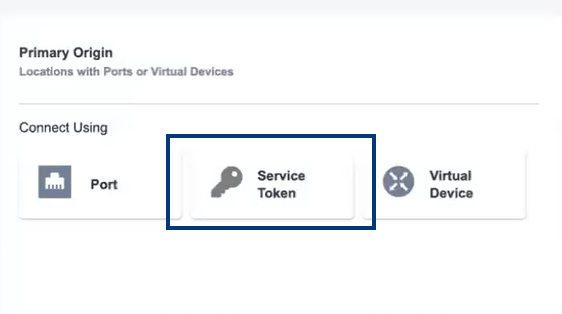
6. In the **Primary Origin** section, click **Service Token**.
[](https://docs.equinix.com/assets/files/NE-SP-primary-origin-4abbc21b292a67a1c111d2bcb3e8d8d2.png)
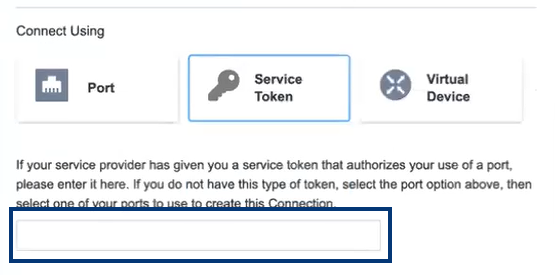
7. Enter your service token.
[](https://docs.equinix.com/assets/files/NE-SP-entertoken-6c8e9f2ef1100096fa970dc79a46cfc2.png)
8. In the **Destination** section, select a location. Only available locations will display.
9. Click **Next**.
10. In the **Connection Details** section:
* **Connection Name** – Enter a name for your connection.
* **VLAN ID** – Enter the VLAN ID.
11. (Optional) **Enter your Purchase Order Number**.
12. Select a **Connection Speed**.
13. Click **Next**.
14. Click **Submit Order**.