Managed Solutions Support
On the MSP start page you have access to the Support Center. Once you are on this page, check the top right corner to make sure you are logged in to the right account. (You may have access to more than one account/company resources at Equinix MSP.)
Note: Some menu entries are available only to specific customers/countries. For example, if you have ordered the Cloud Management product in Brazil, you will be able to see the product page on the menu. The product page will not be displayed if you haven’t ordered the product. The same may happen if you do not have the right permission to view the specific product pages.
Support Center
The Support Center page provides useful information such as how many cases you have waiting for validation.
By default, this list comes pre-filtered to allow you to find your active Case Queue. Your Case Queue can be filtered to find the information you need.
Note: Permission to create and edit cases and approved changes and charges are required. Your Organization administrator manages permissions on the Permissions Management page.
Create a New Support Case
-
Click Create Case.
-
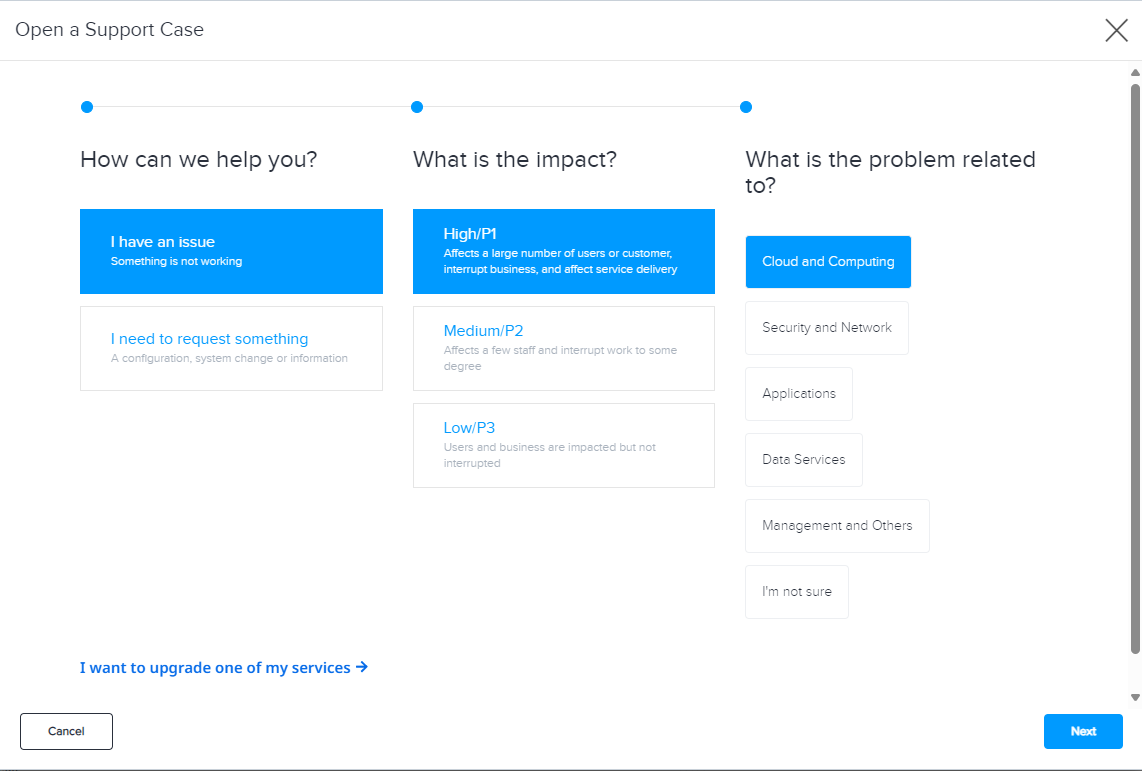
Select the type of case you want to open. If it is an issue related to one of your products or if you want to request a configuration change, then, select the impact and the type of problem, and click Next.
-
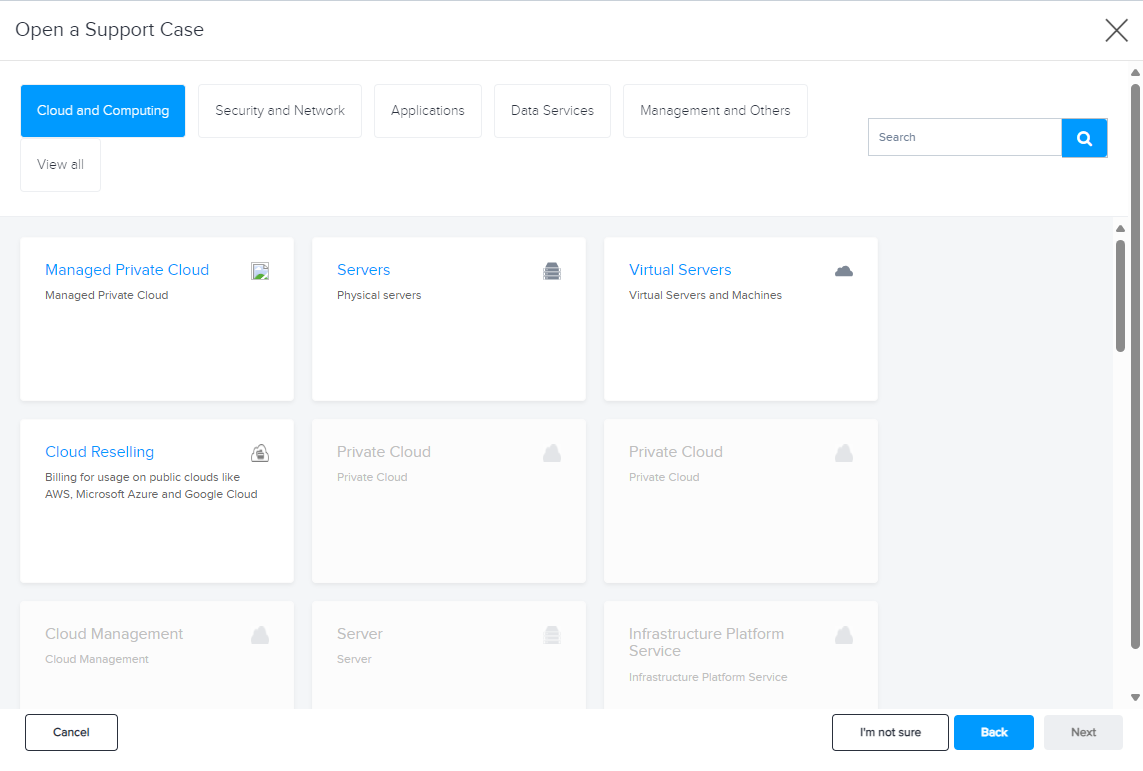
You’ll see a list of products that you have contracted. Select the one that is related to your case and click Next.
-
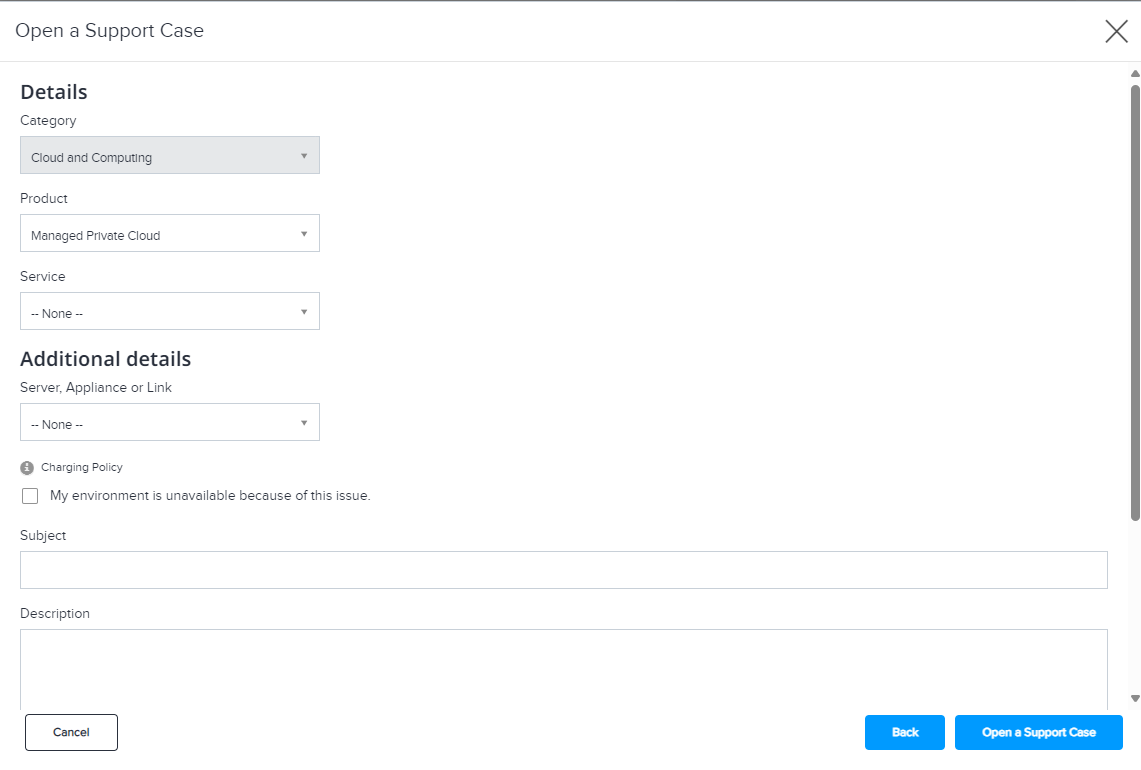
Provide additional information within the description that may help our operations team better understand your case and click Submit.
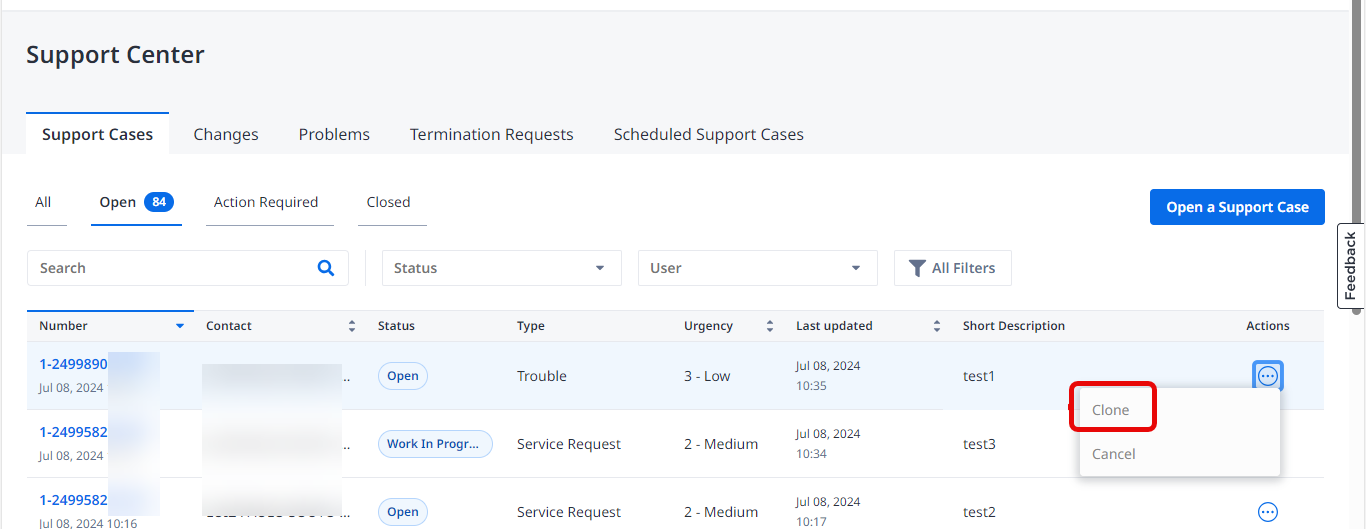
You can also clone your cases by selecting the option directly in the table, as illustrated in the image below. If you do this, you will replicate all the information from the selected case and be taken directly to the final form.
How are Support Cases Charged?
Equinix has an extensive service catalog with a lot of pre-defined Service Requests, available for immediate selection. As a customer, you could require service hours for different reasons and situations when using Equinix products.
Service Requests are defined as either BASIC (which are included in the Standard Service Offering) or ADDITIONAL (which are billable by hour).
Note: Basic cases are considered part of the product scope and will not generate new charges
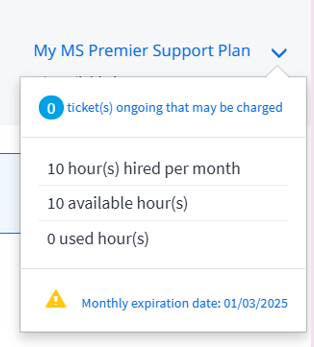
If you have previously hired the Managed Solutions Premier Support product, you can see how many hours you have left on the start screen. This allows you to consume existing hours instead of generating a new charge for your company.
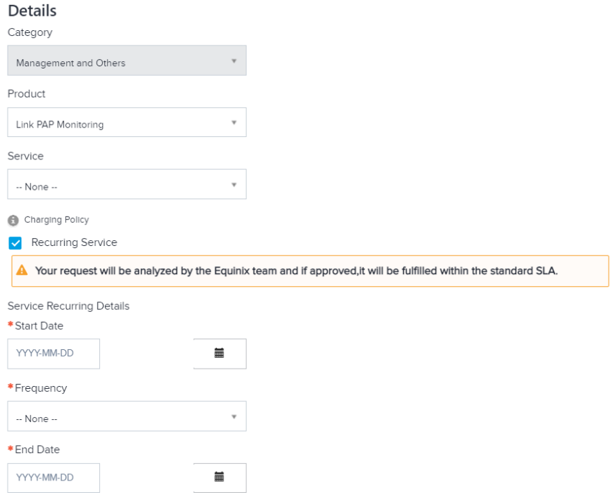
Creating and Scheduling Recurring Cases
In some cases, you can plan a recurring service request. If approved, the case is created per request on a scheduled basis. To use this functionality, click the Recurring Service option and complete the required details.
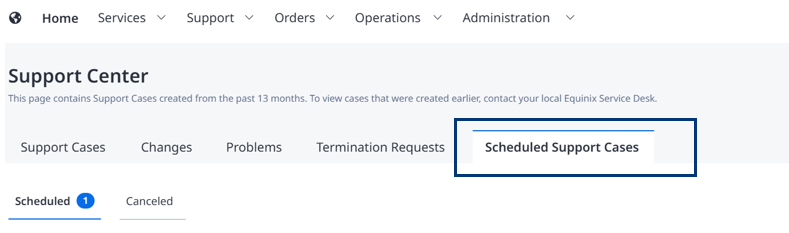
Follow your scheduled cases under the Scheduled Support Cases tab.
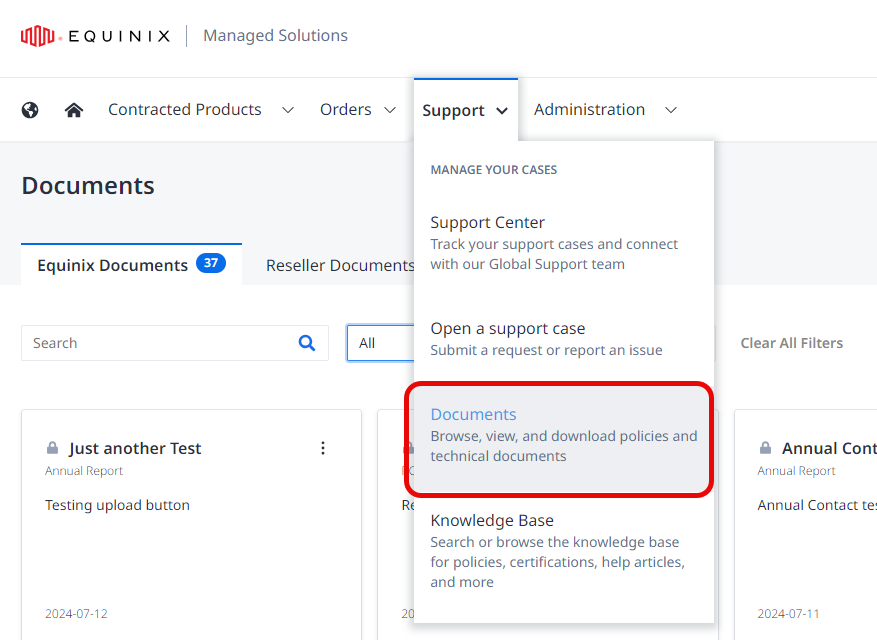
Documents
The Managed Solutions Portal contains a library of technical documents that you can browse, read, and download. If you are a reseller, you can also upload documents of your own. The Documents page is available from the Support menu in the Managed Solutions Portal.
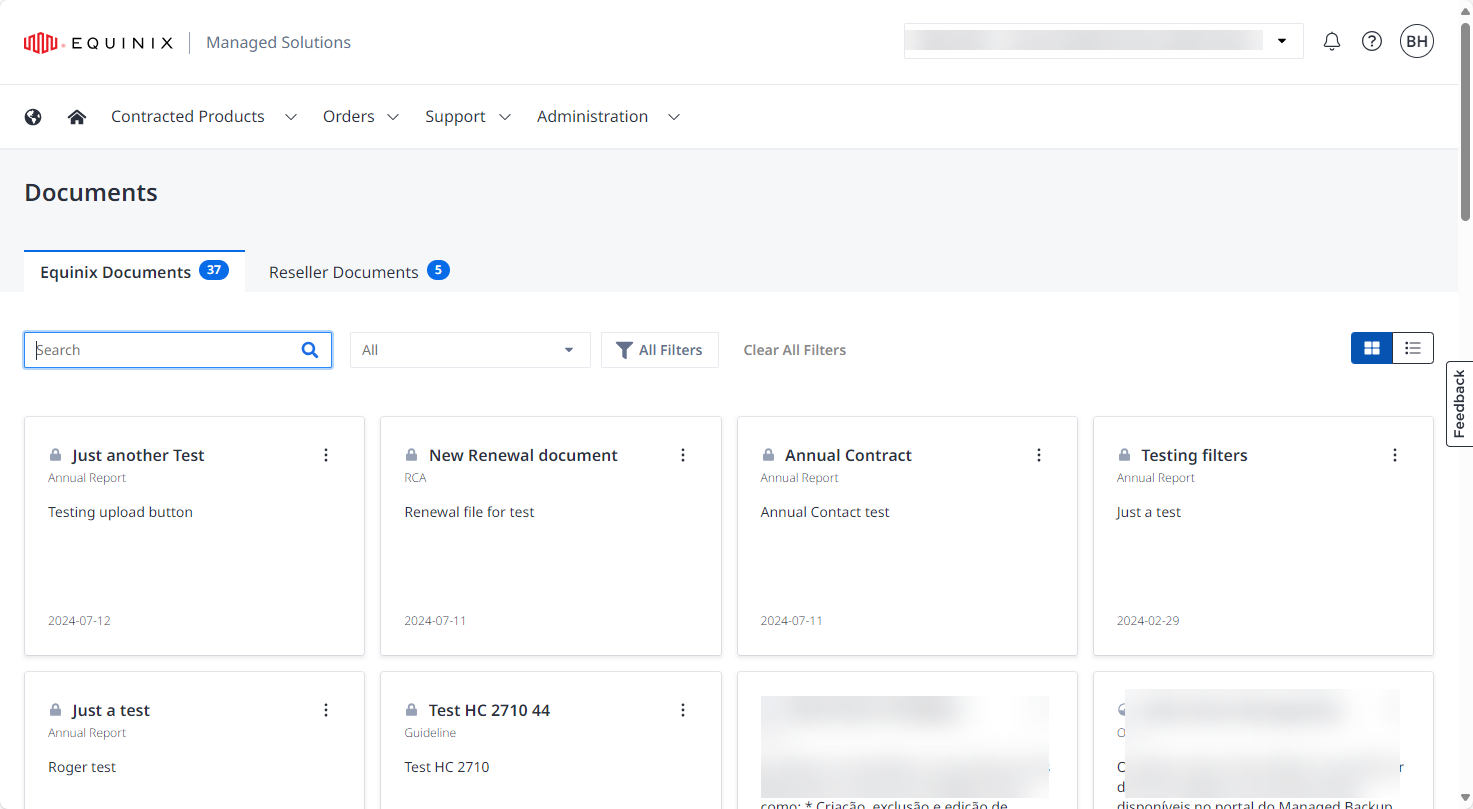
If the logged in user is a reseller, two tabs are displayed on the Documents page: Equinix Documents and Reseller Documents. Otherwise only Equinix documents are available, and thus no tabs are displayed.
Searching and Filtering Documents
To search for a particular document, enter a keyword in the Search field. To clear the current search keyword, click Clear All Filters.
The same filters are available on both the Equinix Documents and Reseller Documents tabs.
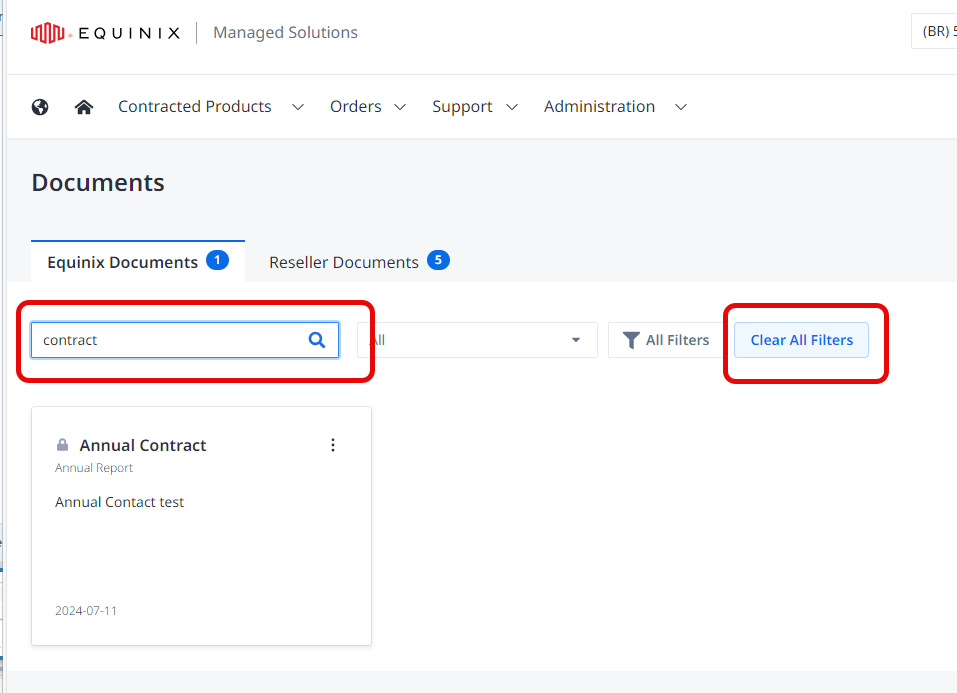
To see only recently uploaded documents, click the drop down menu All and select Recent.
For more detailed filtering, click All Filters, which displays the Filters panel at right.
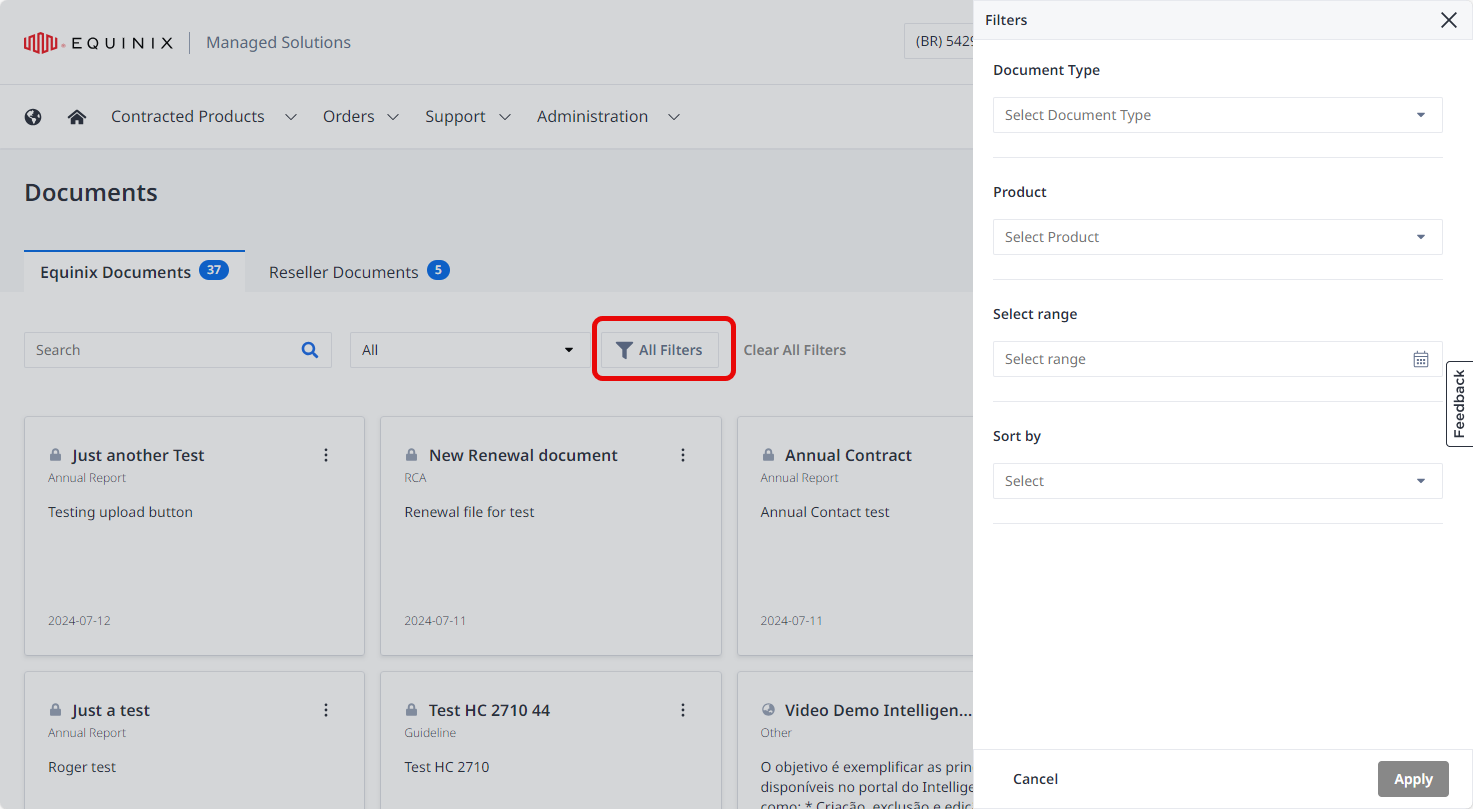
In the Filters panel, choose from the following filter types:
| Filter | Choices |
|---|---|
| Document Type | Annual Report, Contract, Delivery Evidence, Environmental analysis, or Guideline |
| Product | Intelligent Data Product, Hybrid Cloud Product, Managed Storage Product, Digital Infrastructure Management Product |
| Range | Use the calendar object to select a date range for the documents you are interested in. |
| Sort by | New to old, Old to new, A-Z, Z-A |
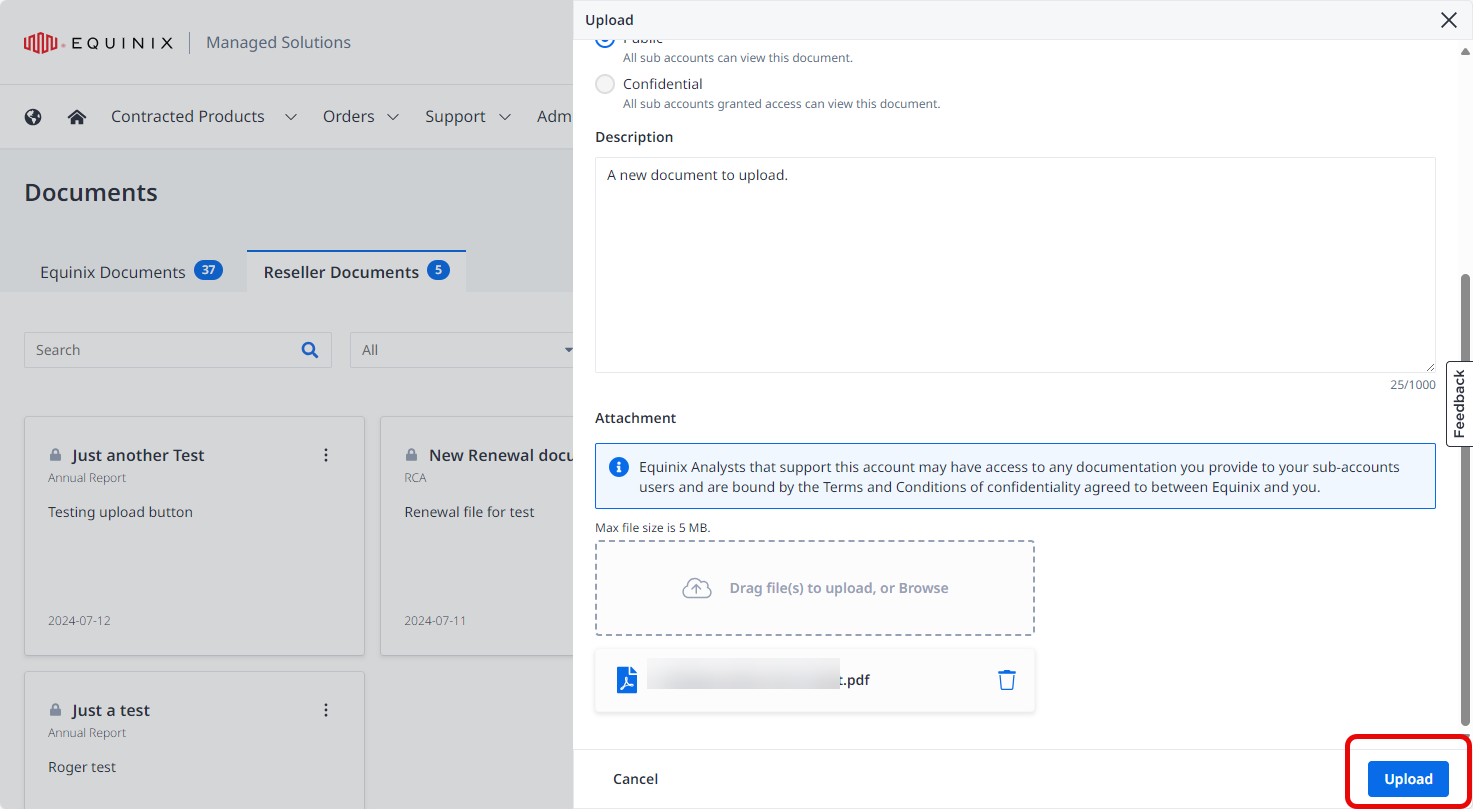
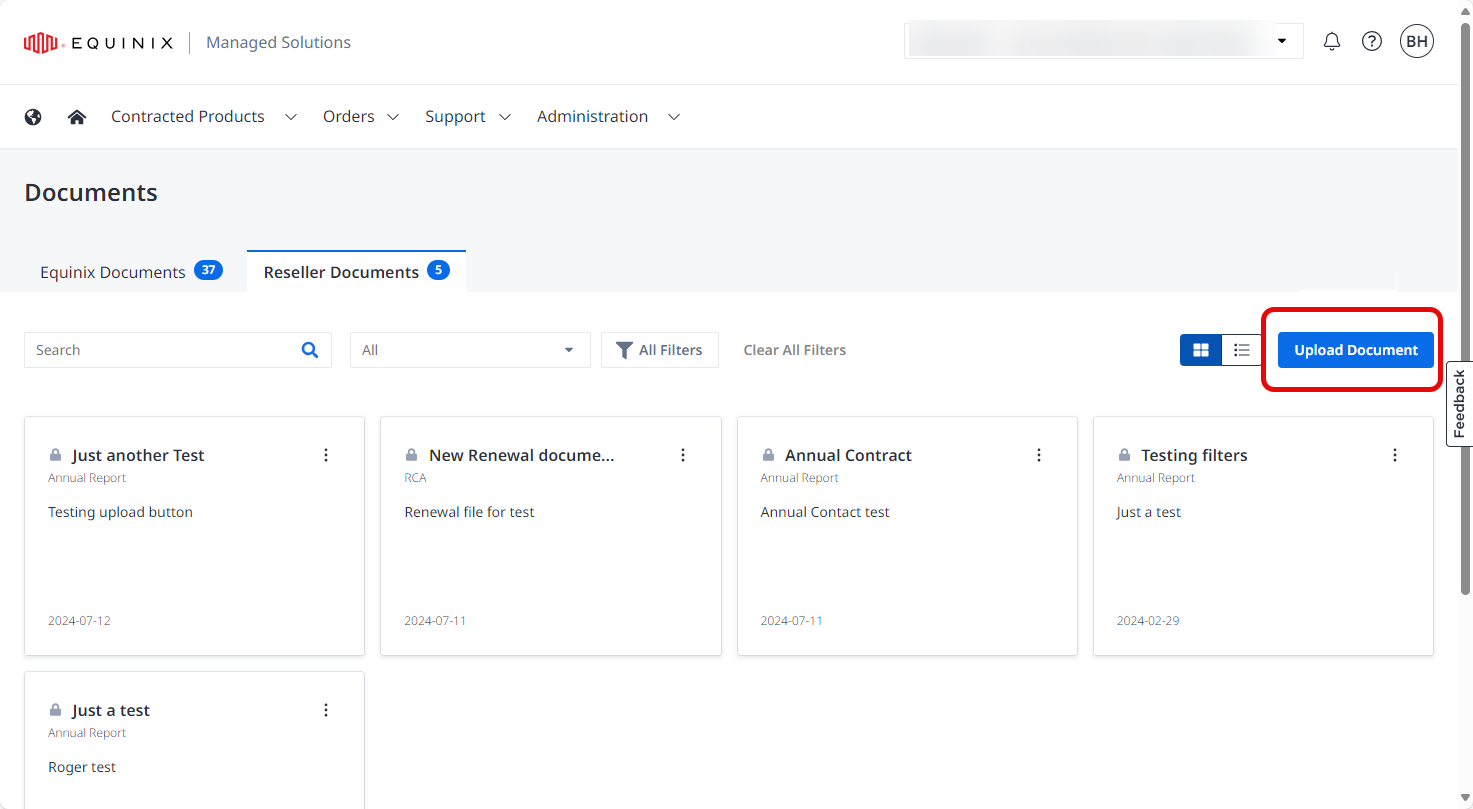
Uploading Documents (Resellers Only)
On the Reseller Documents tab, to upload a document, click Upload Document.
In the Upload panel at right, enter the requested information and click Browse to attach your file (or drag and drop it), then click Upload.