IPブロックの作成
カスタマーポータルでIPブロックを作成する。Equinix所有のIPブロックを購入するか、Equinixで使用するために独自のIPアドレス空間を持参することができる。
- IPブロックの総数は100を超えてはなりません。
- すべてのIPブロックには、有効で一意のIPv4および/またはIPv6アドレスをCIDR表記で含める必要があります。
- お客様が用意した新しいIPブロックがサービス内に存在していないこと。
前提条件
- IPブロックの作成には役割が必要
Fabric Connection Manager
-
カスタマーポータルにサインインし、_Internet Access_に移動します。
-
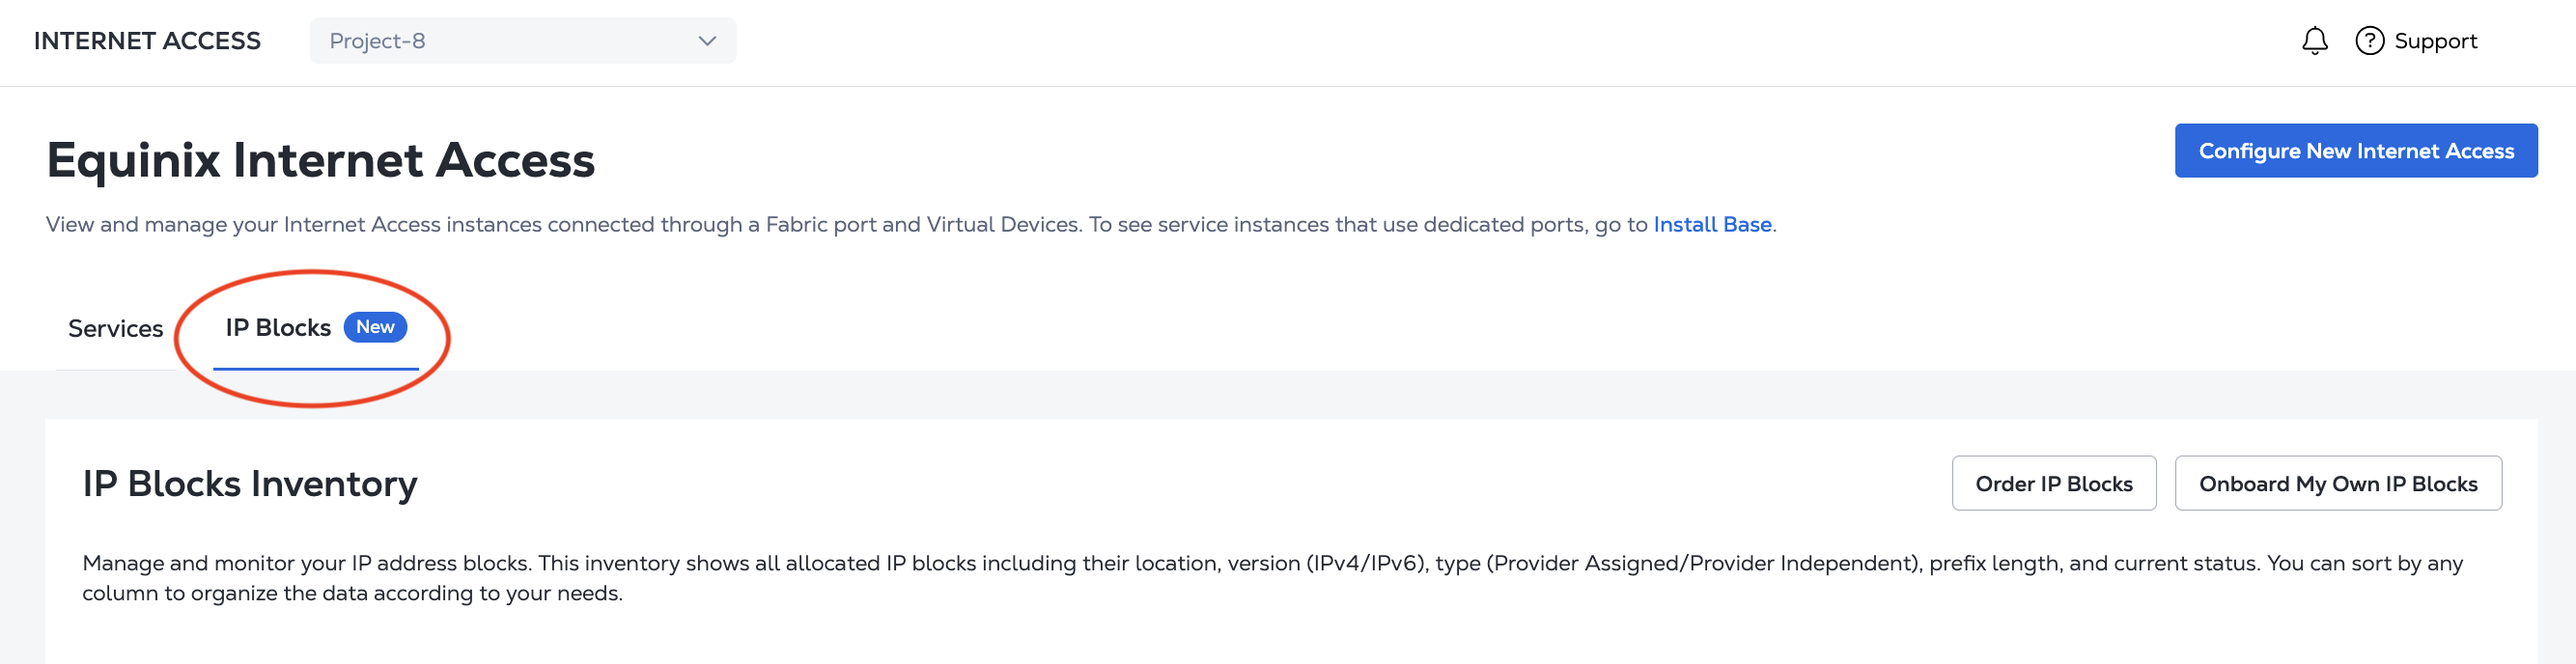
IPブロックをクリックして、_IPブロックインベントリに_移動する。
IPブロックを注文する
Equinix所有のIPブロックを注文するには:
-
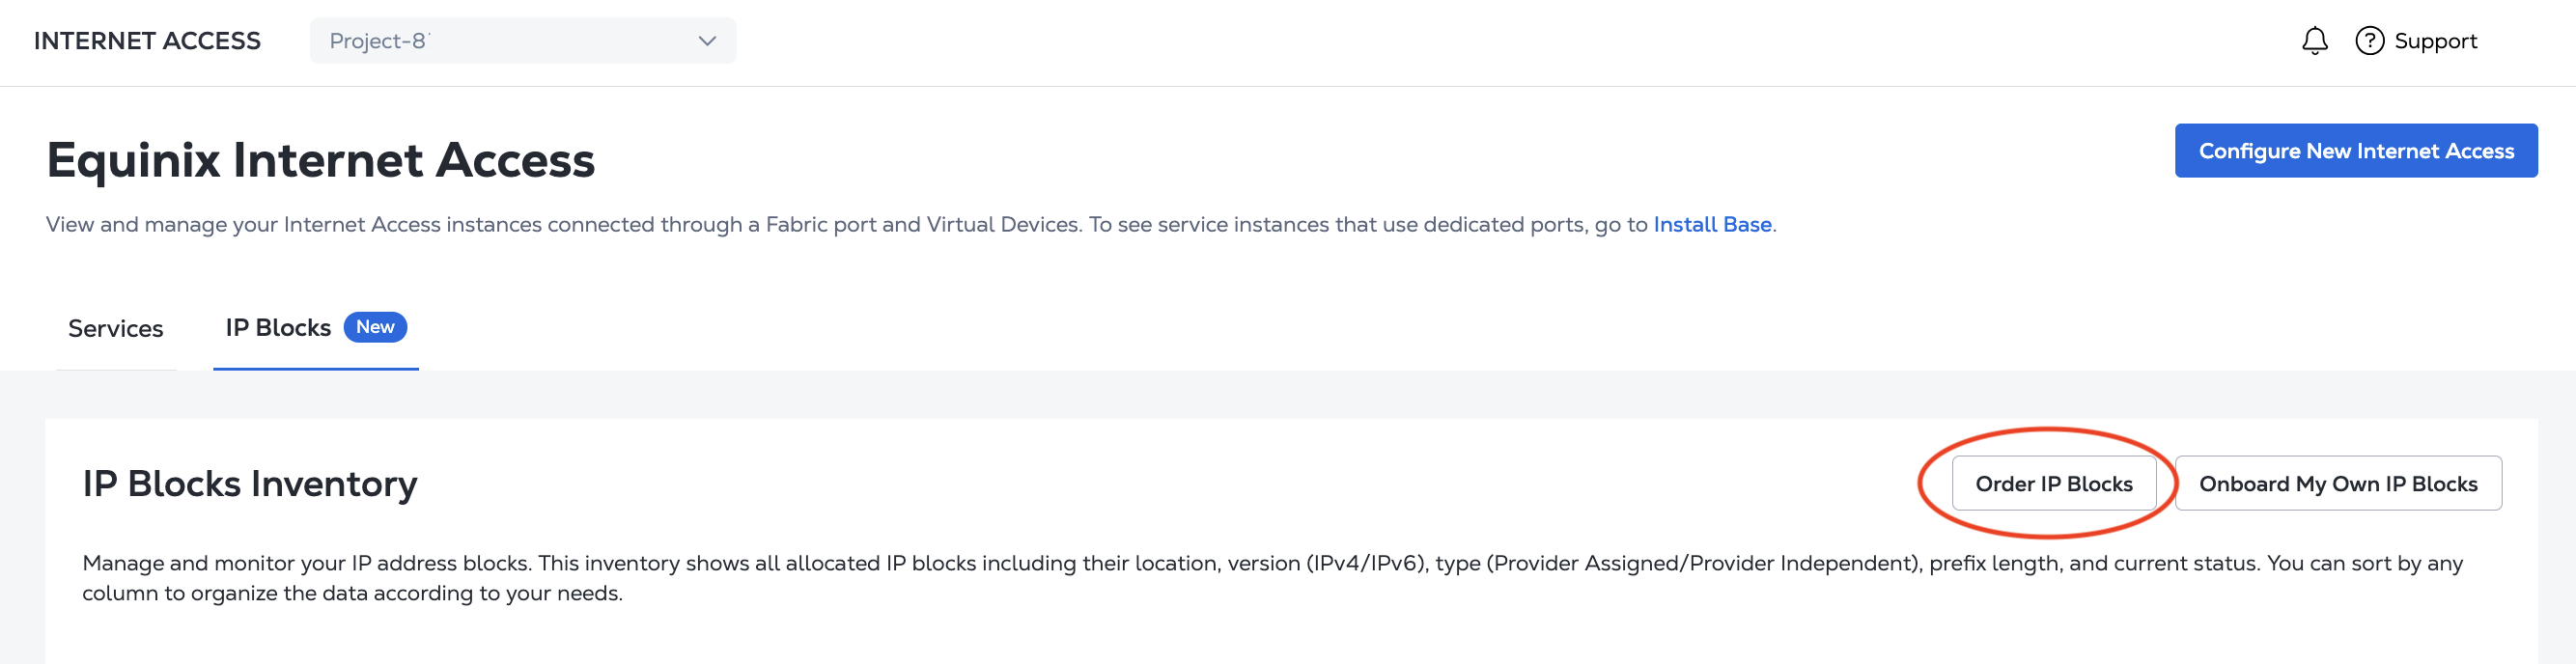
_IPブロックインベントリ_で、[Order IP Blocks]をクリックする。
-
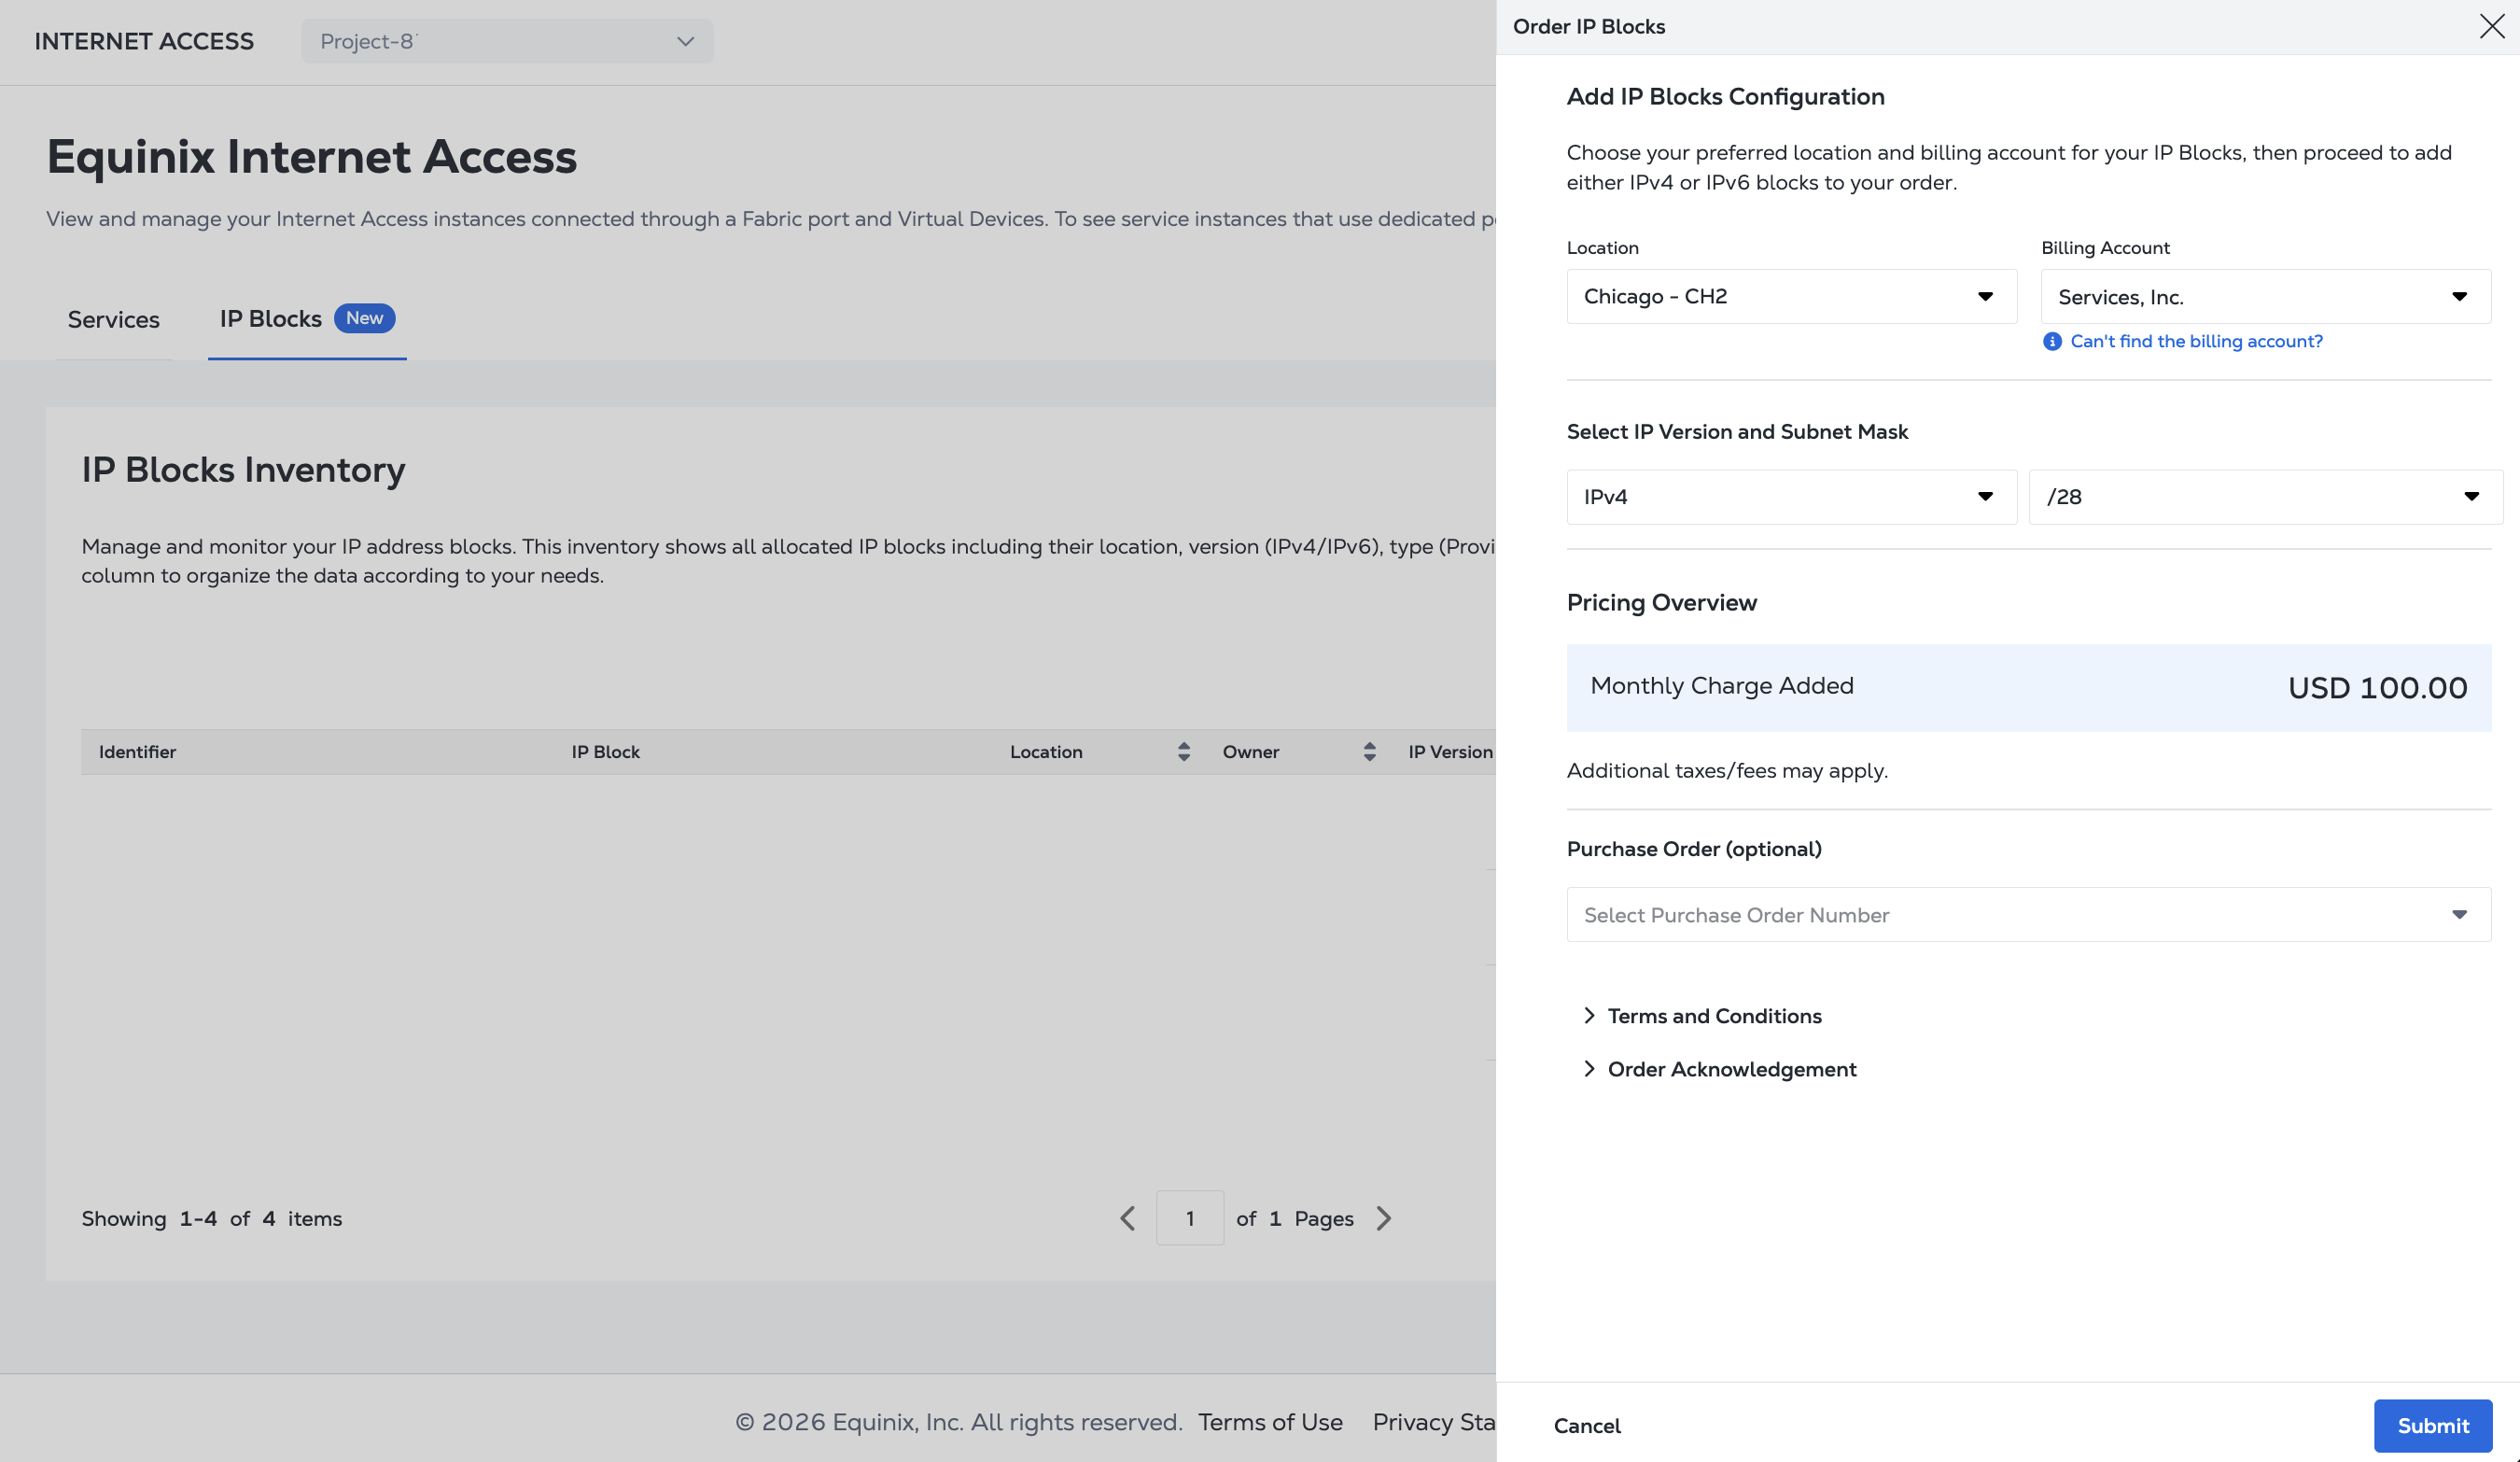
ドロップダウンメニューから_場所を_選択する。メトロでIPブロックを作成するには、そのロケーションのグローバル課金アカウントまたはローカル課金アカウントが必要である。ドロップダウンメニューから_請求先アカウントを_選択する。
-
IPバージョンとサブネットサイズを選択する。
-
_価格の概要を_確認する。契約条件を確認するには、[**契約条件]**および[注文確認書]をクリックする。
-
(オプション)ドロップダウンから注文書番号を選択して、注文書番号を追加する。
-
「送信」をクリックします。
独自のIPブロックをオンボーディング
リージョナルインターネットレジストリ(RIR)に関連付けられたIRR内にルートオブジェクトを作成し、ASN 15830からのアナウンスを許可するルートオリジン認証(ROA)を作成する必要がある。詳細については、「顧客所有IPブロック」を参照。
顧客所有のIPブロックを作成するには:
-
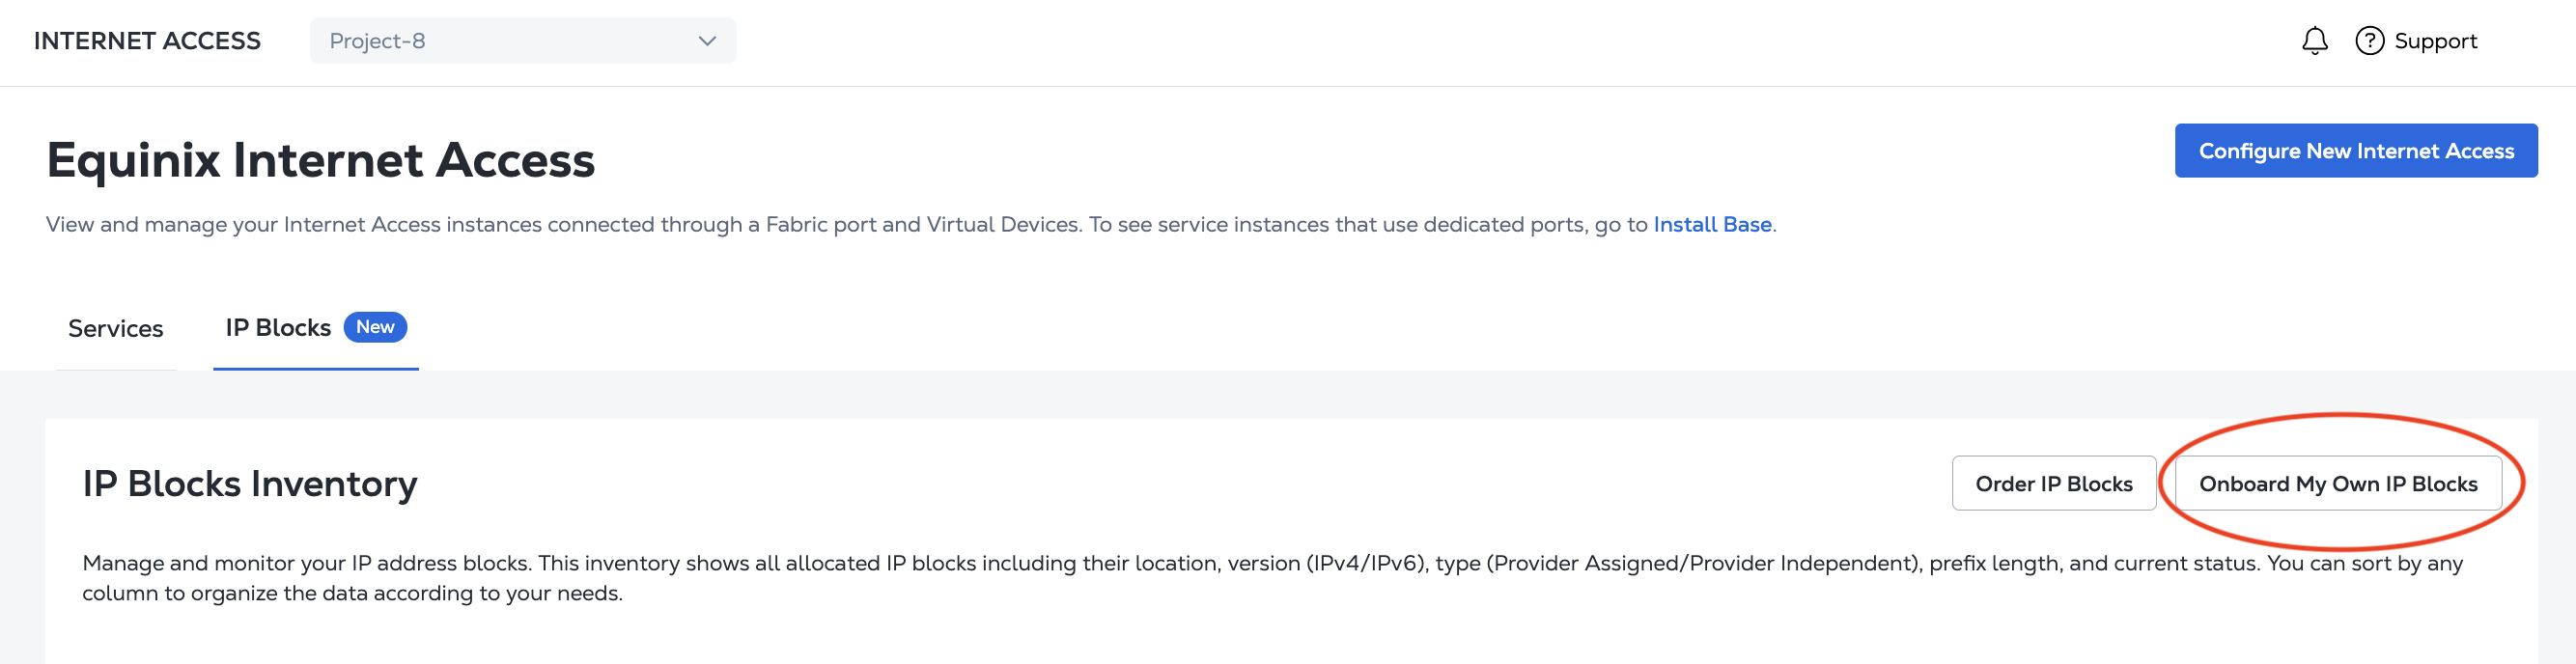
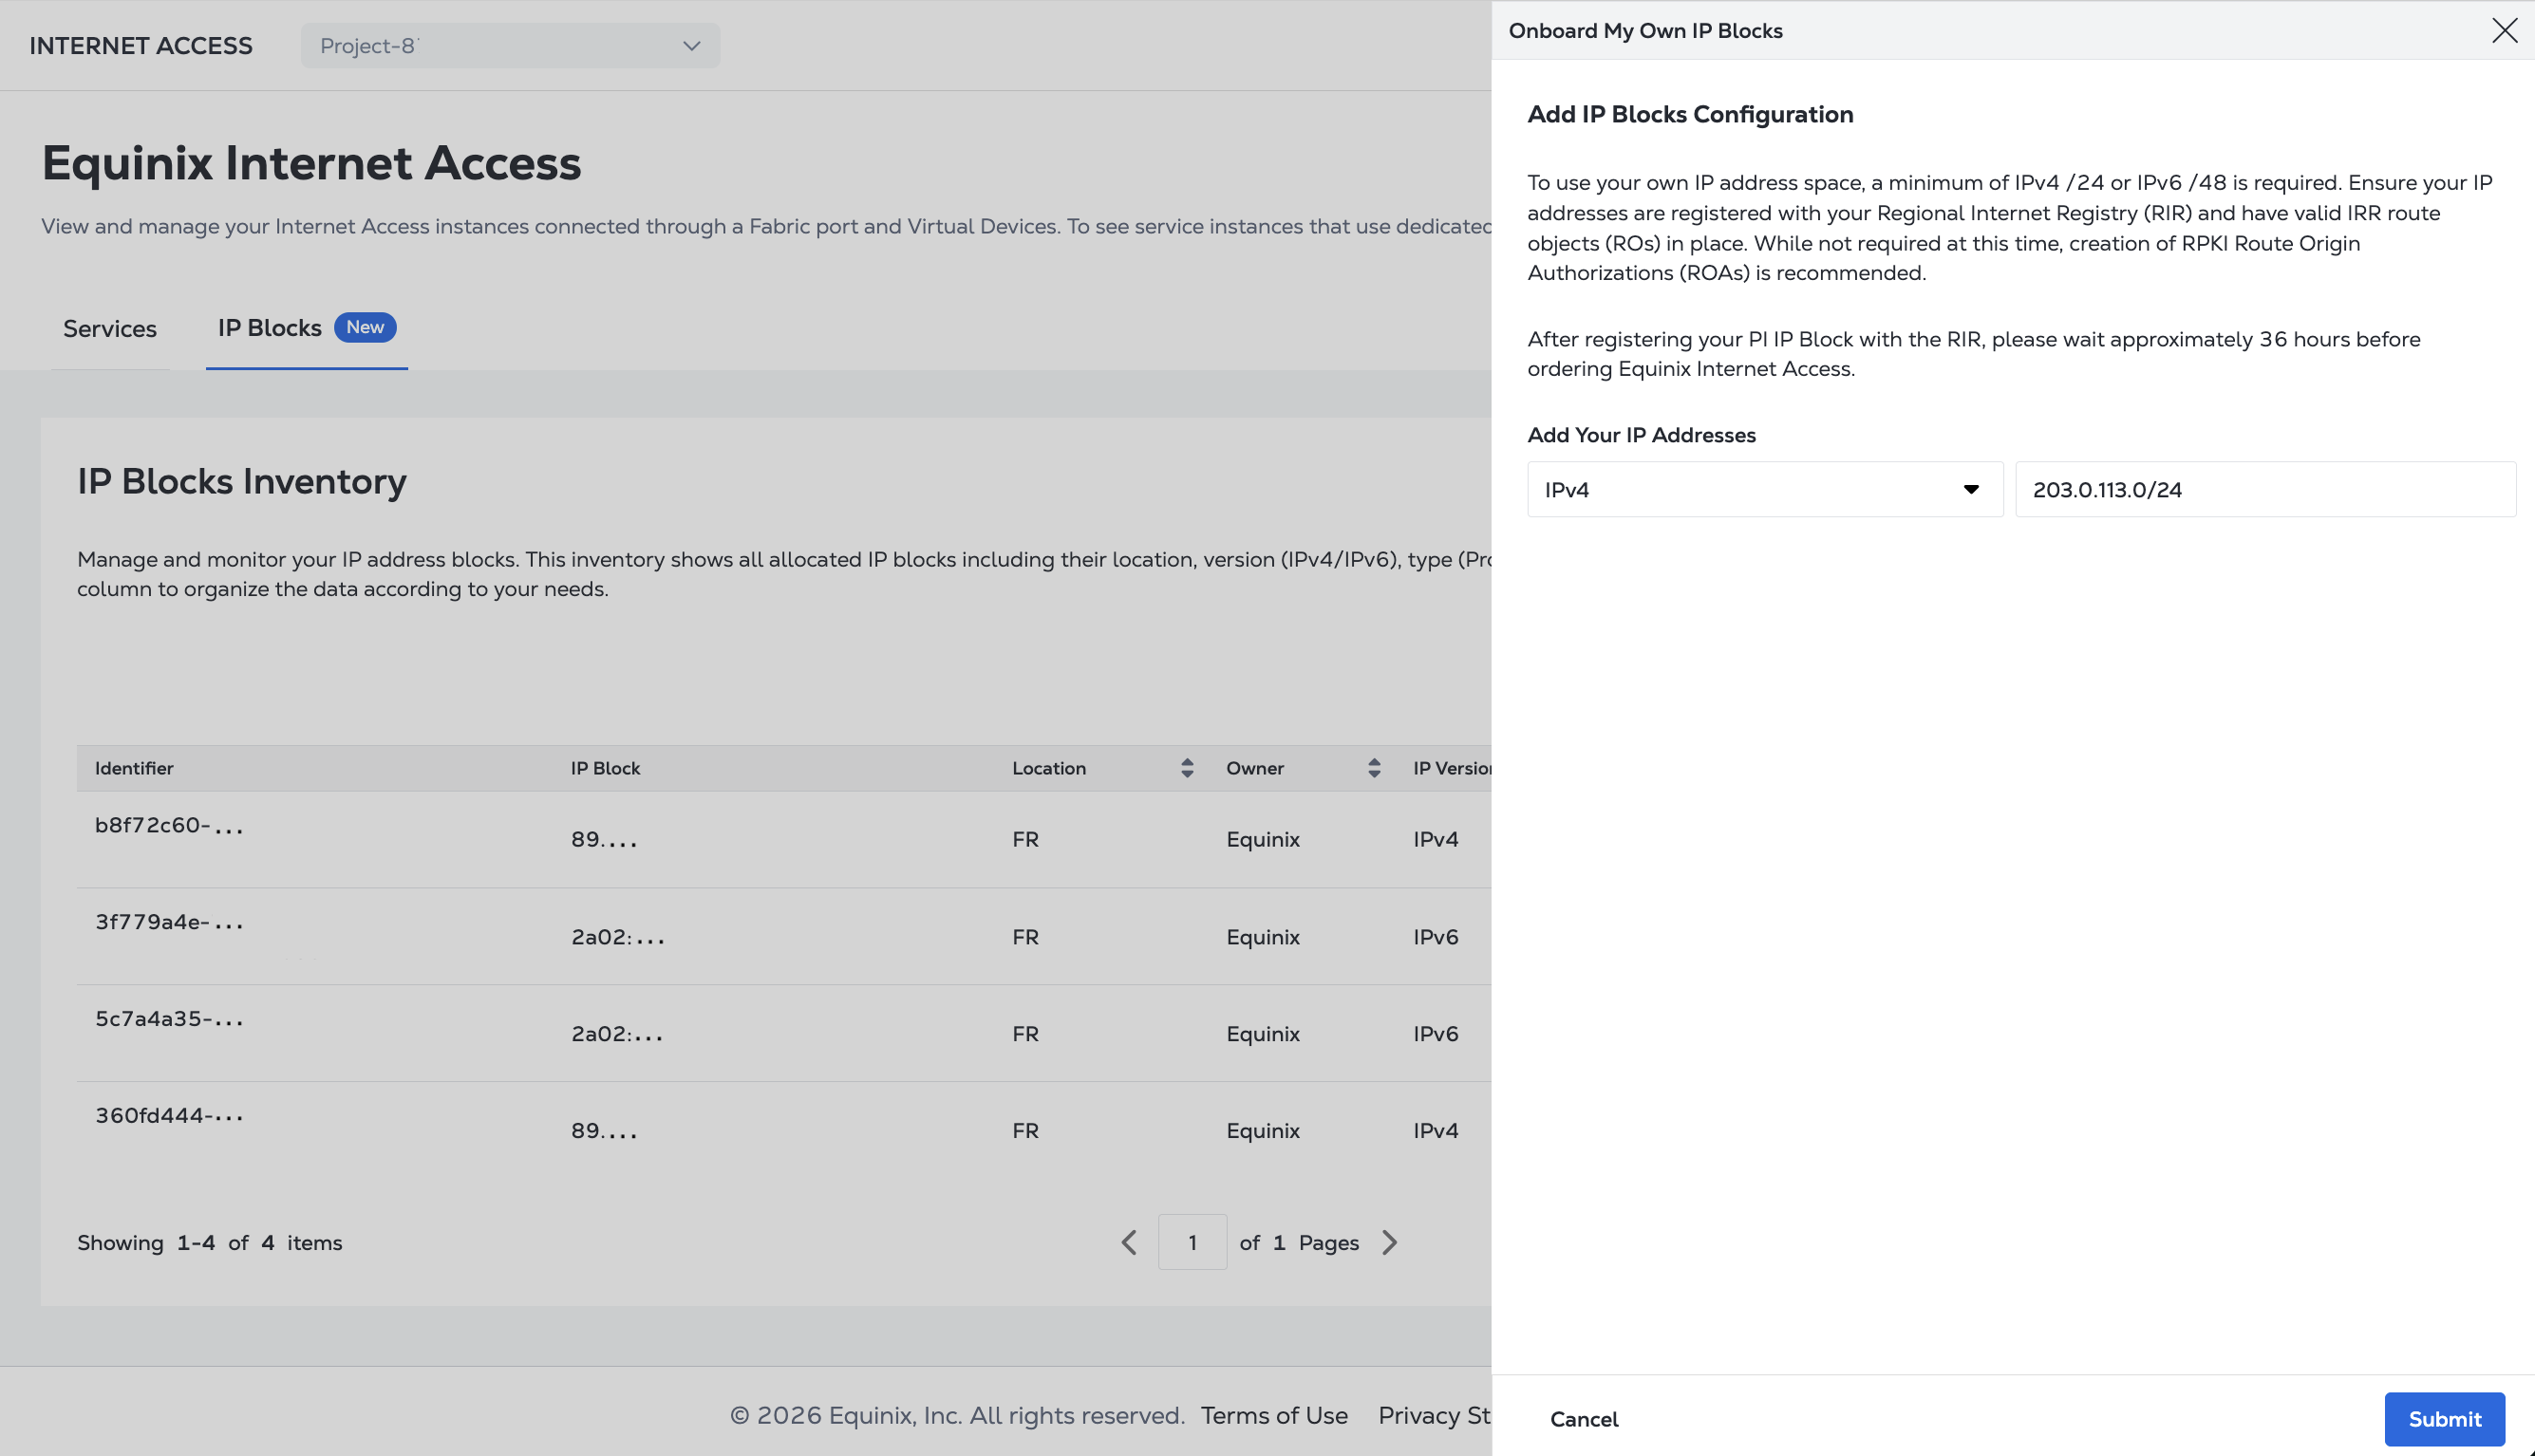
_IPブロックインベントリ_から、Onboard My Own IP Blocksをクリックする。
-
_IPアドレスの追加_ドロップダウンからIPv4またはIPv6を選択し、IPブロックを入力する。サブネットは、CIDR表記の有効かつ一意のIPv4および/またはIPv6アドレスで構成されている必要があります。
-
「送信」をクリックします。
IPブロックステータスの監視
IPブロックを作成すると、IPブロックインベントリに表示され、そのステータスと詳細を表示できる。