Création de blocs IP
Créez des blocs IP dans le Portail clients. Vous pouvez acheter des blocs IP appartenant à Equinix ou apporter votre propre espace d'adresse IP pour une utilisation sur Equinix.
- Le nombre total de blocs IP ne doit pas dépasser 100.
- Tous les blocs IP doivent contenir des adresses IPv4 et/ou IPv6 valides et uniques au format CIDR.
- Les nouveaux blocs IP fournis par le client ne doivent pas déjà exister dans le service.
Conditions préalables
- La création de blocs IP nécessite le
Fabric Connection Managerrôle.
-
Connectez-vous au Portail client et accédez à Accès Internet.
-
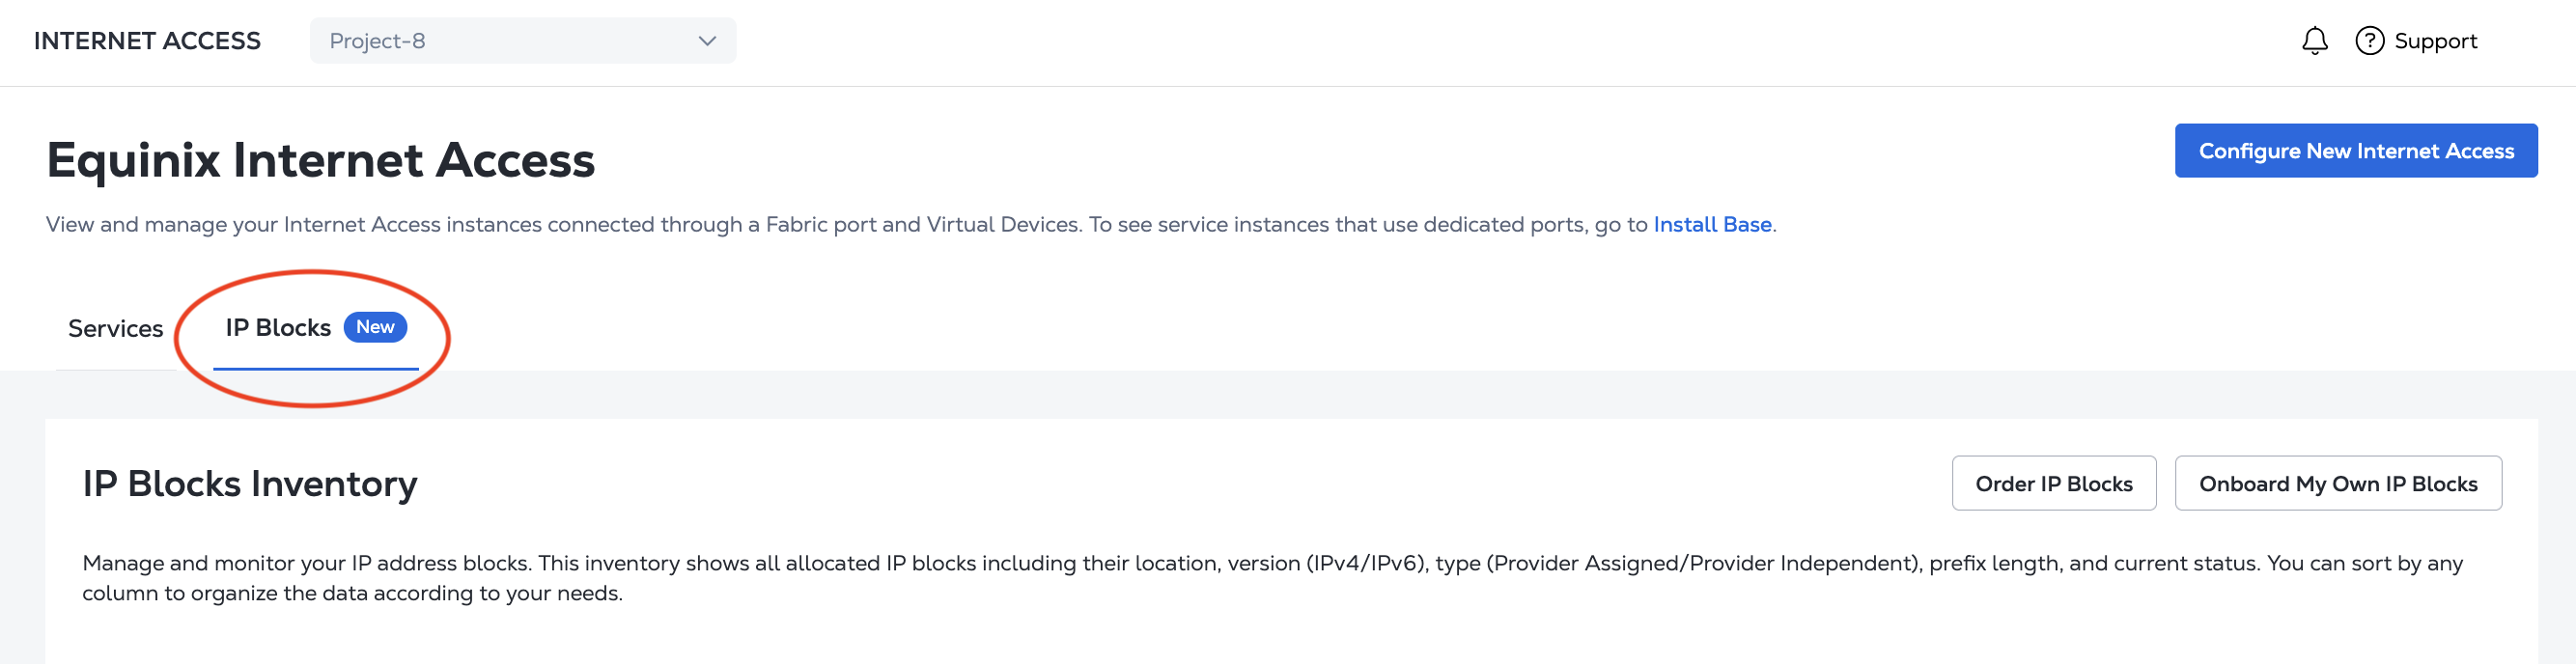
Cliquez sur blocs IP pour accéder à votre inventaire des blocs IP .
Commander des blocs IP
Pour commander des blocs IP appartenant à Equinix :
-
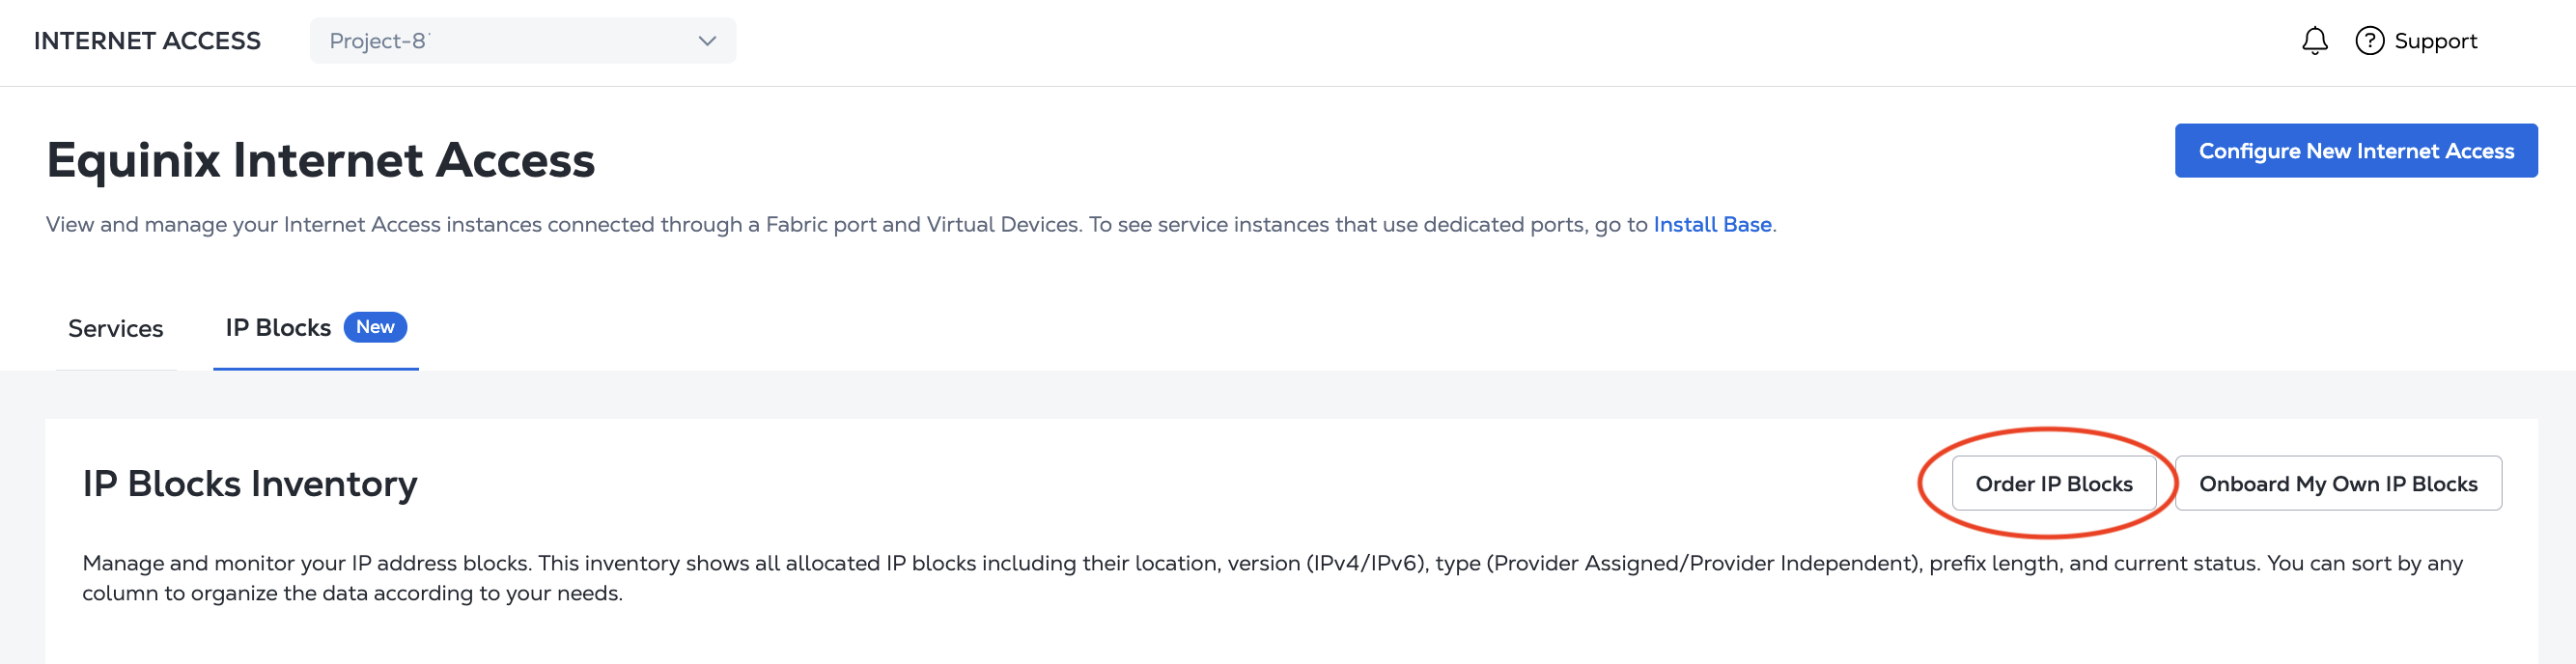
Dans votre inventaire des blocs IP , cliquez sur commander des blocs IP .
-
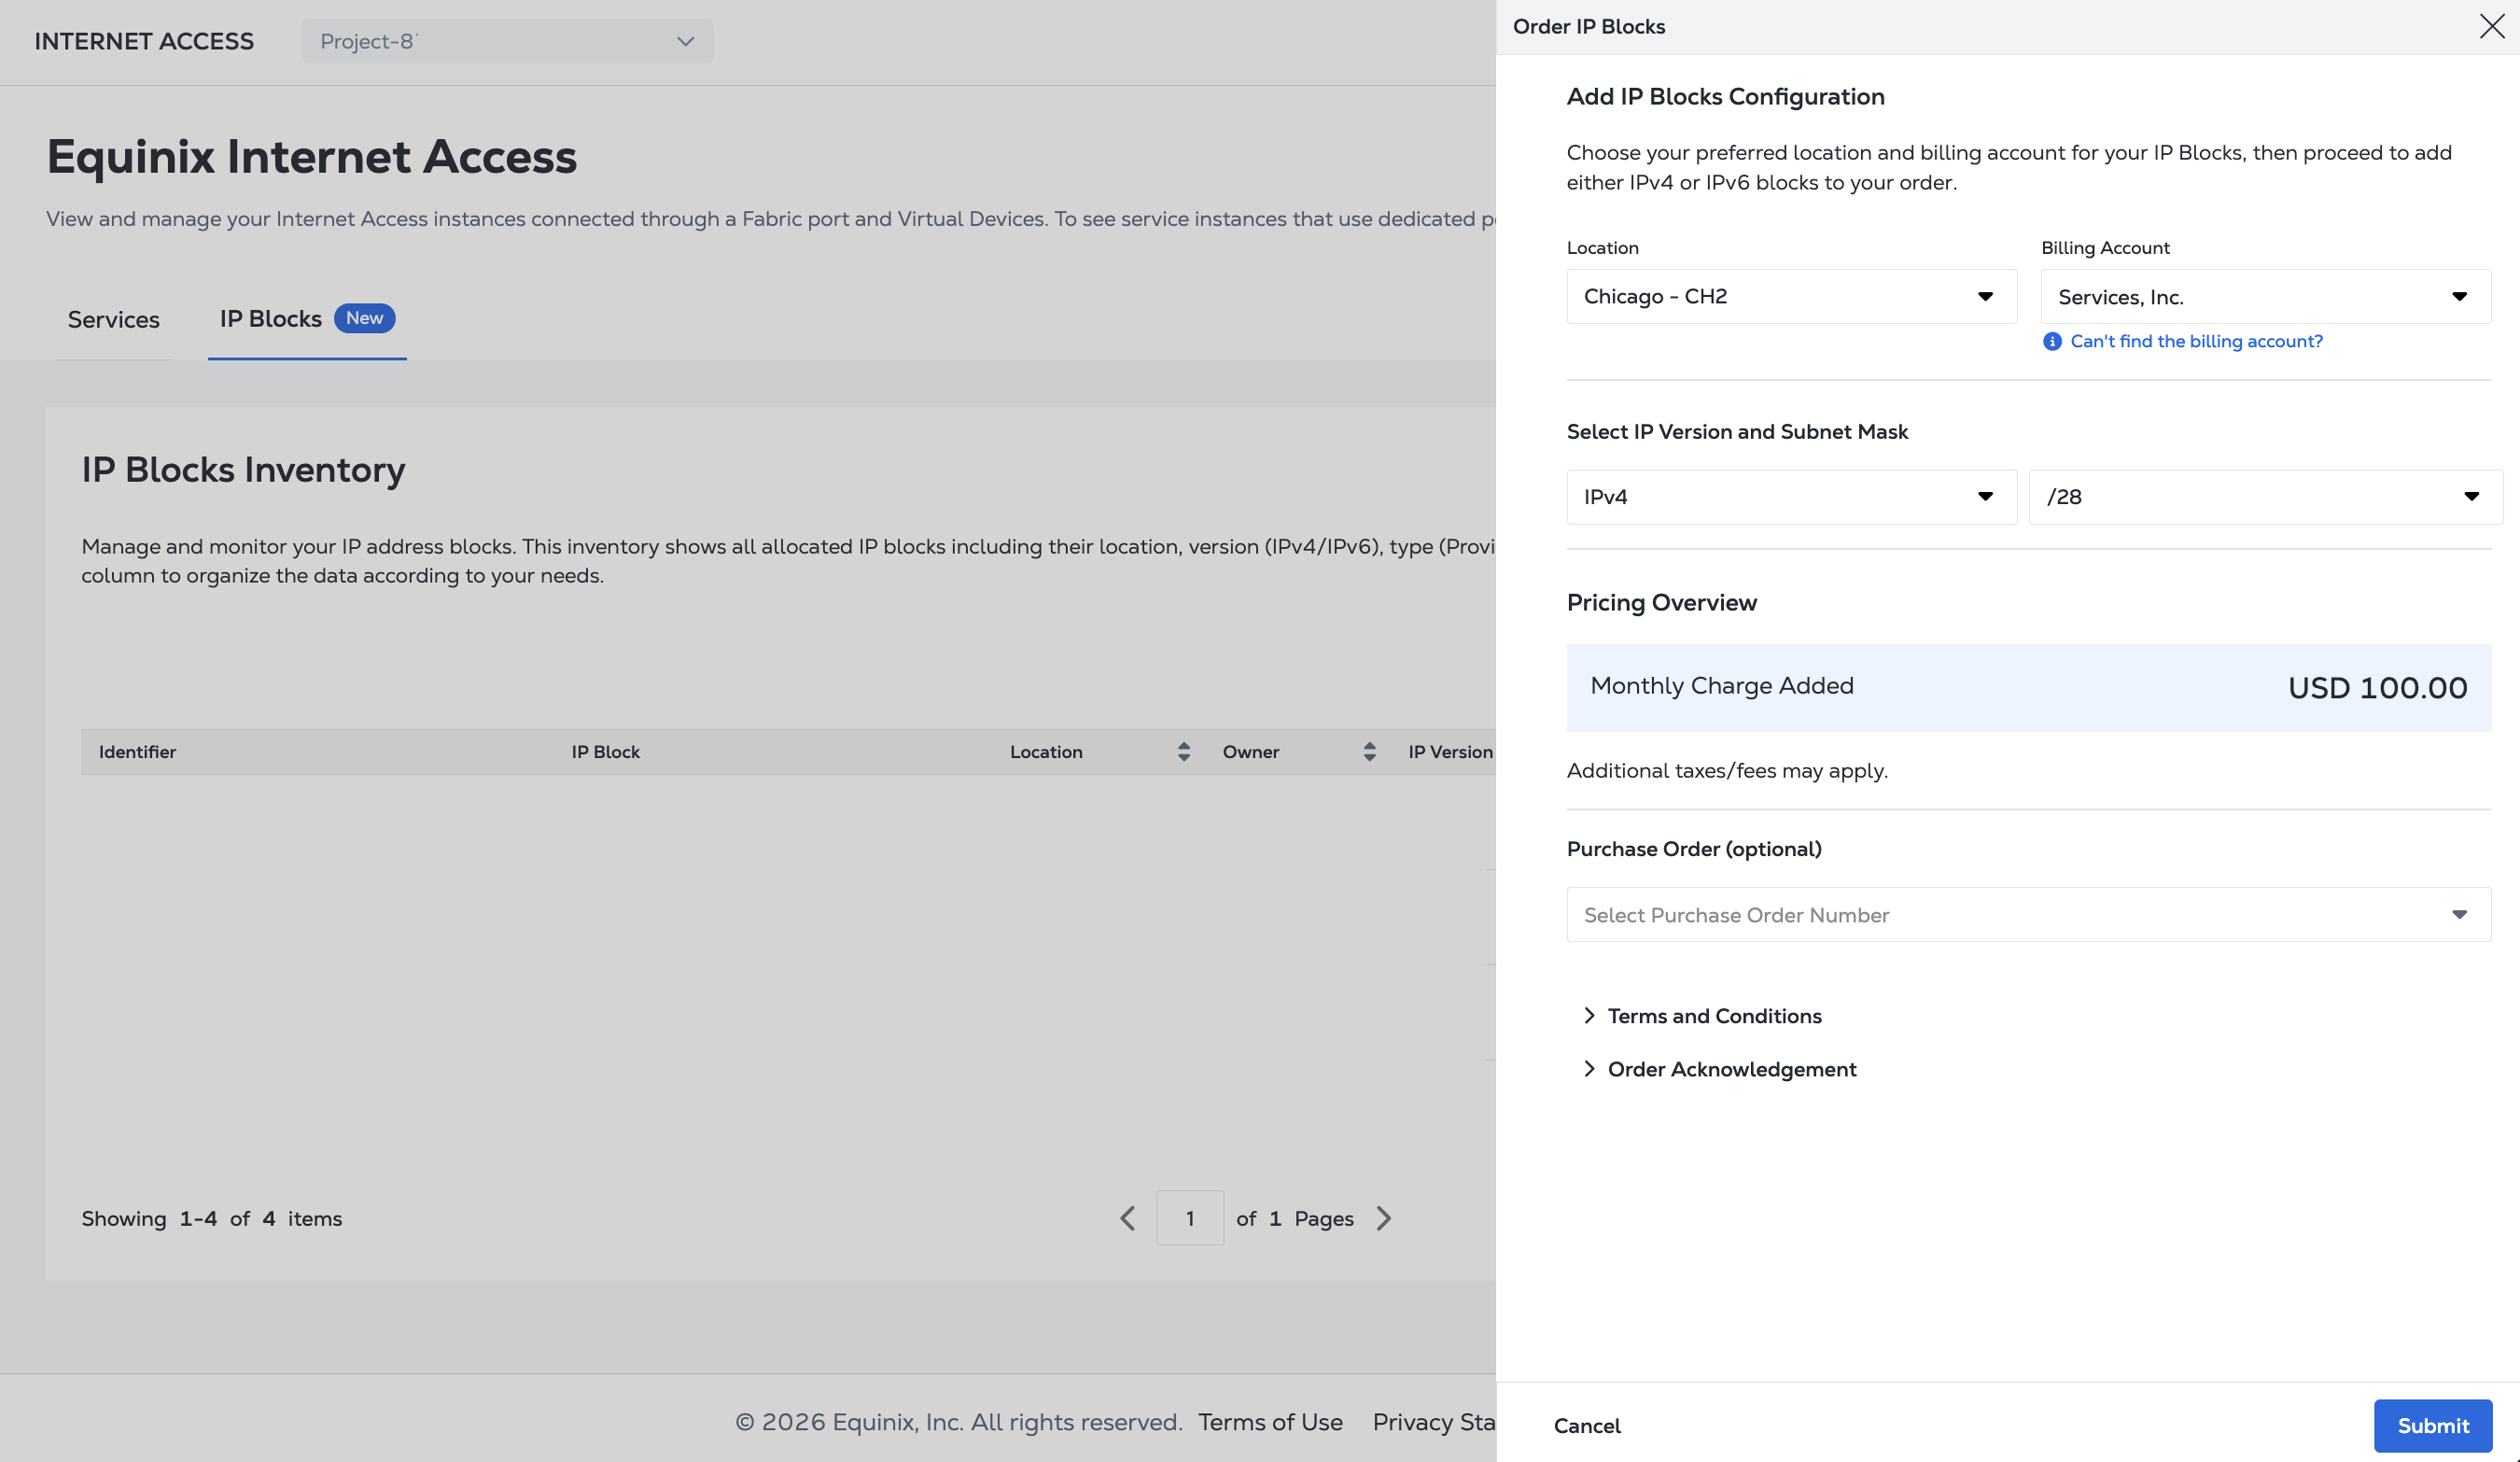
Sélectionnez l'emplacement dans le menu déroulant. Afin de créer un bloc IP dans un Metro, vous avez besoin d'un compte de facturation global ou d'un compte de facturation local pour cet emplacement. Sélectionnez votre compte de facturation dans le menu déroulant.
-
Sélectionnez la version IP et la taille du sous-réseau.
-
Passez en revue la présentation des prix . Pour consulter les conditions générales, cliquez sur conditions générales et accusé de réception de la commande .
-
(Facultatif) Ajoutez un numéro de bon de commande en le sélectionnant dans la liste déroulante.
-
Cliquez sur Soumettre
Embarquez vos propres blocs IP
Vous devez créer des objets route dans l'IRR associé au registre Internet régional (RIR) et vous devez créer une autorisation d'origine de route (ROA) qui autorise l'annonce à partir de l'ASN 15830. Voir blocs IP appartenant au client pour plus d'informations.
Pour créer des blocs IP appartenant au client :
-
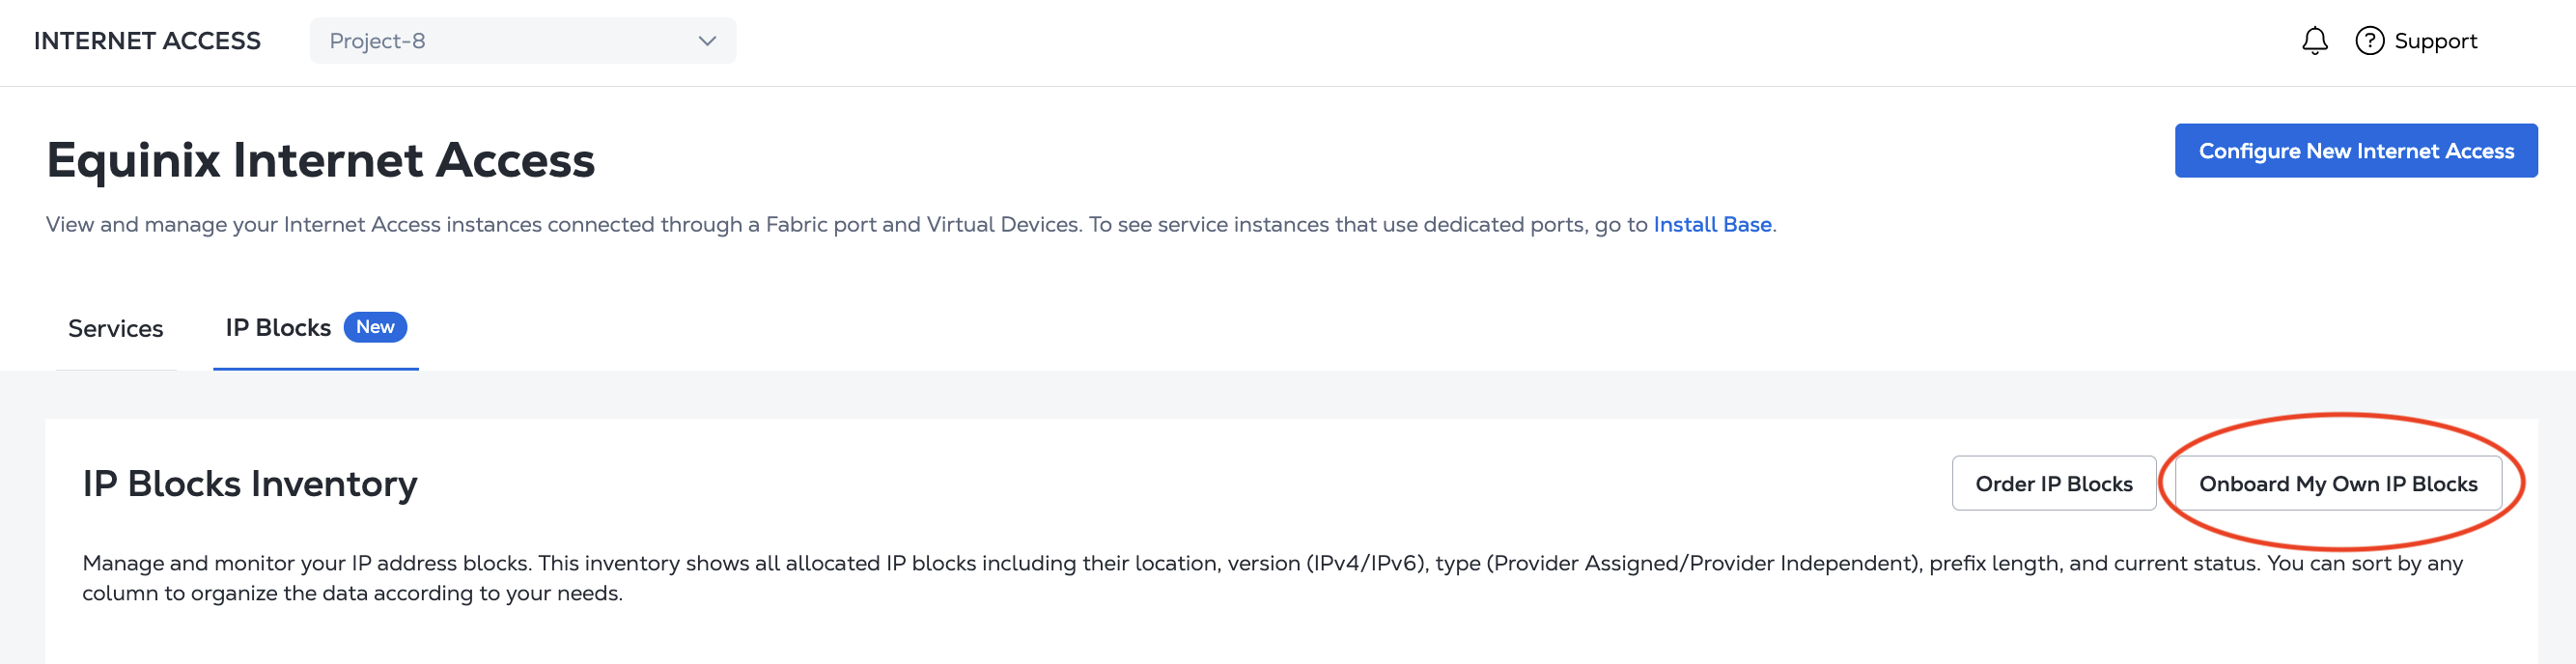
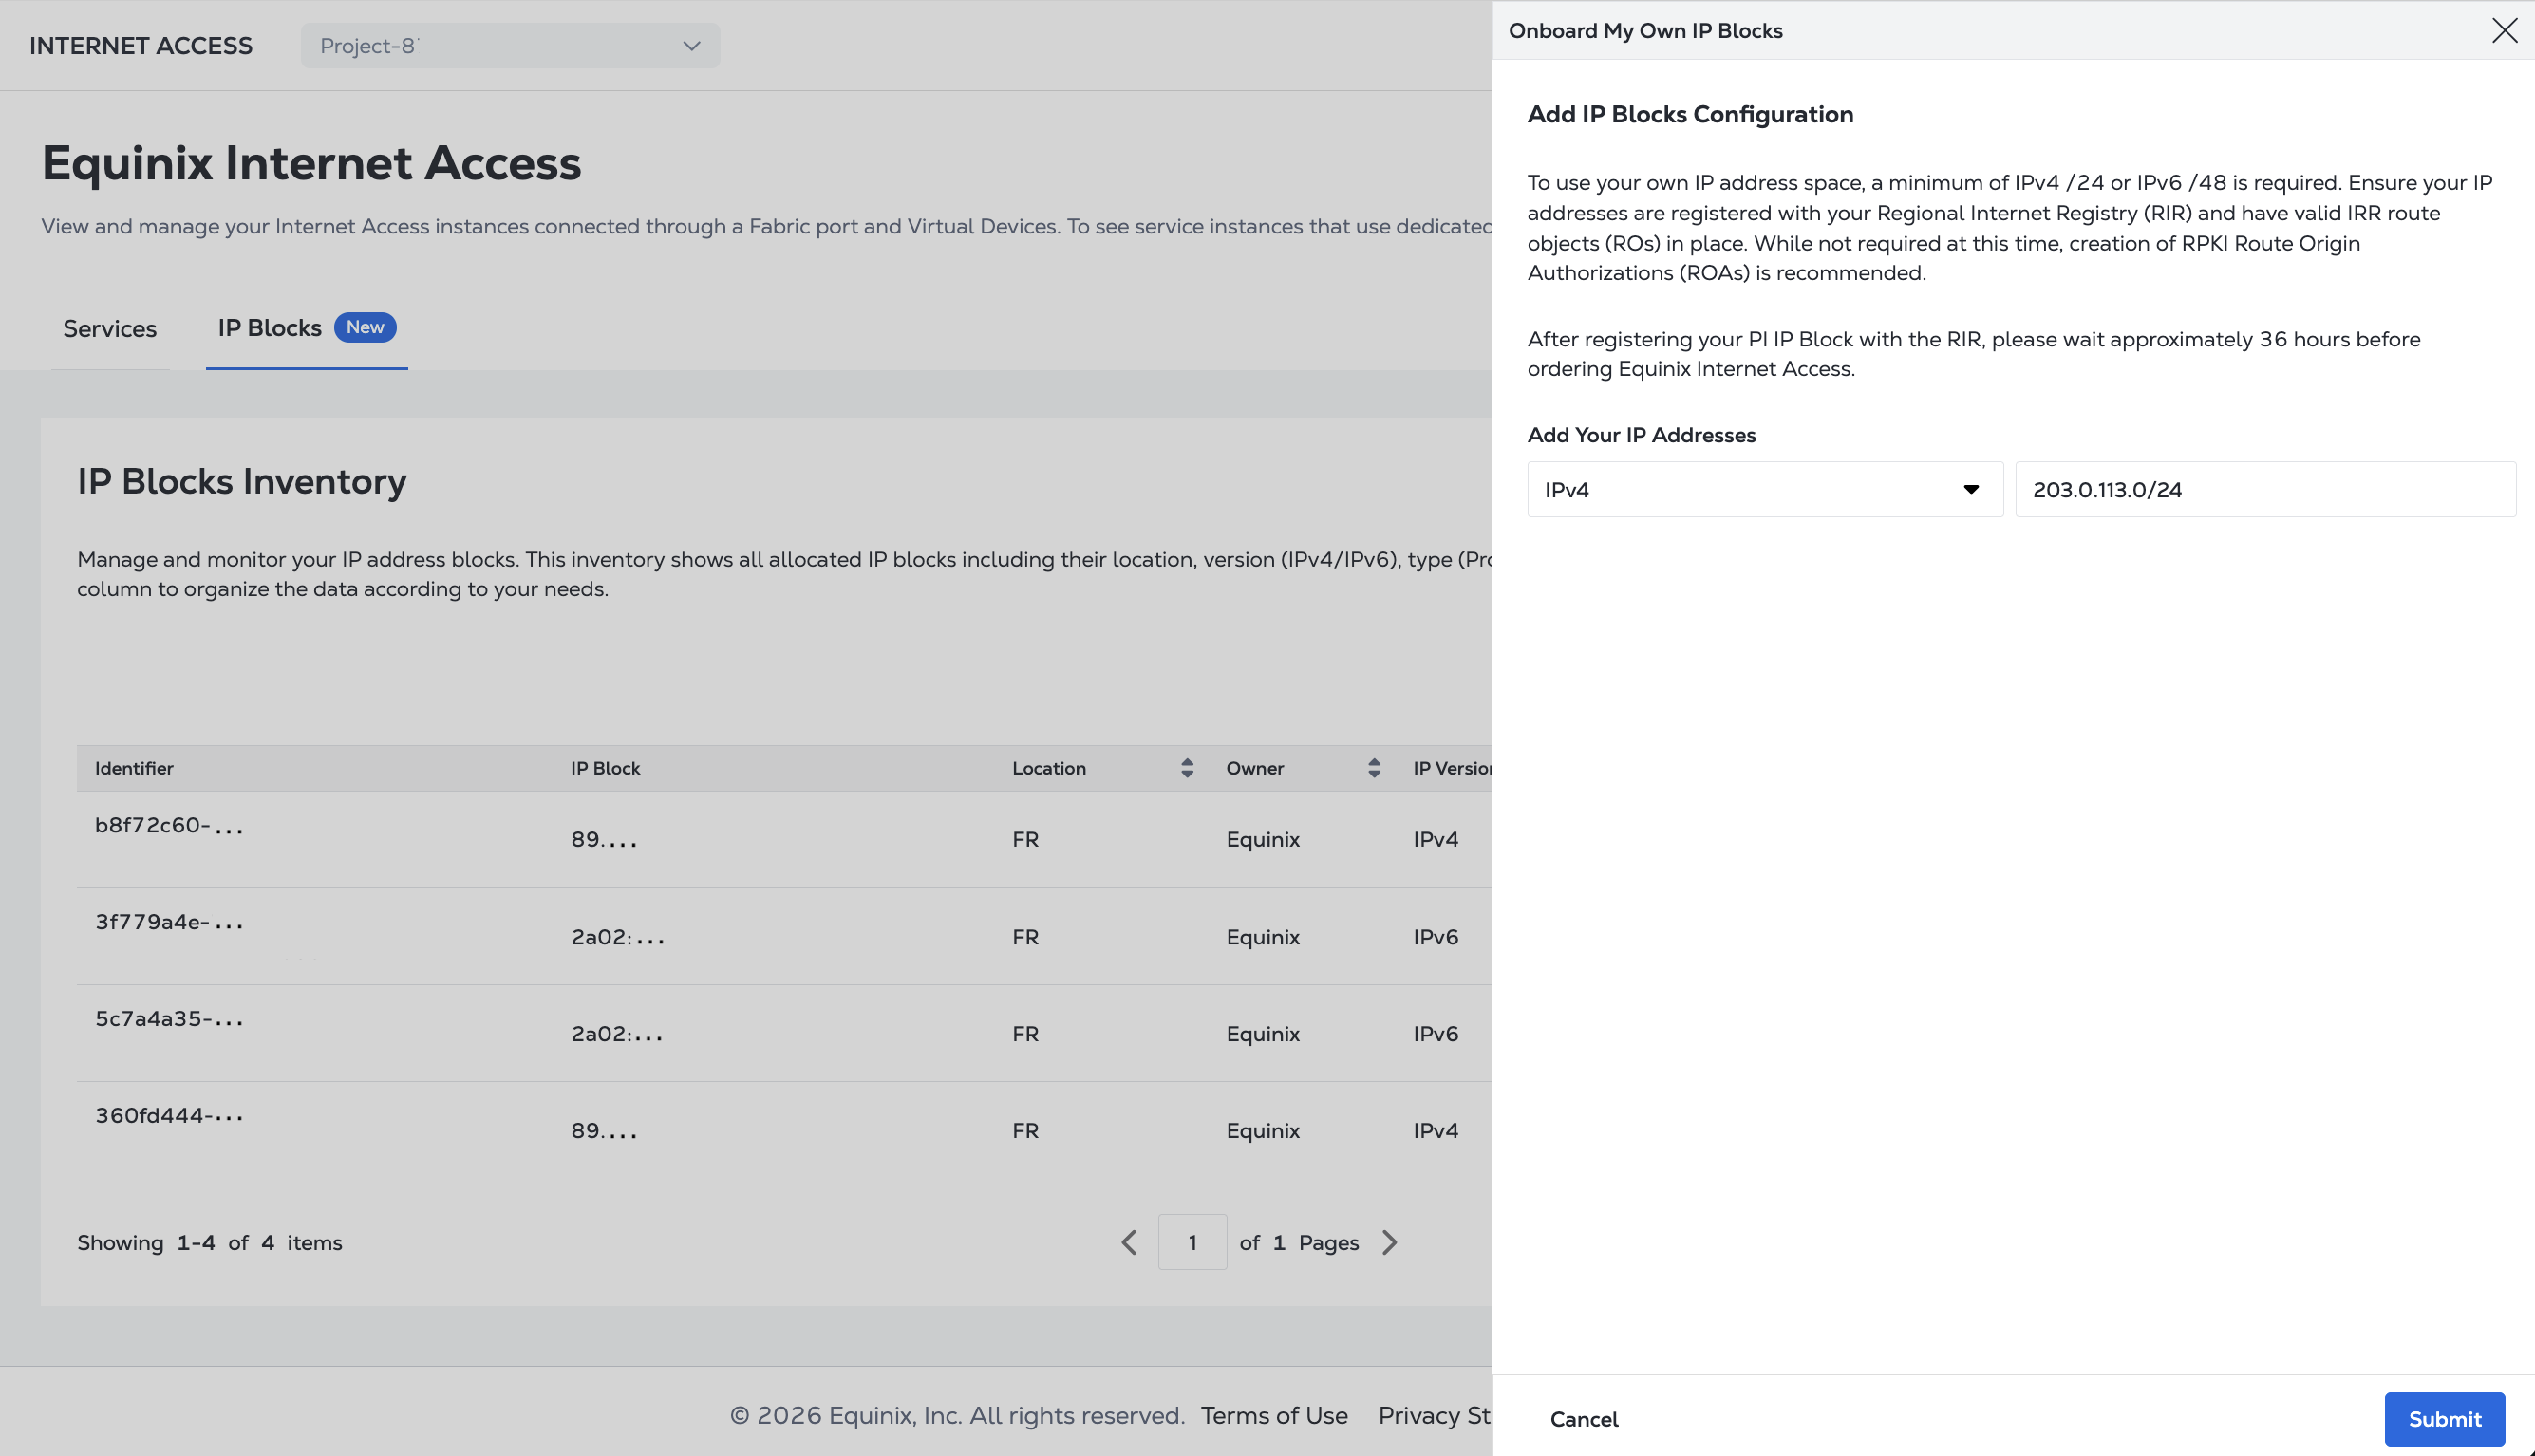
Dans votre inventaire des blocs IP , cliquez sur embarquer mes propres blocs IP .
-
Sélectionnez IPv4 ou IPv6 dans la liste déroulante Ajouter vos adresses IP et entrez votre bloc IP. Les sous-réseaux doivent être composés d'adresses IPv4 et/ou IPv6 valides et uniques au format CIDR.
-
Cliquez sur Soumettre
Surveillance de l'état du bloc IP
Une fois que vous avez créé un bloc IP, il apparaît dans l'inventaire des blocs IP où vous pouvez afficher son état et ses détails.