Cisco Webex Edge Connect
Cisco Webex Edge Connect interconnects users to the global Webex backbone using a QoS-enabled IP link via direct peering with Equinix Fabric Fabric, which offers software-defined connectivity on Platform Equinix. This Equinix and Cisco solution allows users to securely access meetings regardless of location.
The Webex Edge Connect process is not fully automated, which means Cisco will manually review the order submission request. Typical turnaround for order approval is less than one week.
Connect to Cisco Webex Edge Connect
-
Log in to the Customer Portal > Fabric Dashboard.
-
From the Connections menu, select Create Connection.
-
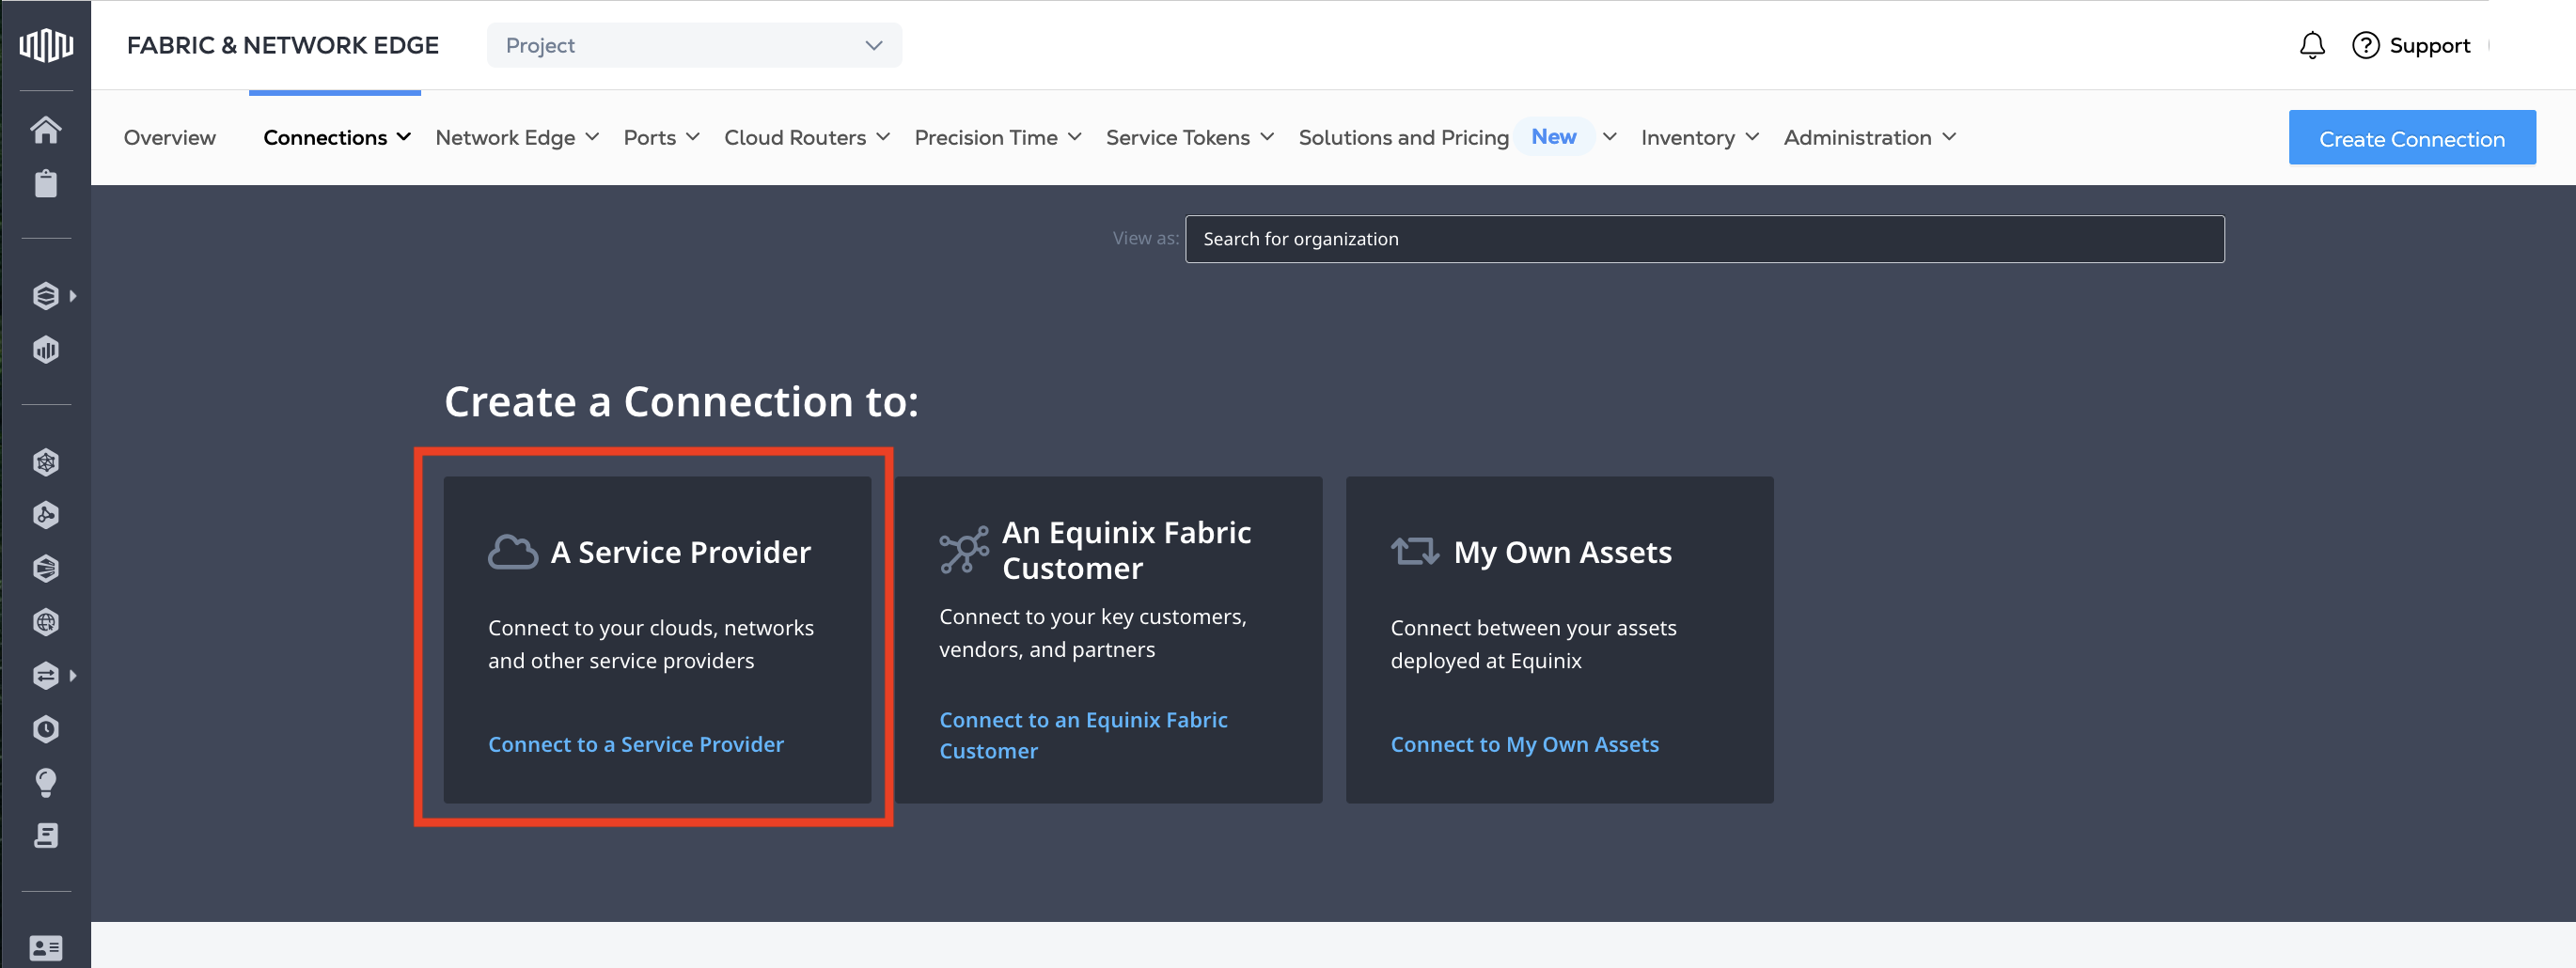
In the A Service Provider card, click Connect to a Service Provider.
-
Enter
Ciscoin the search field. -
On the Cisco card, click Select.

-
On the Cisco Webex card, click Create Connection.

-
In the Origin section, click Port.

-
Select a location.

-
From the displayed port cards for that location, select an a-side port.

-
In the Destination section, click a location.

-
Click Next.
-
In the Connection Information section, enter:

- Webex connection identifier – The name for your connection.
- VLAN ID – Your VLAN ID.
-
In the Purchase Order Number field, enter your PO number.
-
In the Additional Buyer Options section, enter:

- Webex router IP address – The IP address that will be assigned to the Webex router interface.
- Your router IP address – The IP address that will be assigned to your router interface.
- Subnet mask for point-to-point link – The subnet mask or CIDR prefix for the point-to-point link.
- Your advertised prefixes – The IP prefixes that you will advertise to Cisco. These must be public IPs.
- Your BGP ASN – The BGP autonomous system number.
- BGP Password (optional) – The optional password to be assigned to the BGP session.
- Technical contact email address – The email address for the recipient of support notifications.
- Technical contact phone number – The phone number for the recipient of support issues.
- Cisco Purchase Order Number – The PO number acquired from the Cisco ordering tool (CCW).
-
In the Connection Speed section, select a Billing Tier and Speed combination.
-
Click Next.
-
Review your order. Click Design Summary to download a PDF.
-
Click Submit Order.
Once you have submitted your virtual connection order, Equinix will send a notification the Webex operations team.
The connection status will remain Pending Approval until Cisco approves the request. Cisco will approve the connection request in the Equinix Customer portal and configure the provider-side BGP using the information you entered in the Additional Buyer Options section. Typical turnaround for order approval is less than one week.