Submit a Trouble Ticket
If you have a service-impacting issue, this topic explains how to create a trouble ticket in the Equinix Customer Portal.
For issues that don't involve an interruption of service, Submit a Smart Hands Order. If you're not sure which type to submit, see Smart Hands Order vs. Trouble Ticket.
Trouble tickets can be submitted by anyone with ordering privileges. Use trouble tickets for issues that require immediate response, based on a loss or interruption of service.
If the loss or interruption of service was caused by Equinix, the ticket will not incur any charges. However, if the issue was customer-caused, the ticket will incur Smart Hands charges.
Problem Types
Examples of common trouble tickets:
- Providing visual verification during a customer’s remote troubleshooting
- Reboot of customer equipment
- Troubleshooting a loss of power in a cage/cabinet
- Troubleshooting a rise in temperature (higher than normal)
- Troubleshooting a live Cross Connect
- Physical cage maintenance (such as replacement of a fluorescent light, or repair/replacement of a non-functional biometric reader, door, or lock)
- Network outage (total or partial)
The following categories are available when submitting a trouble ticket:
| Problem Category | Problem Description |
|---|---|
| Cross Connect | A live Cross Connect circuit stopped working A new Cross Connect circuit was not installed successfully |
| Cross Connect (On-demand) | A live Cross Connect On Demand circuit stopped working A new Cross Connect On Demand circuit was not installed successfully |
| Environment | Experiencing decreasing temperature Experiencing rising temperature There is a water leak There is structural damage |
| Equinix Connect | A new connection is not working Change request General inquiry IBX technician support Service degradation Service down |
| Equinix Internet Access | A new connection is not working Change request General inquiry Service degradation Service down |
| Equinix Precision Time | Existing service modification issue Networking issue New service provisioning issue Other issue Service disruption or outage Time synchronization issue User login issue User management and subscription issue |
| Hardware | A hardware issue impacting your service Power cycle equipment Important: If the issue is not impacting your service, submit a Smart Hands request. |
| Internet Exchange | A new connection is not working Change request General inquiry IBX technician support Service degradation Service down |
| Metro Connect | A new connection is not working Change request General inquiry IBX technician support Service degradation Service down |
| Network Product (Acquired) | A new connection is not working Change request General inquiry Service degradation Service down |
| Power | Experiencing a total power outage Experiencing a partial power outage |
| Security | Security issue with cage or cabinet Cage door is not working |
| Smart View | Problem with an environmental sensor Problem with the electrical system Problem with the environment Problem with the mechanical system Problem with the power draw |
| SmartKey | Billing issues Cancel service Equinix SmartKey support Intermittent service access issue No response or slow service response Other Service business queries Service technical queries SmartKey application configuration help SmartKey plugin help Unable to access specific data |
Priority Levels
Priority 1, Severity Level: High
SLO: Equinix will contact the customer within 30 minutes.
Customer’s service is down; no acceptable workaround is available.
Priority 2, Severity Level: Medium
SLO: Equinix will contact the customer within 2 hours.
Customer’s service is operational but is seriously degraded. Remedial action is required ASAP.
Priority 3, Severity Level: Low
SLO: Equinix will contact the customer and perform the work within 24 clock hours (for 24x7 IBX data centers) or within 24 business hours (for non-24x7 locations).
Customer’s service is operational, but a problem is causing a slight degradation in performance. A workaround is available and the workaround is acceptable to the customer.
Opening a Ticket
To re-open a closed ticket, see Re-open a Completed Request.
-
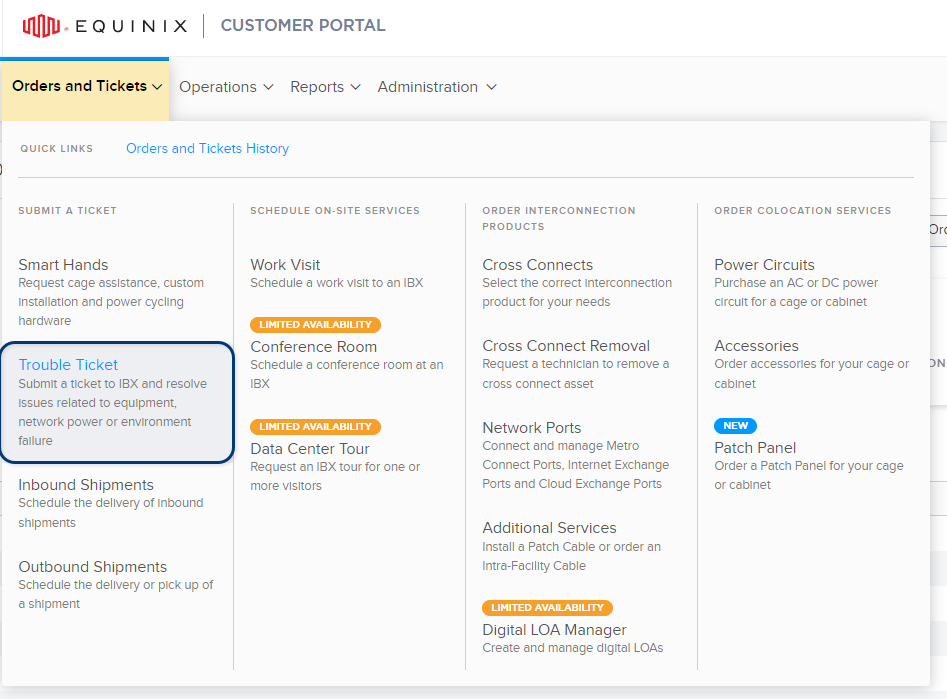
From the Orders and Tickets menu in the Customer Portal, select Trouble Ticket.

-
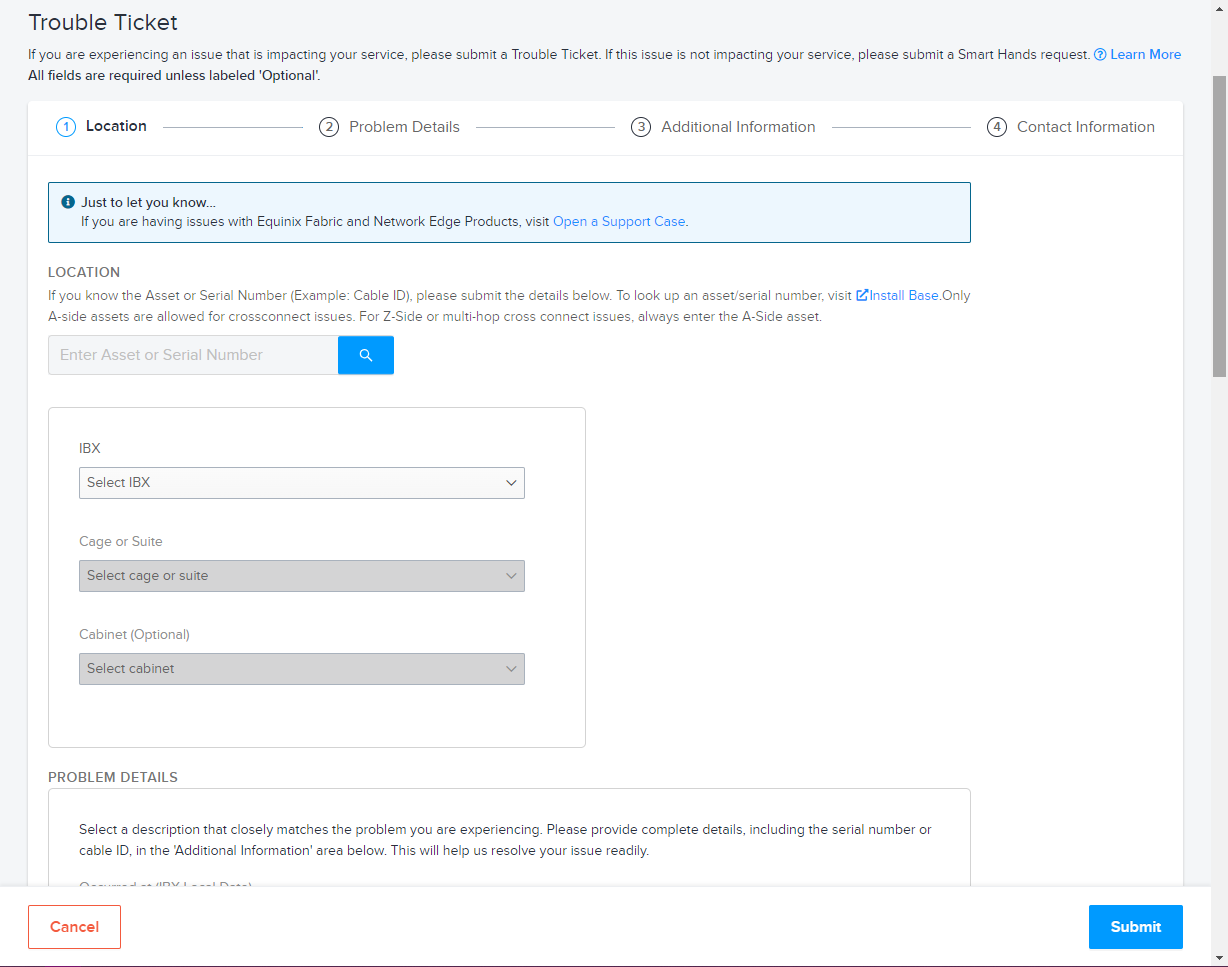
Select the location of the issue -- the IBX, the cage/suite, and optionally, the cabinet.

Once you select a location, the screen displays the location details (including the street address, hours of operation, and a link to a map of the surrounding area).
-
Under Problem Details:
-
Select the date the problem occurred. If you're in a different time zone than the IBX, use the IBX's local time zone when selecting the date.
-
Select a Problem Category and a Problem Description. See Problem Types above.
-
If you want the Equinix technician to call the specified Technical Contact when the work is in progress, select Call me from the cage.
-
Under Additional Details, enter all other information that might help the technician locate and resolve the issue. Examples:
- A detailed description of the issue.
- A chronological list of events that led to the issue.
- Any steps you've taken to investigate or resolve the issue.
-
-
Use File Attachment - Upload File(s) to add any relevant attachments to your request, such as screenshots and error/diagnostic logs.
- Add up to 5 files.
- The maximum size for each file is 2MB.
- The files can be any of the following formats: bmp, jpg, jpeg, gif, png, tif, tiff, txt, doc, docx, xls, xlsx, ppt, pps, ppsx, pdf, and vsd.
-
Add Customer Reference information.
Many companies have an internal ticketing system to track issues or track items ordered from Equinix. This field provides a place to enter your internal reference information, such as P.O. numbers, ticket numbers, or descriptive text.
tipYou can find this information on the Orders and Tickets History screen, and any related invoices.
-
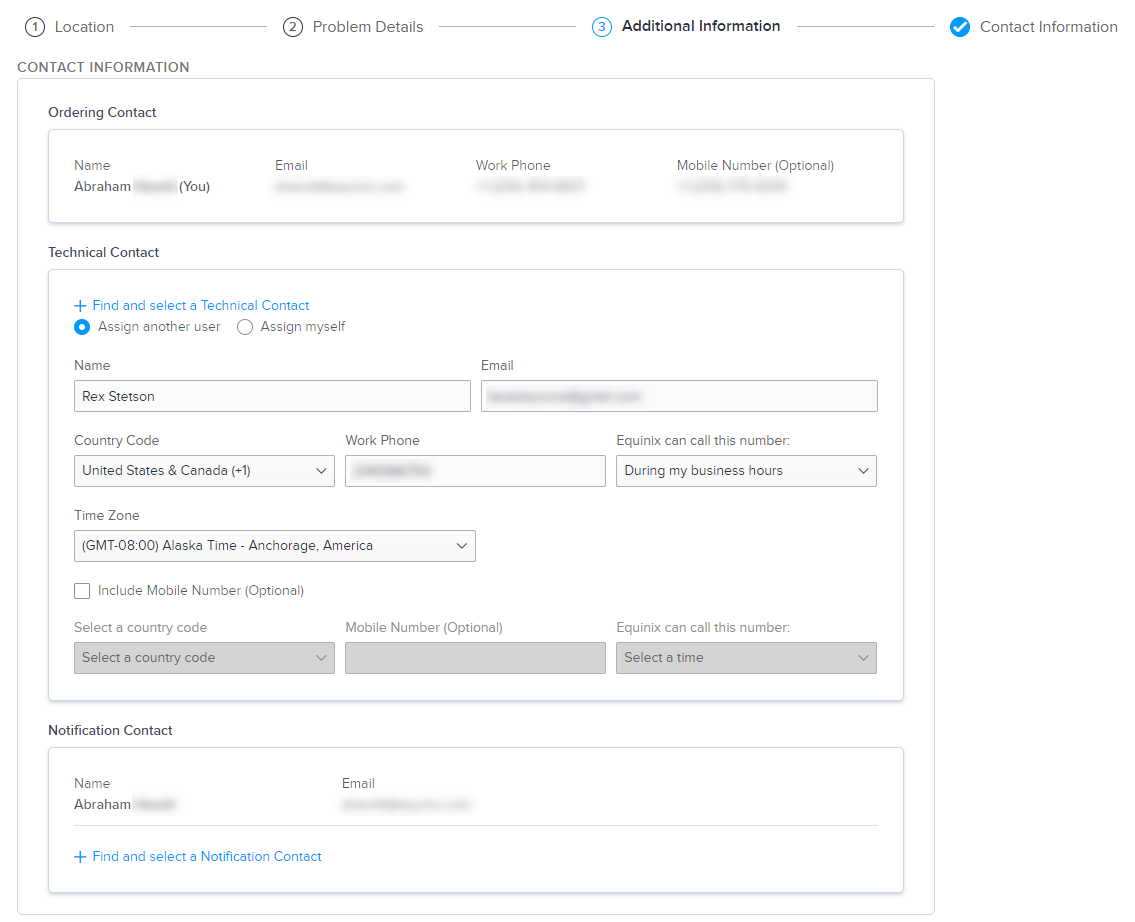
Under Contact Information, specify a Technical Contact and at least one Notification Contact:
Contact Types Description Technical Contact For troubleshooting or clarification of the ticket. If questions arise, Equinix contacts this person. Notification Contact Contact(s) who will receive email notices about the status (and pricing, if applicable) of the ticket. 
- The Technical Contact and the Notification Contact can be the same person.
- You can select multiple Notification Contacts, but only one Technical Contact.
- Technical contacts do not receive booking or completion notifications.
- To remove a Notification Contact from the ticket, click
X.
-
Once all required fields are completed, click Submit.
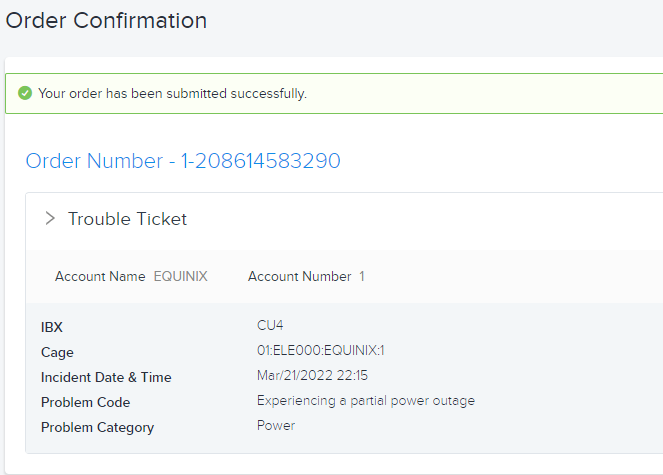
If your ticket was submitted successfully, a notification is shown.

To monitor the status of your request, see Orders and Tickets History.