Create a Network Edge Service Profile
Network Edge customers can create a service profile that includes their devices. With a Network Edge Service Profile, you can enable other users (from other accounts) to find and connect to your NE devices. This topic also discusses private profiles versus public profiles.
To create a Network Edge Service Profile:
-
Sign in to the Equinix Customer Portal and navigate to Network Edge.
-
On the Administration menu, select My Service Profiles.
-
Click Create a Service Profile.
-
In the Network Edge Service card, click Create a Virtual Service.
-
In the Service Profile Name field, enter a name for the service profile.
-
In the Description box, enter a brief description of the service profile.
-
In the Privacy Mode section, select Public or Private.
-
If the service profile is Private, enter the email addresses of anyone who should have access to the service profile.
-
In the Notifications section, enter the email address of anyone who should receive notifications about this profile.
-
Click Next: Location.
Select the Location
-
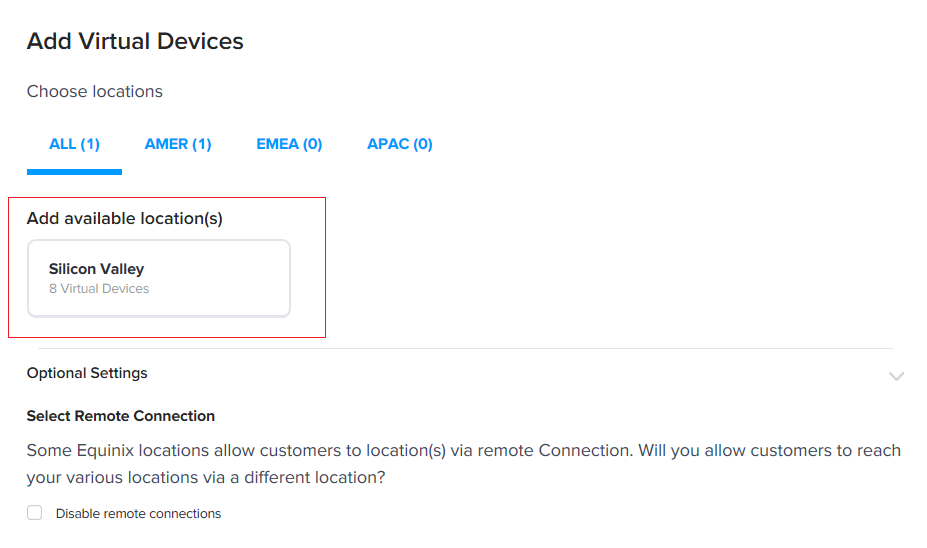
In the Add available locations section, click a location.
-
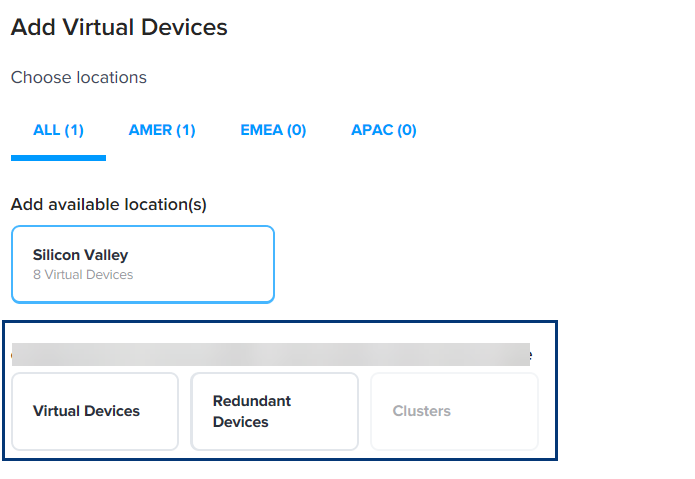
Select Virtual Devices, Redundant Devices, or Clusters.
-
In the Select Virtual Devices section, select the devices.
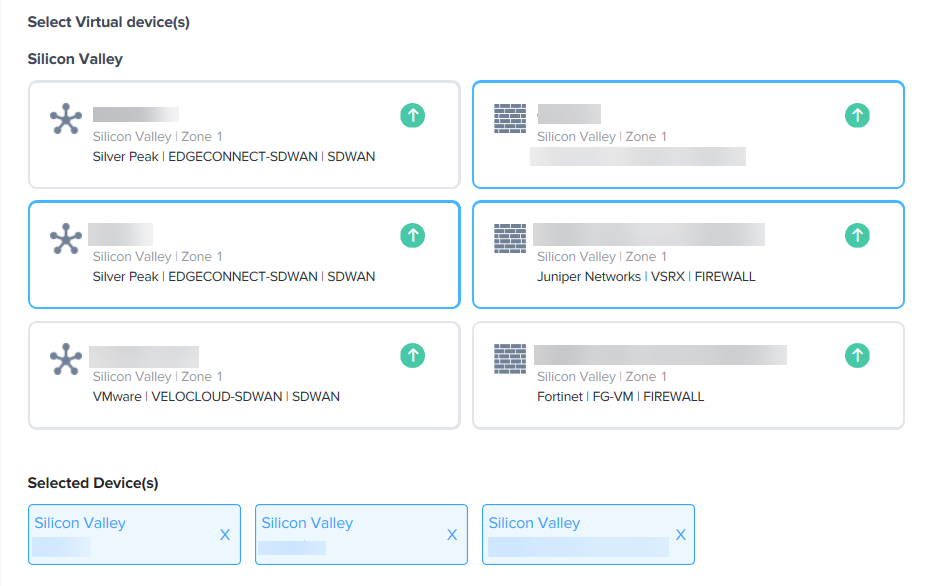
The devices you selected will display in the Selected Device(s) section.
-
If you do not want customers to reach your location(s) through a different location, select the Disable remote connections checkbox.

-
Click Next: Bandwidth.
Choose Bandwidth
-
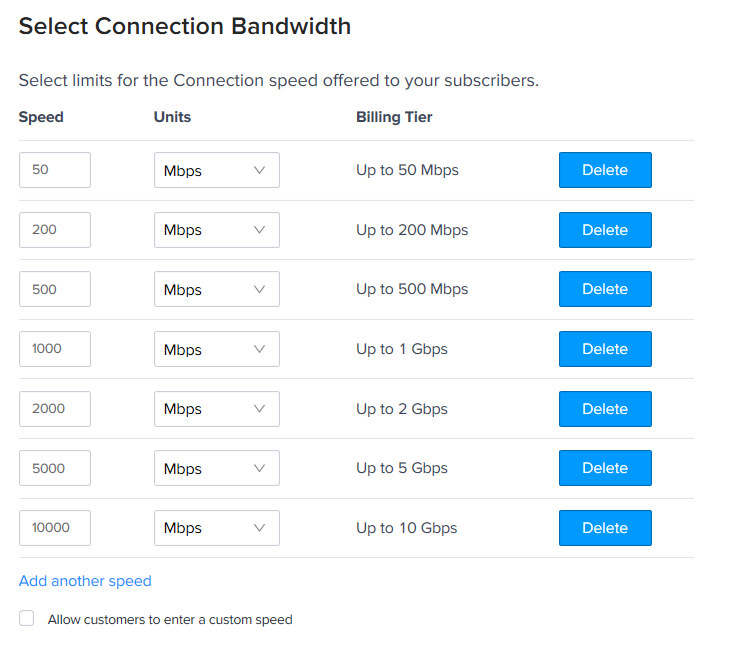
In the Select Connection Bandwidth section, determine connection speed limits for your subscribers.
- Click Delete next to any of the speeds listed.
- Click Add another speed if you want to add a speed that isn't listed.
-
If you want to allow subscribers to add a custom speed, select the Allow customers to enter a custom speed checkbox.
-
Click Next: Configuration.
Configuration
-
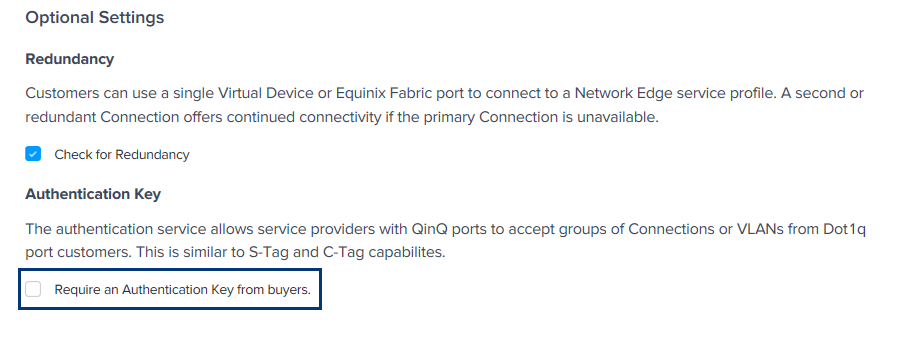
In the Optional Settings section, click Check for Redundancy if you want Network Edge to check the customer's device for redundancy when connecting to the service profile.

-
Select the Require an Authentication Key from buyers if you want port customers to use a key to access.
-
If you checked Require an Authentication Key from buyers and you want to use another name for the authentication key, select Use another name for Authentication Key and enter the key in the Authentication Key field.

-
Click Next: Review and review your order.
-
Click Submit Order.
Private vs. Public Service Profiles
Private profiles enable you to grant access (with an A-side service token) to specific Fabric customers, allowing them to view and connect to your service. You can also enable others to connect by editing your existing service profile and adding their email address. See Create Service Tokens for information about creating an A-side service token.
Connections to private profiles are auto-approved and can be edited by any user associated with your company.
Public profiles allow any Equinix Fabric user to see your service profile and create a connection to it. Public profiles are visible on the Equinix external website. Once created, public profiles are submitted to Equinix for approval. Upon approval, they are available in Equinix Fabric for other Fabric users to view and connect.