
You can order an Internet Exchange (IX) port in an Equinix IBX data center where you already have a cage or a cabinet. Options for ordering additional features, such as a LAG or private VLAN, are available.
Ordering Ports Video
- Sign into the IX portal.
- Click Order A Port in the upper right corner. The Port Details page is displayed,
-
Select My cage in the Equinix IBX. Your location choices are organized by region and metro, based on your account.

-
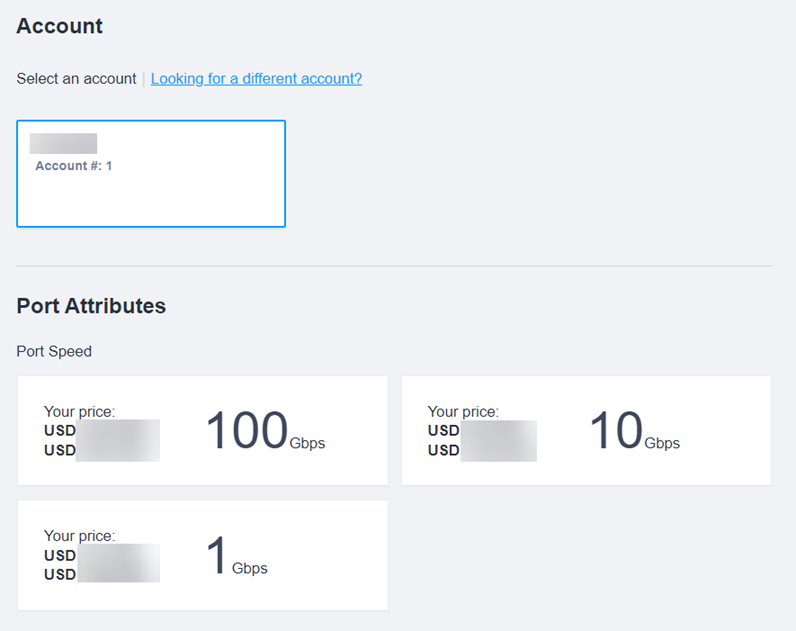
Select the Internet Exchange Location for this order. For information about IX locations that aren't included in your existing accounts, click Looking for a Different IX location?.
-
Select an IBX.
-
Select an Account.

-
Select a Port Speed. The port speed options vary from 1Gb to 100Gb per second, depending on the IBX location.
-
Click Next: Service Details.
Service Details
-
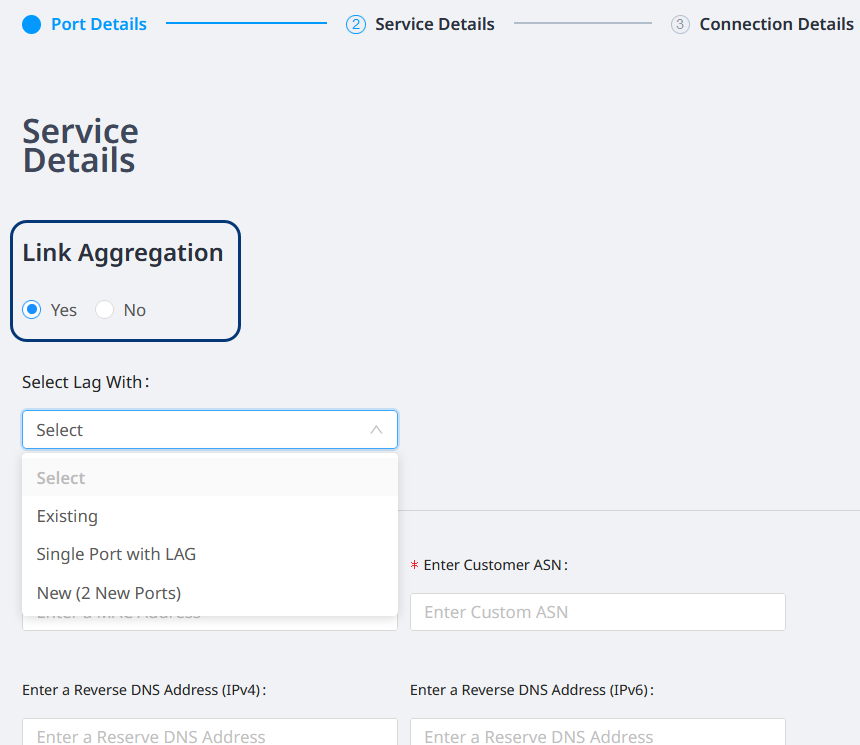
You can set up a link aggregation group (LAG) by clicking Yes in the Link Aggregation section. Choose a LAG option from the drop-down list:

-
Existing – To create a LAG from an existing port. Select a port from the Existing Port drop-down list.
-
Single Port with LAG – To order the first port in a future LAG.
-
New (2 New Ports) – To order a new LAG with two active ports.
-
-
Redundancy is available for single or dual ports. Select Redundancy by clicking Yes. Choose the existing port from the drop-down list.
Note: The Redundancy option is not available if you select Link Aggregation.
-
Enter a Port MAC Address and Reserve DNS Addresses for IPv4 and IPv6, as needed.
-
Enter an autonomous system number (ASN) in the Customer ASN field.
Note: For link aggregation with an existing port, this value is already provided.
-
To support passing traffic for multiple VLANs, select 802.1Q Tagging by clicking Yes.
-
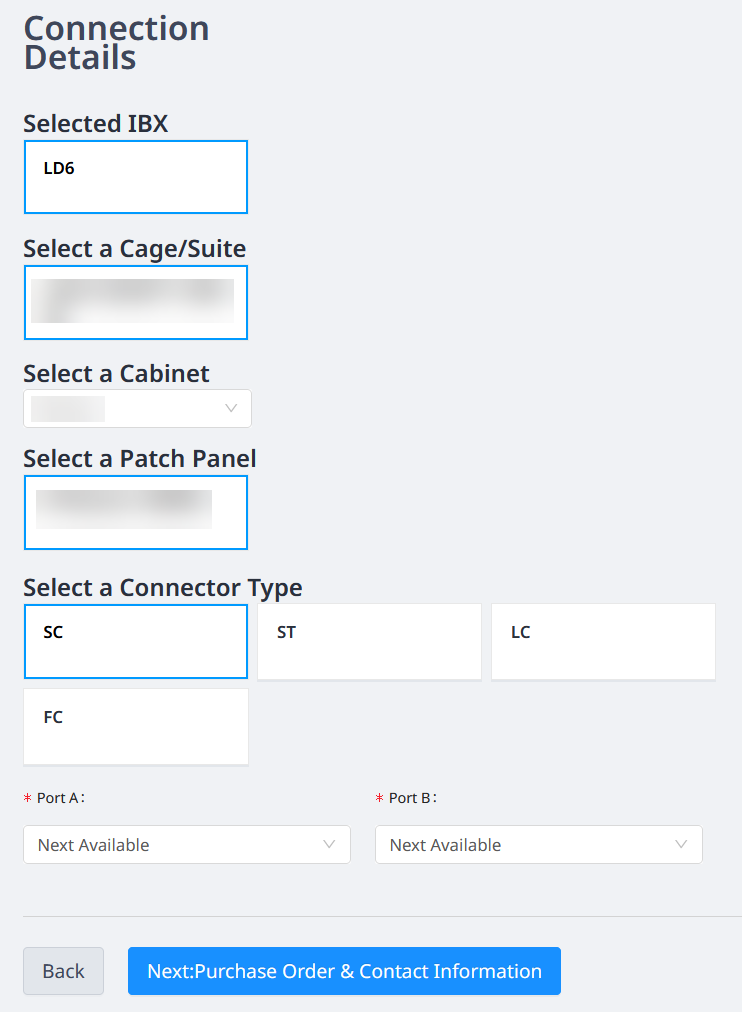
Click Next: Connection Details. Your Selected IBX location is displayed.
Connection Details
-
For each new port:

-
Select a Cage/Suite.
-
Select a Cabinet.
-
Select a Patch Panel.
-
Select a Connector Type.
-
Choose the port numbers for Port A and Port B from the drop-down lists.
-
-
Click Next: Purchase Order & Contact Information.
Purchase Order Details
-
In the Purchase Order Details section, you can include an internal purchase order (PO) or reference code with this order, click Add Purchase Order and Internal Reference Information. This information can help with searching in your order history page and in other reports. Select an option:

-
No purchase order required
-
Select an existing purchase order – Choose from the list of available POs.
-
Add a new purchase order – Enter a PO number, amount, start date, and end date. You can also upload a PO file (jpg, .docx, .xlsx, .txt, and other formats).
-
-
Enter additional Customer Reference Information.
-
In the Contact Information section, the Ordering Contact and other contacts display your information by default.
-
Review the Technical Contact, Notification Contact, Escalation Contact, and Peering Contact.
-
To change a contact name, click + Select from the User Directory. Search or filter to locate and select the new contact, and click OK.
-
-
Click Next: Review.

Review
-
Review the Port Details and Connection Details for your order.
-
To review the pricing details, click Print Order Details on the right side of the page.
-
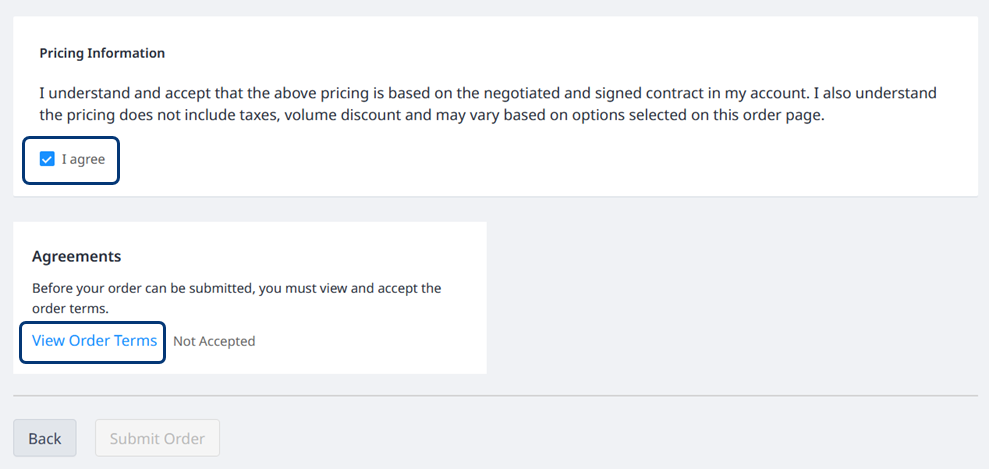
Review the Pricing Information section and select I agree.
-
In the Agreements section, click View Order Terms. Review the Order Terms, and at the bottom of the window, select I have read and understand these terms. Click Accept.
-
At the bottom of the Review page, click Submit Order.
A success message is displayed. Confirmation is emailed to you within 30 minutes of submitting your order. You can view the status of your order by clicking My Orders.
