Managing Your Fabric Ports
Prerequisites
-
Fabric Port Edit permissions are required to perform these operations. To obtain permissions, contact your organization’s primary administrator for access.
-
Updating a port requires deleting or migrating the connections associated with the port.
Update Encapsulation Frame Type and Tag Protocol ID (TPID)
Update an Equinix Fabric port attributes Encapsulation Frame Type and Tag Protocol Id (TPID).
The values supported are:
| Encapsulation Frame Type | Tag Protocol Id |
|---|---|
| 802.1Q (Dot1Q) | 0x8100 |
| 802.1ad (QinQ) | 0x8100, 0x8a88 |
| Untagged | N/A |
Updating encapsulation and TPID will result in downtime for Port.
To update the port:
-
Sign in to the Customer Portal and from the global navigation menu, click Fabric.
-
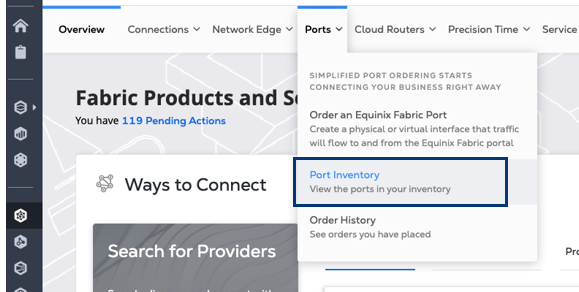
From the Ports menu, select Ports Inventory.
-
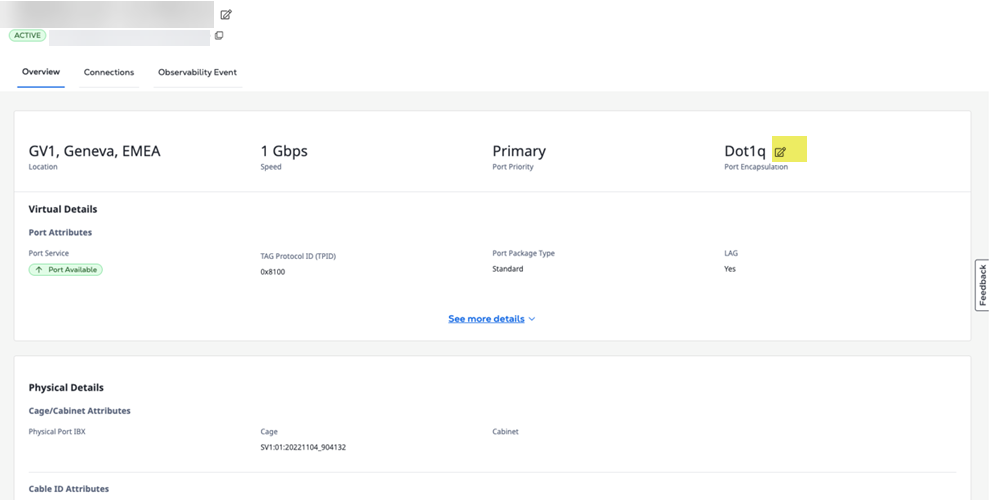
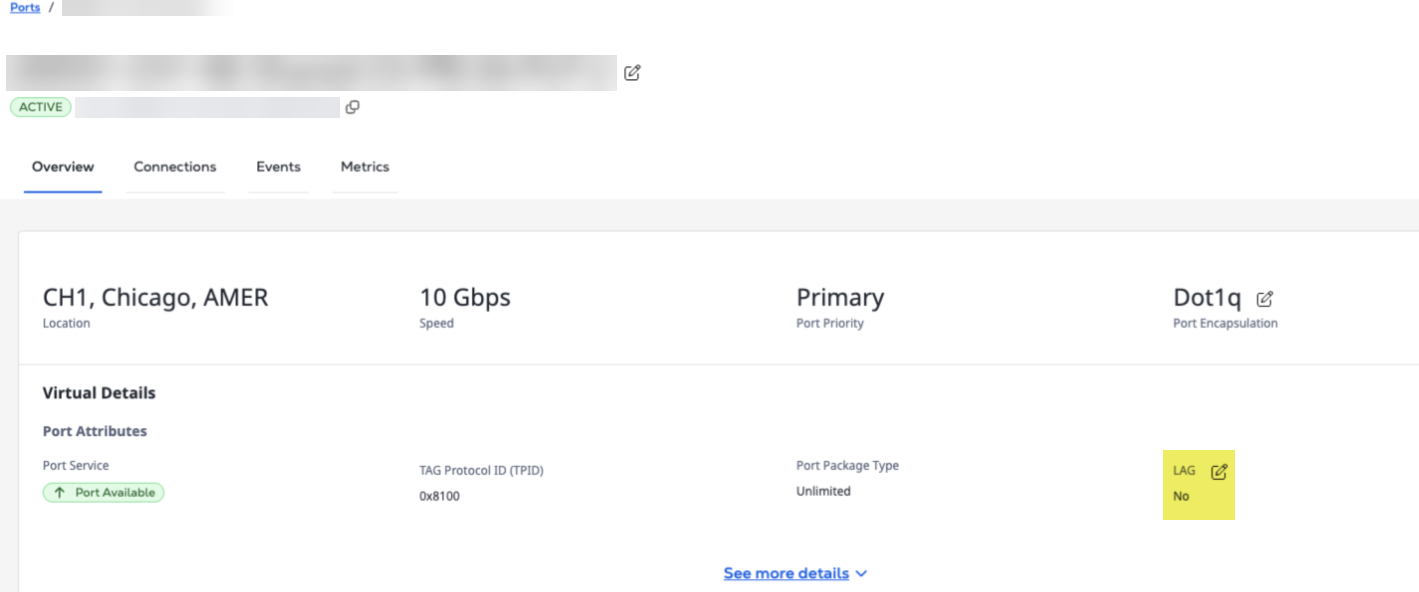
Locate and click the port you want to update.
-
In the Port Encapsulation field, click Edit.
-
Select the new required value.
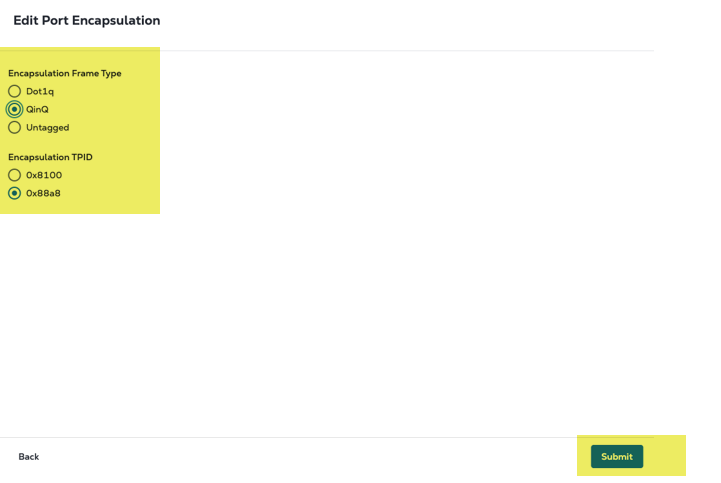
-
Click Submit.
A message displays at the top of the page indicating the port update was accepted. You will also receive a confirmation email once the port is updated.
More information is available on Encapsulation Frame Type and Tag Protocol Id (TPID) is on the Port Traffic and Tagging page.
Update the LAG Value of an Equinix Fabric Port
You can update the Link Aggregation Group (LAG) setting of an existing Fabric Port from Yes to No or No to Yes, depending on your connectivity requirements.
The Yes/No toggle is only active when the LAG has only one physical port associated with it. This update is only available when the port does not have any active virtual connections.
Update the LAG Value of a Port with No Active Virtual Connections
-
Sign in to the Customer Portal and from the global navigation menu, click Fabric.
-
From the Ports menu, select Ports Inventory.
-
Locate and click the port you want to update.
-
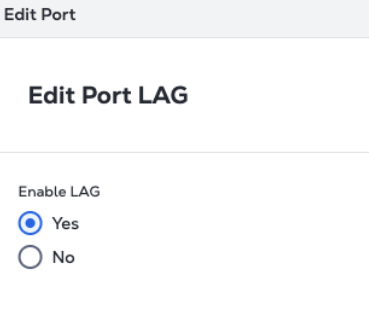
In the LAG field, click Edit.
-
Select the new required value.
-
Click Submit.
A message displays at the top of the page indicating the port update was accepted. You will also receive a confirmation email once the port is updated.
Update the LAG Value of a Port with Active Virtual Connections
To upgrade your existing Non-LAG port to a LAG port, you must order new Fabric port and migrate your existing connections. See Upgrade from a Non-LAG to a LAG Port for more information.
Add Ports to an Existing Link Aggregation Group (LAG)
Use this procedure to increase bandwidth by adding one or more physical ports to an existing LAG on Equinix Fabric without disrupting your current virtual connections.
Prerequisites
-
The existing Fabric Port you’re expanding is LAG-enabled and in the PROVISIONED state.
-
You have an Equinix Fabric account with one of the following IAM roles: Fabric Port Manager, Fabric Manager, Fabric Service Provider, or Fabric Partner Resource Manager (applicable to Fabric reseller admin users who perform port sharing with end customers).
-
To order My Cage ports, you should have the Cage permissions for the specific cage and IBX.
-
To order Third Party or BMMR ports, you should have the Remote Port Ordering Permission for that specific region.
Steps
-
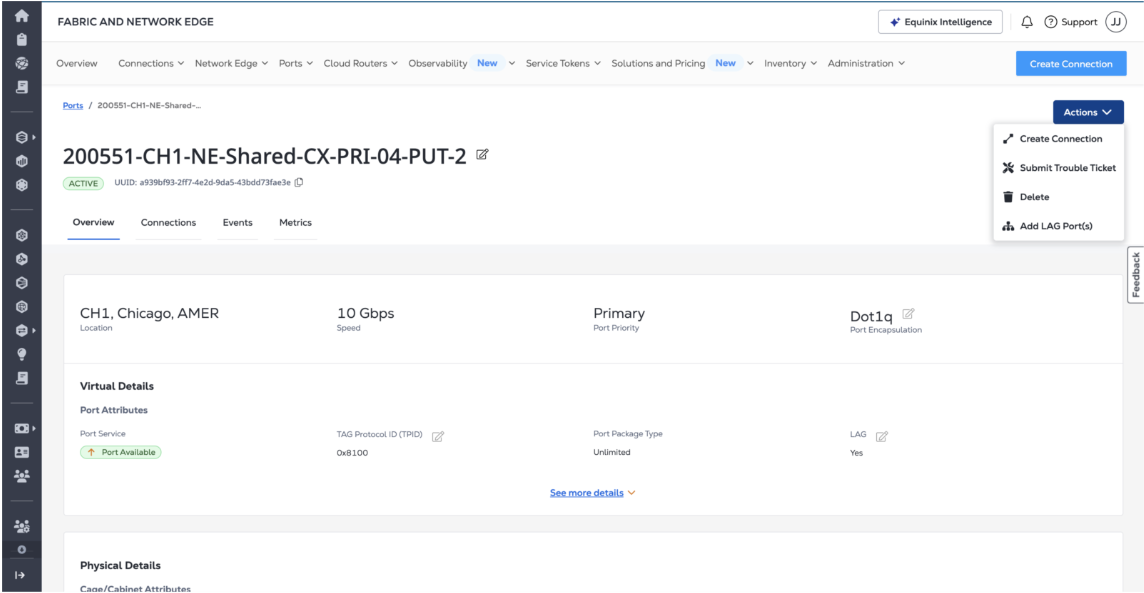
Open the Ports Inventory. Log in to the Customer Portal > Fabric > Ports Inventory. Select the LAG port you want to expand.
-
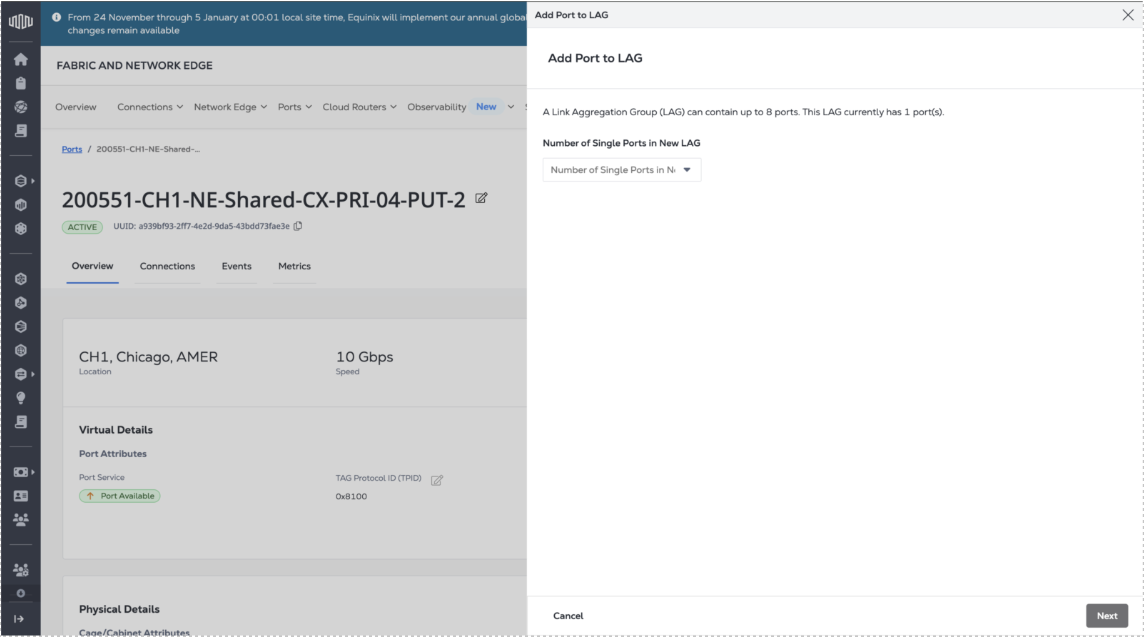
On the Port details page, go to the Actions dropdown and click Add LAG Port.
-
Choose the number of ports to add.
-
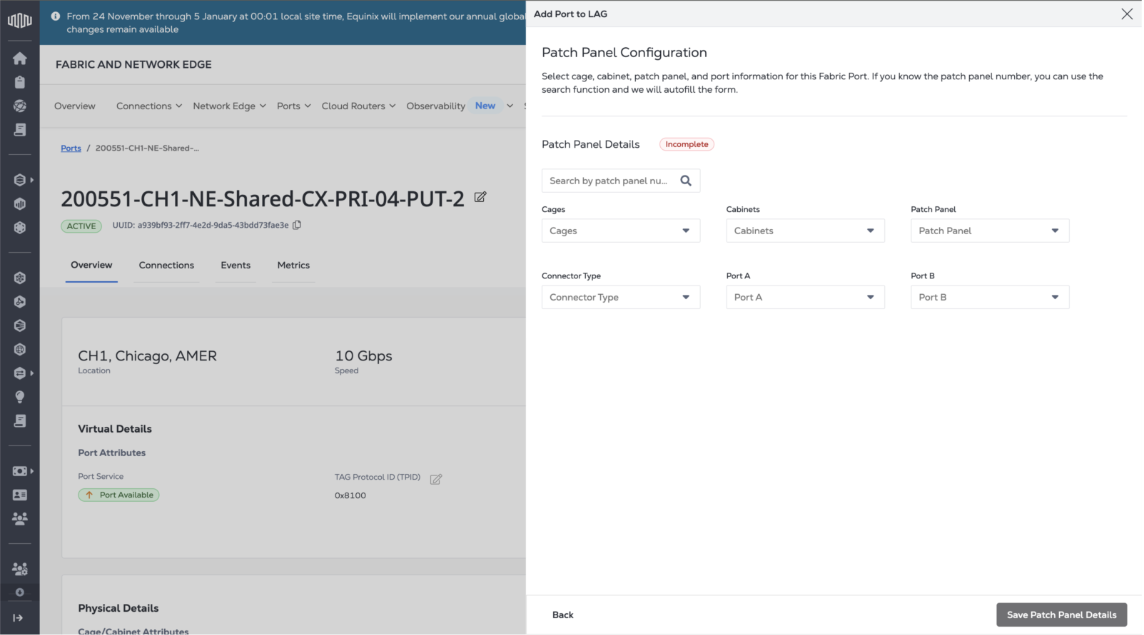
If the existing port being used for creating the LAG is a My Cage port, configure the patch panel details.
-
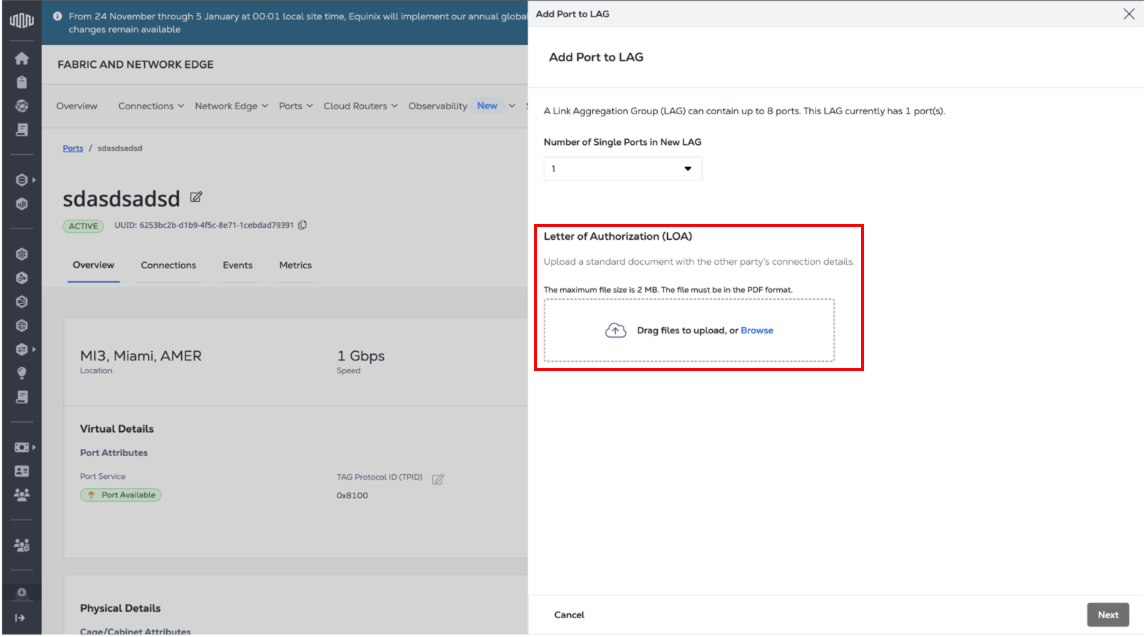
If the existing port being used for creating the LAG is a Third Party port, upload the Letter of Authorization (LOA) that authorizes you to provision a port in the selected location.
-
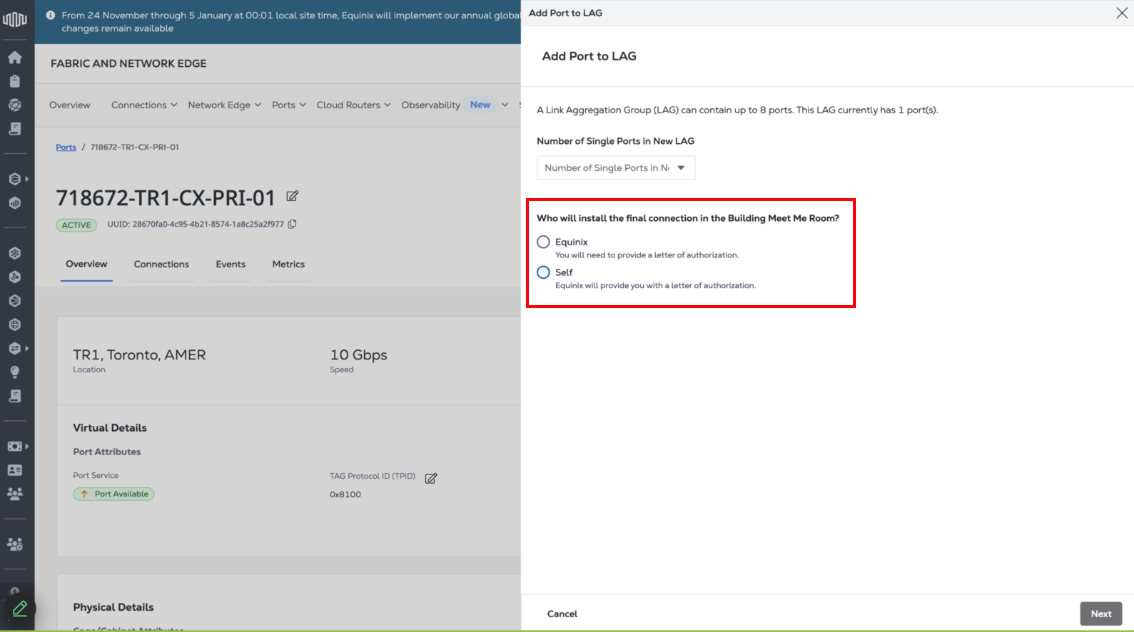
If the existing port being used for creating the LAG is a BMMR port, in the Who will install the final connection in the Building Meet Me Room?, select one of the following:
- Equinix - To have an Equinix technician carry out port installation in the BMMR. This option requires providing a Letter of Authorization (LOA).
- Self - To have the port installed by your personnel.
-
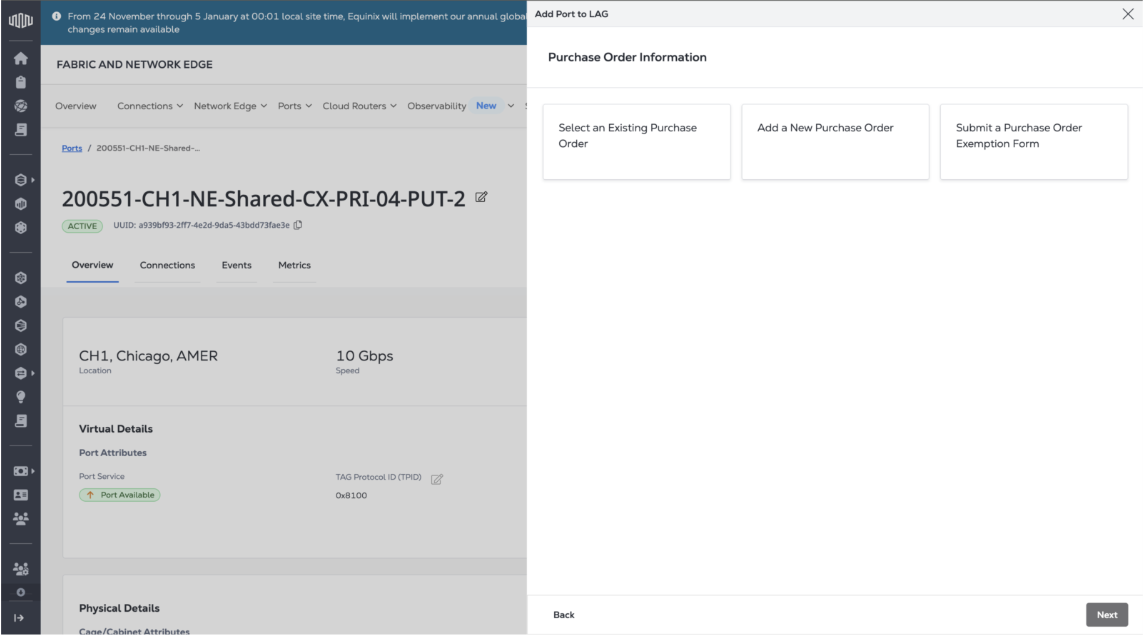
Under Purchase Order, enter a purchase order number or click Select Purchase Order Number to choose an eligible PO.
-
Under Pricing Information, select I agree to acknowledge the pricing disclaimer.
-
Click Submit to add a port to the LAG you just created.
Change the Priority of an Equinix Fabric Port
After you order an Equinix Fabric port as a primary or secondary port, you might want to change its priority.
Change the Priority of a Port with No Active Virtual Connections
-
Order a new Fabric port, and assign it the correct priority (either primary or secondary).
You can place this order through either your Equinix Sales Representative or the Customer Portal.
-
Terminate your Fabric port that was assigned the incorrect priority, with help from the Equinix Sales team.
Change the Priority of a Port with Active Virtual Connections
-
Order a new Fabric port, and assign it the correct priority (either primary or secondary).
You can place this order through either your Equinix Sales Representative or the Customer Portal.
-
Open a ticket to migrate existing connections from the existing port to the new port that was ordered. Your local Service Desk can be contacted through Equinix Customer Support or by sending an email to support@equinix.com.
-
Terminate your Fabric port that was assigned the incorrect priority, with help from the Equinix Sales team.
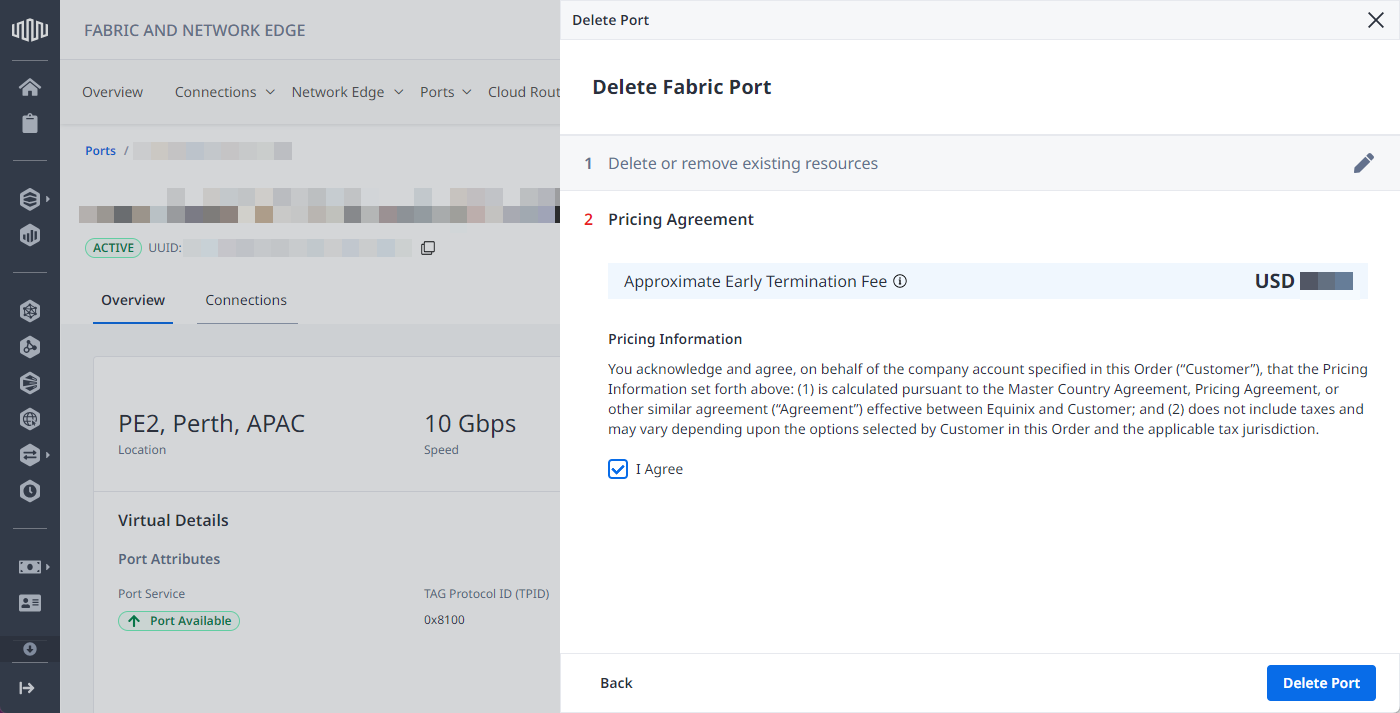
Deleting an Equinix Fabric Port
You can delete an Equinix Fabric port after you migrate to a new port and you no longer need it, or you want to terminate a port that you no longer use. You can only delete ports purchased directly from Equinix.
Deleting a port may incur an early termination fee.
Deprovisioning a port requires:
-
Removing the port from service profiles or deleting service profiles associated with it.
-
Deleting any service tokens associated with the port you want to delete.
In case there are objects associated with the given port, they will be listed when you try to delete it.

To delete a Fabric port:
-
Log in to the Customer Portal > Fabric Dashboard.
-
From the Ports menu, select Port Inventory.
-
Locate and click the port instance you want to deprovision.
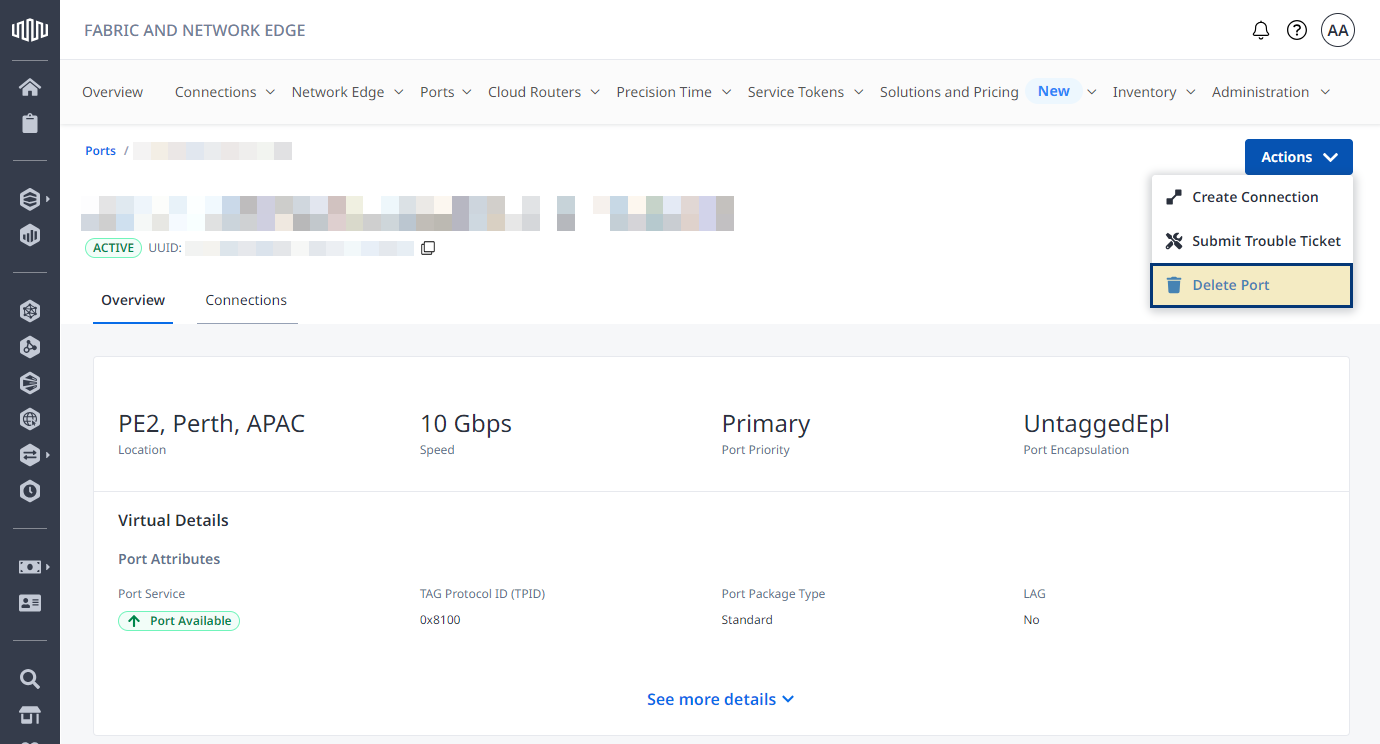
-
Click Actions and select Delete Port.
-
Make sure there are no objects associated with the given port and click Next.
-
Select I Agree to acknowledge pricing information, then click Delete Port.