
The workflow in the Equinix Fabric Portal allows you to create different connections, including:
- Local or Metro vs. Remote
- Layer 2 and Layer 3
- CSP vs Internal or Connect to Self
For Layer 3 connection requests, the workflow is:
- Select a service provider and a Layer 3 service profile.
- Enter your basic configuration details.
- Configure connection.
- Review and submit your order.
Important: For organizations transitioned to Equinix Identity and Access Management, the permissions to create and manage Layer 3 components are inherited from the Layer 2 connection permission settings.
Select the Service Provider and Layer 3 Service Profile
- Log in to Equinix Fabric.
- Click Create Connection.
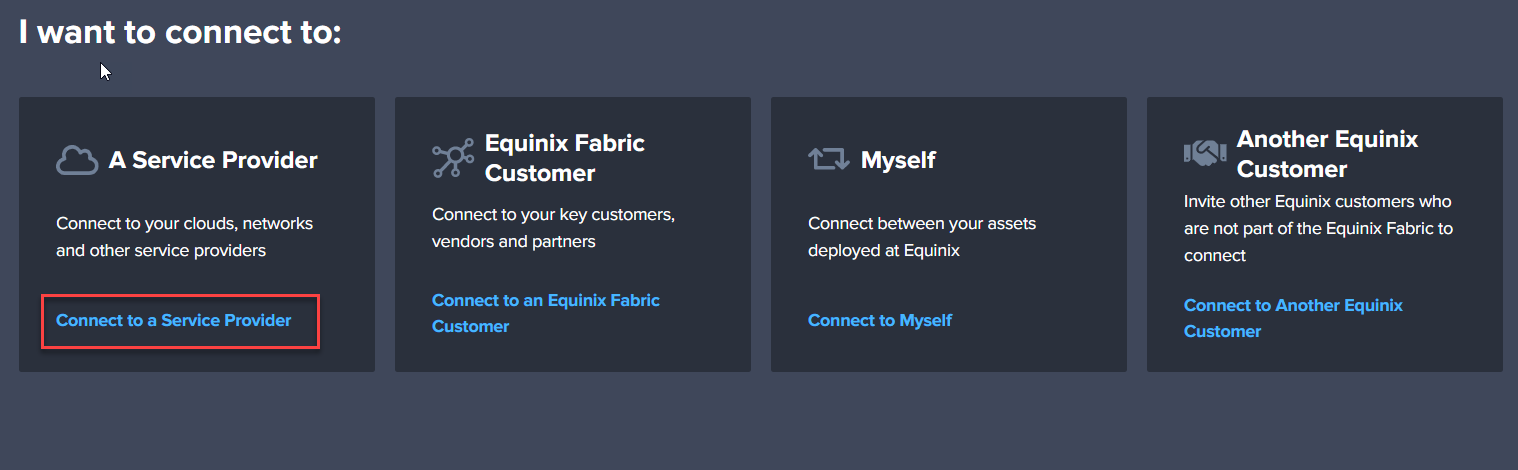
- Click Connect to a Service Provider.
- In the A Service Provider card, click Connect to a Service Provider.

- Scroll through the list of service providers or enter a provider name in the Select a Service Provider search box.
- On your desired service provider's card, click Select.
- Click Create Connection. The Basic Configuration page will display.
Note: If you have limited bandwidths or no available ports, you will be prompted to cancel the connection and redirected to the Equinix Customer Portal to order a new port.
Enter Basic Configuration Details
-
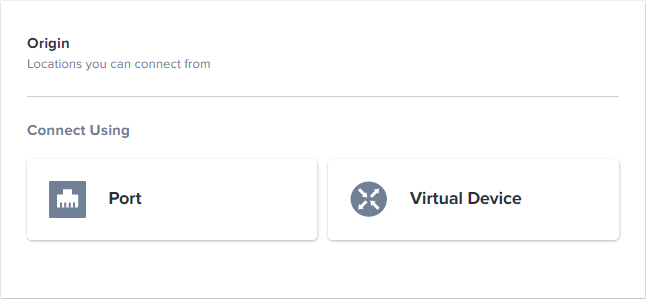
In the Connect Using section, click an option.

Note: Network Edge users can select Virtual Device to create Layer 3 connections.
-
Click an origin location.
- In the list of available ports or devices, click a port or device.
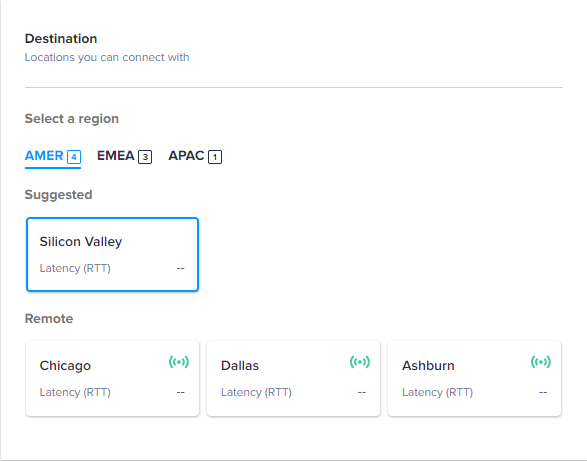
- In the Destination section, click a destination.

-
Select a Connection Speed for this location.
Note: The speed limits provided by the service profile determine what connection speeds are offered.
-
Click Next: Connection Details. The Connection Details page will display.
Configure Connection Details
Connection Details vary depending on the service provider you selected. Connection Details often include Technical Specifications, routing information, and Optional Network Services.
- Enter all of the required information.
- Click Next: Review. The Review page will display.
Note: You will be prompted to complete the required fields and selections if you omitted any required information.
Review and Submit Order
The Review page allows you to review all of the details of your L3 connection and submit your order. The page provides the following information.
- Preview – Visually illustrates the complete connection.
- Basic Configuration – Summarizes the configuration details.
- Additional Details Required by the Provider – Summarizes additional information required by your service provider.
- Optional Network Services – Indicates whether you selected Network Address Translation and/or Bidirectional Forwarding Detection.
- Notifications – Indicates who will receive email notifications regarding your subscription. Click Add Another Email to add more notification recipients.
- Pricing Overview – Itemizes your monthly charges. Click Design Summary to download a copy of the design details.
When you are satisfied with the details, click Submit to complete your connection request. The order confirmation page provides a preview of your submitted order.
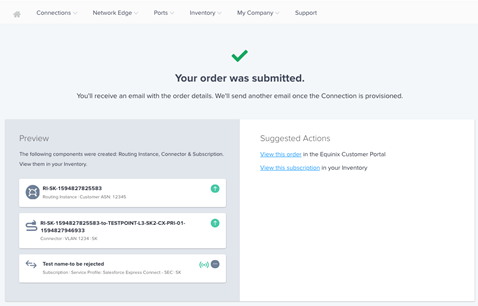
A confirmation email will be sent to you with the order details. You will receive a second email once the connection is provisioned.