
Cloud Networking Video
The workflow in the Equinix Fabric portal allows you to create different connections, including:
- Local or Metro vs. Remote
- Layer 2 and Layer 3
- CSP vs. Internal or Connect to Self
For Layer 2 connection requests, the workflow is:
- Select a service provider and a Layer 2 service profile.
- Enter your basic configuration details.
- Configure connection.
- Review and submit your order.
Select the Service Provider and Layer 2 Service Profile
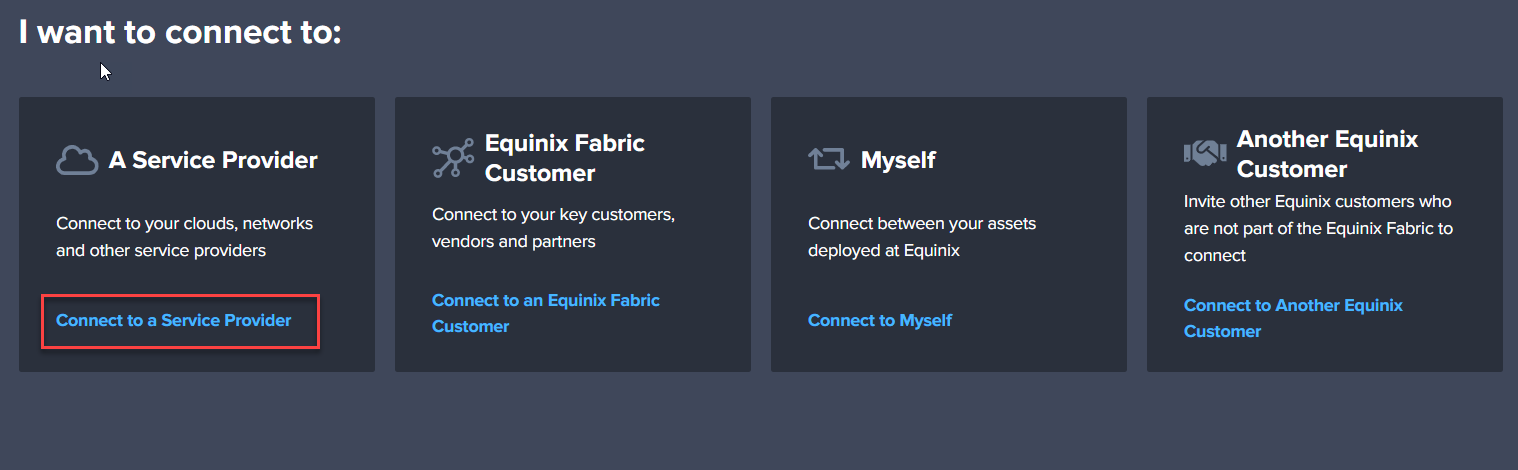
- Log in to Equinix Fabric. From the Connections menu, select Create Connection.
- Click Connect to a Service Provider.
- In the A Service Provider card, click Connect to a Service Provider.

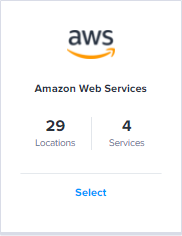
- Scroll through the list of service providers or enter a provider name in the Select a Service Provider search box.
- On your desired service provider's card, click Select.

- Click Create Connection.

The Basic Configuration page will display.
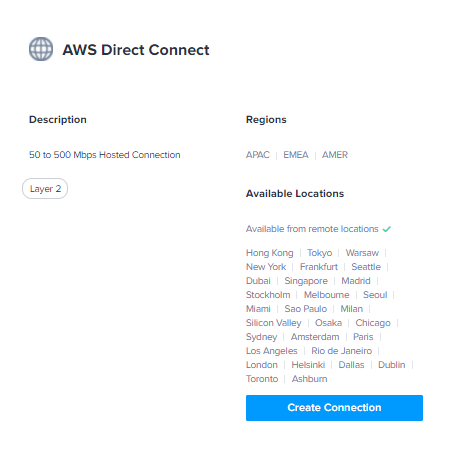
Note: If you have limited bandwidths or no available ports, you will be prompted to cancel the connection and be redirected to the Equinix Customer Portal to order a new port.
Enter Basic Configuration Details
-
In the Connect Using section, click Port. A list of ports available in the origin location you selected will display.

-
In the Origin section of the Basic Configuration page, click an origin location.

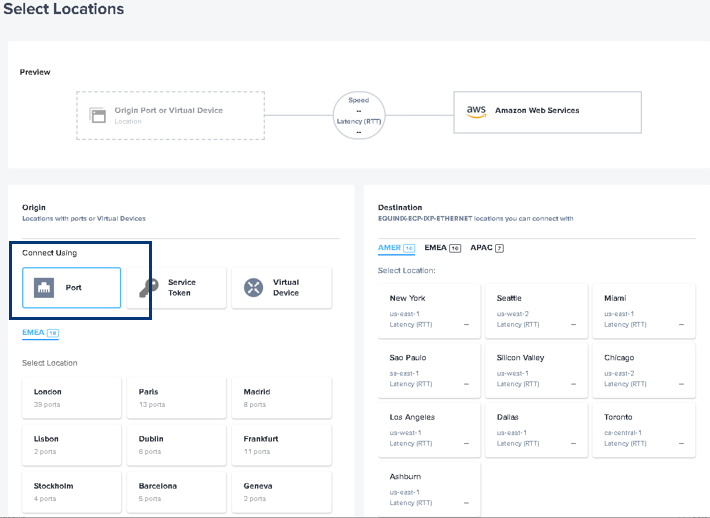

- In the list of available ports, click a port.
Note: Network Edge users can select Virtual Device to create Layer 2 connections.
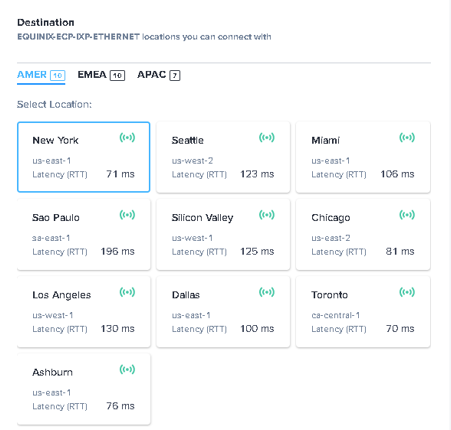
- In the Destination section, click a destination.

Note: Hover over a port to see the Bill to account and the Cable ID. 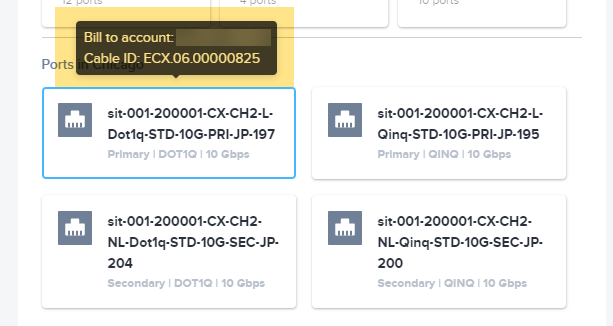
-
Click Next. The Connection Details page will display.
Configure Connection Details
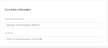
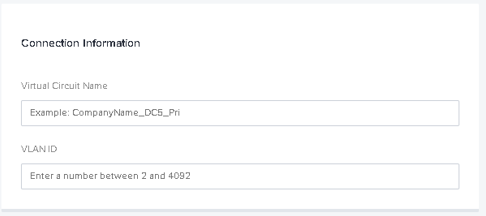
- In the Connection Information section, enter a name for your virtual circuit and a VLAN ID.
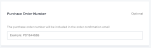
- (Optional) In the Purchase Order section, enter the PO number.

- Select a Connection Speed for this location.

- Click Next: Review. The Review page will display.

Note: The speed limits provided by the service profile determine what connection speed are offered.
Review and Submit Order
The Review page allows you to review all of the details of your L2 connection and submit your order. The page provides the following information:
- Preview – Visually illustrates the complete connection.
- Connection Summary – Summarizes the configuration details.
- Notifications – Indicates who will receive email notifications regarding your subscription. Click Add Another Email to add more notification recipients.
- Pricing Overview – Itemizes your monthly charges. Click Design Summary to download a copy of the design details.
When you are satisfied with the details, click Submit to complete your connection request. The order confirmation page provides a preview of your submitted order.
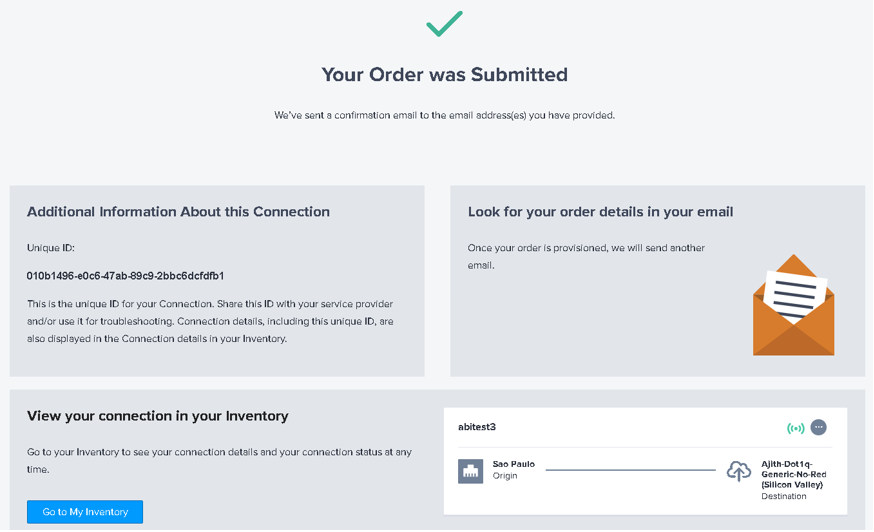
A confirmation email will be sent to you with the order details. You will receive a second email once the connection is provisioned.
