Ordering Precision Time with Fabric
Equinix Precision Time services can be set up and provisioned in the Customer Portal. This enables you to use an existing Fabric account to create and manage connections and provision Precision Time services through a single portal login.
- Order a Precision Time service in the Customer Portal. For help, contact an Equinix sales representative.
- Before ordering a Precision Time service, ensure the account meets the items listed in Prerequisites.
- If a Network Edge device will be used as a gateway, see Configure Network Edge Devices as Timing Gateways before adding a Precision Time service.
- Precision Time (NTP) is supported in all metros and IBXs that offer Fabric.
Precision Time service orders placed through an Equinix sales representative cannot be modified in the Customer Portal. Edits (including Package Edit), deletions, and cancellations must be handled by an Equinix sales representative. For help, contact an Equinix sales representative.
:::info Important Equinix is upgrading its systems and updating the user experience in the Customer Portal over the course of 2026. If your account has been onboarded, ordering Precision Time services in the Customer Portal is temporarily unavailable. We apologize for the inconvenience. Your Sales Representative can assist you in placing a Precision Time order. :::
Create a Connection Using Quick Connect
-
Sign in to the Customer Portal and navigate to Fabric. Use the Project Selector to select the project to create your service in.
-
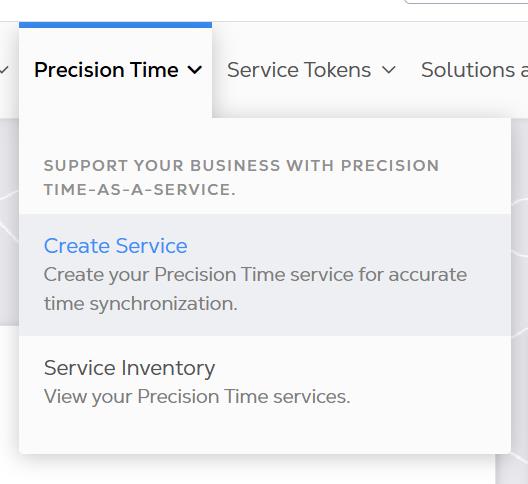
From the Precision Time menu, click Create Service.
Precision Time Configuration
Origin Information
-
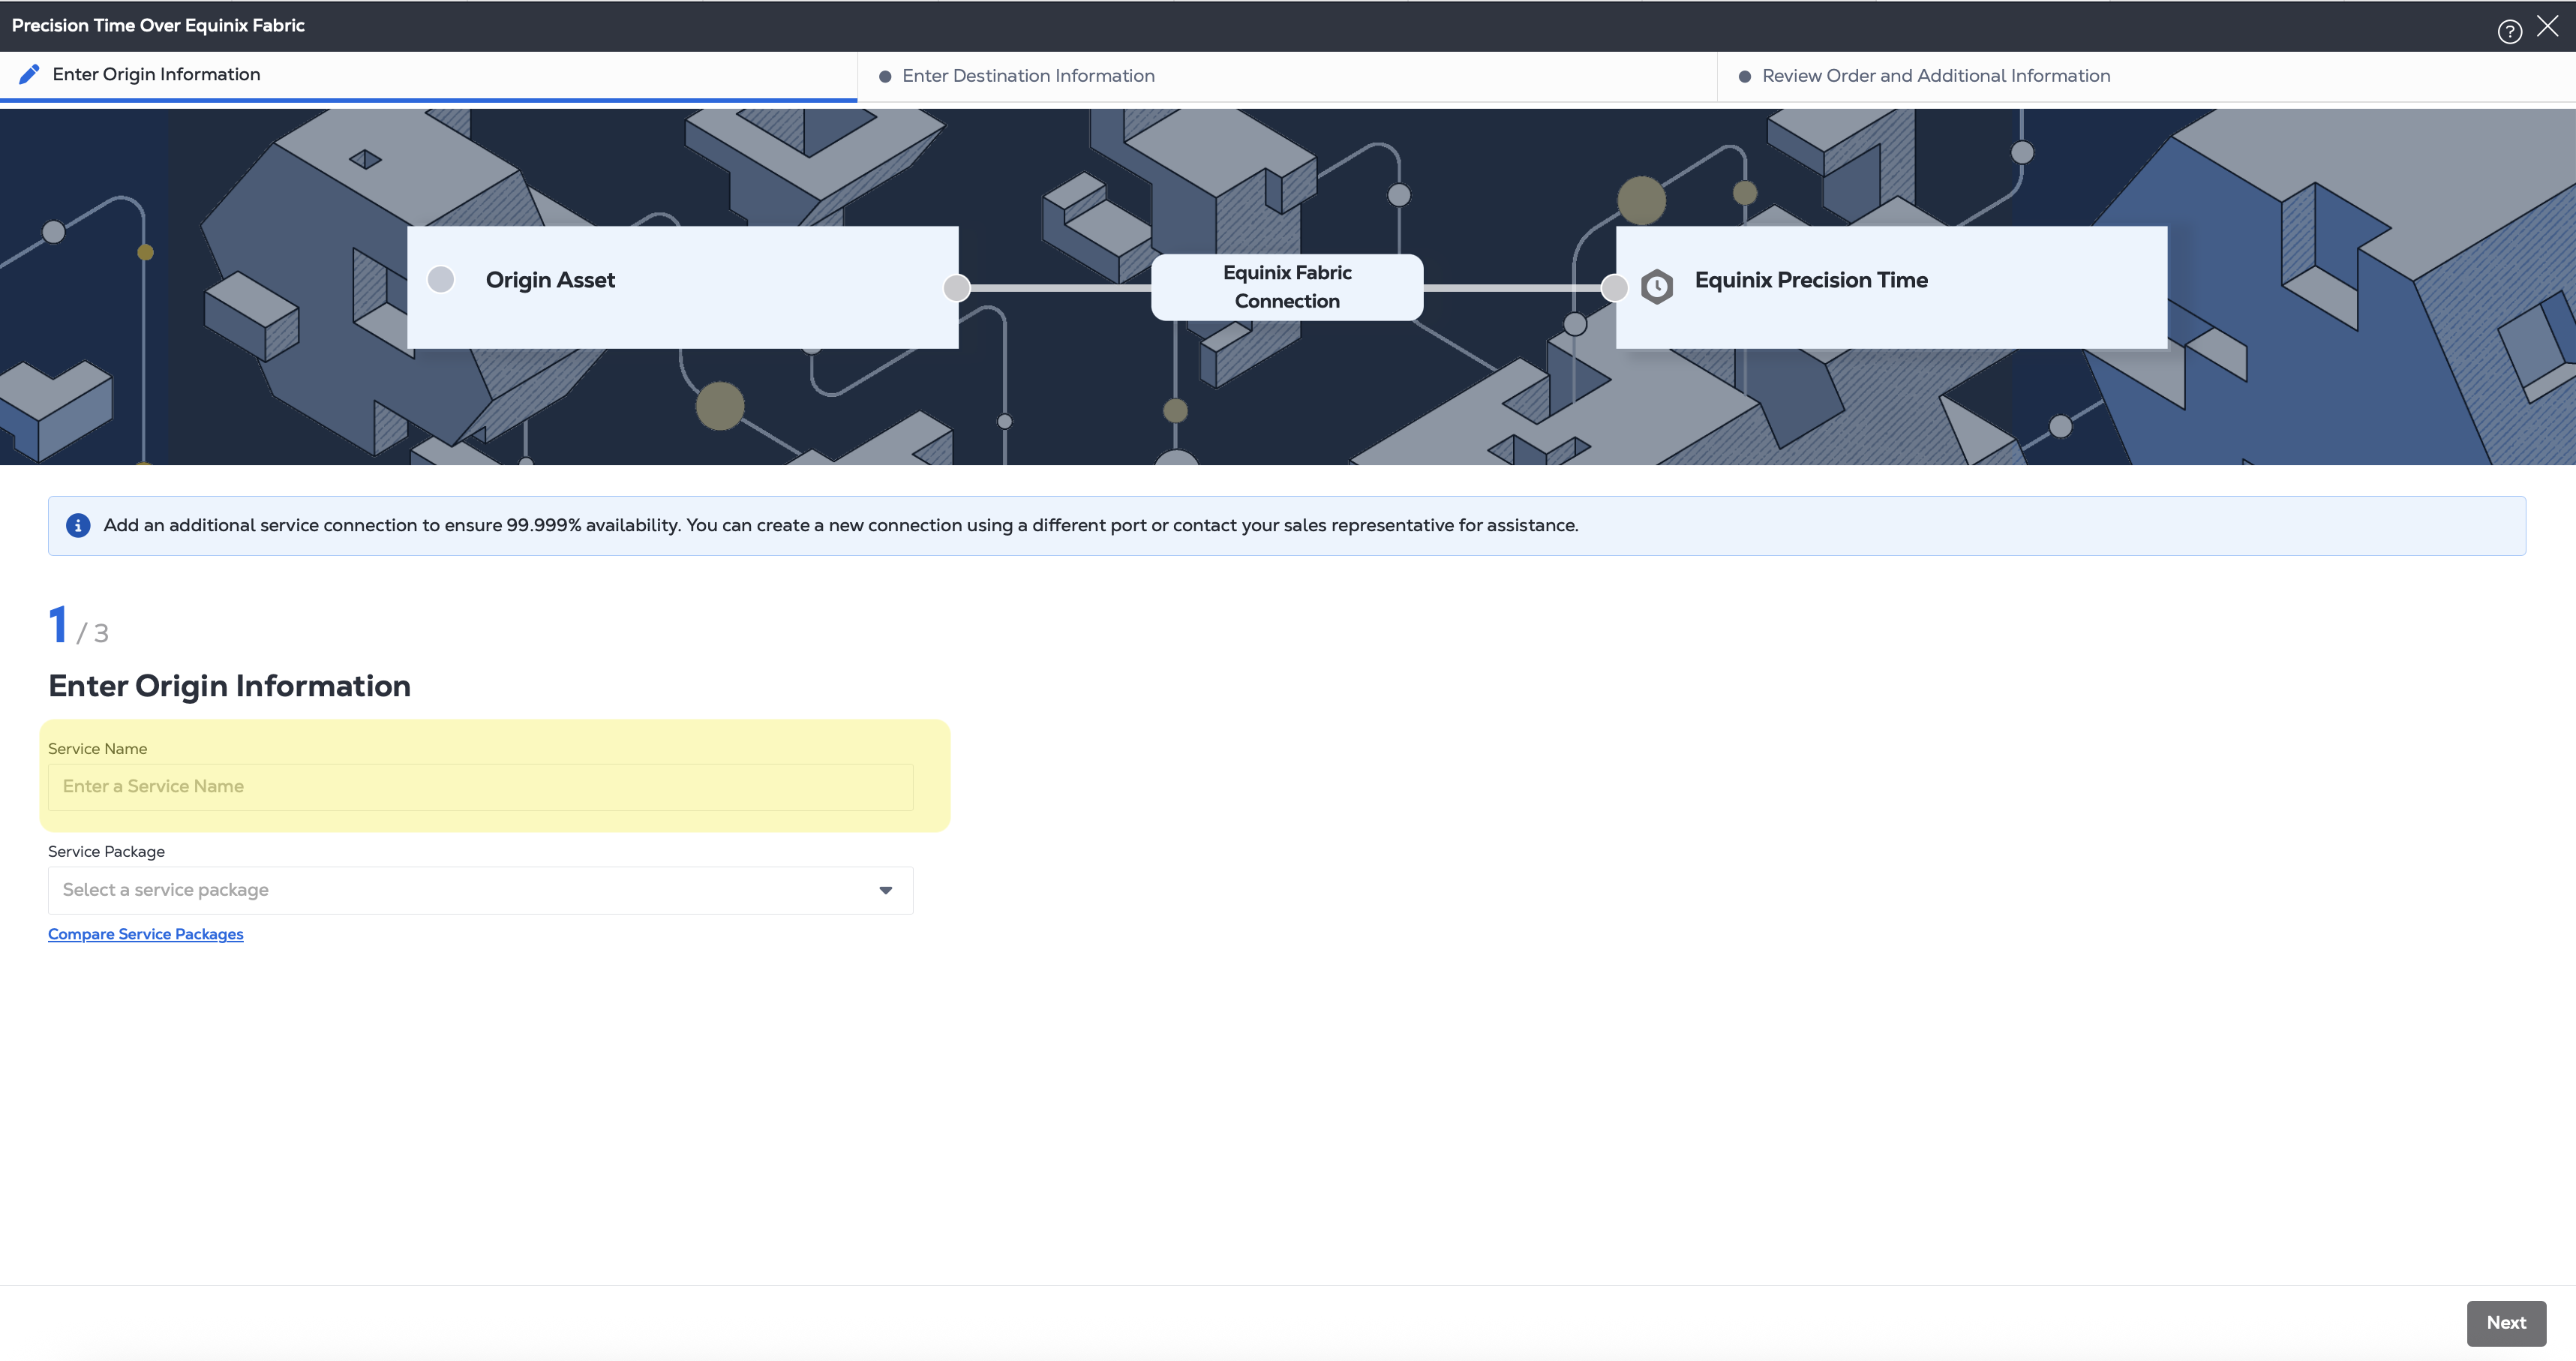
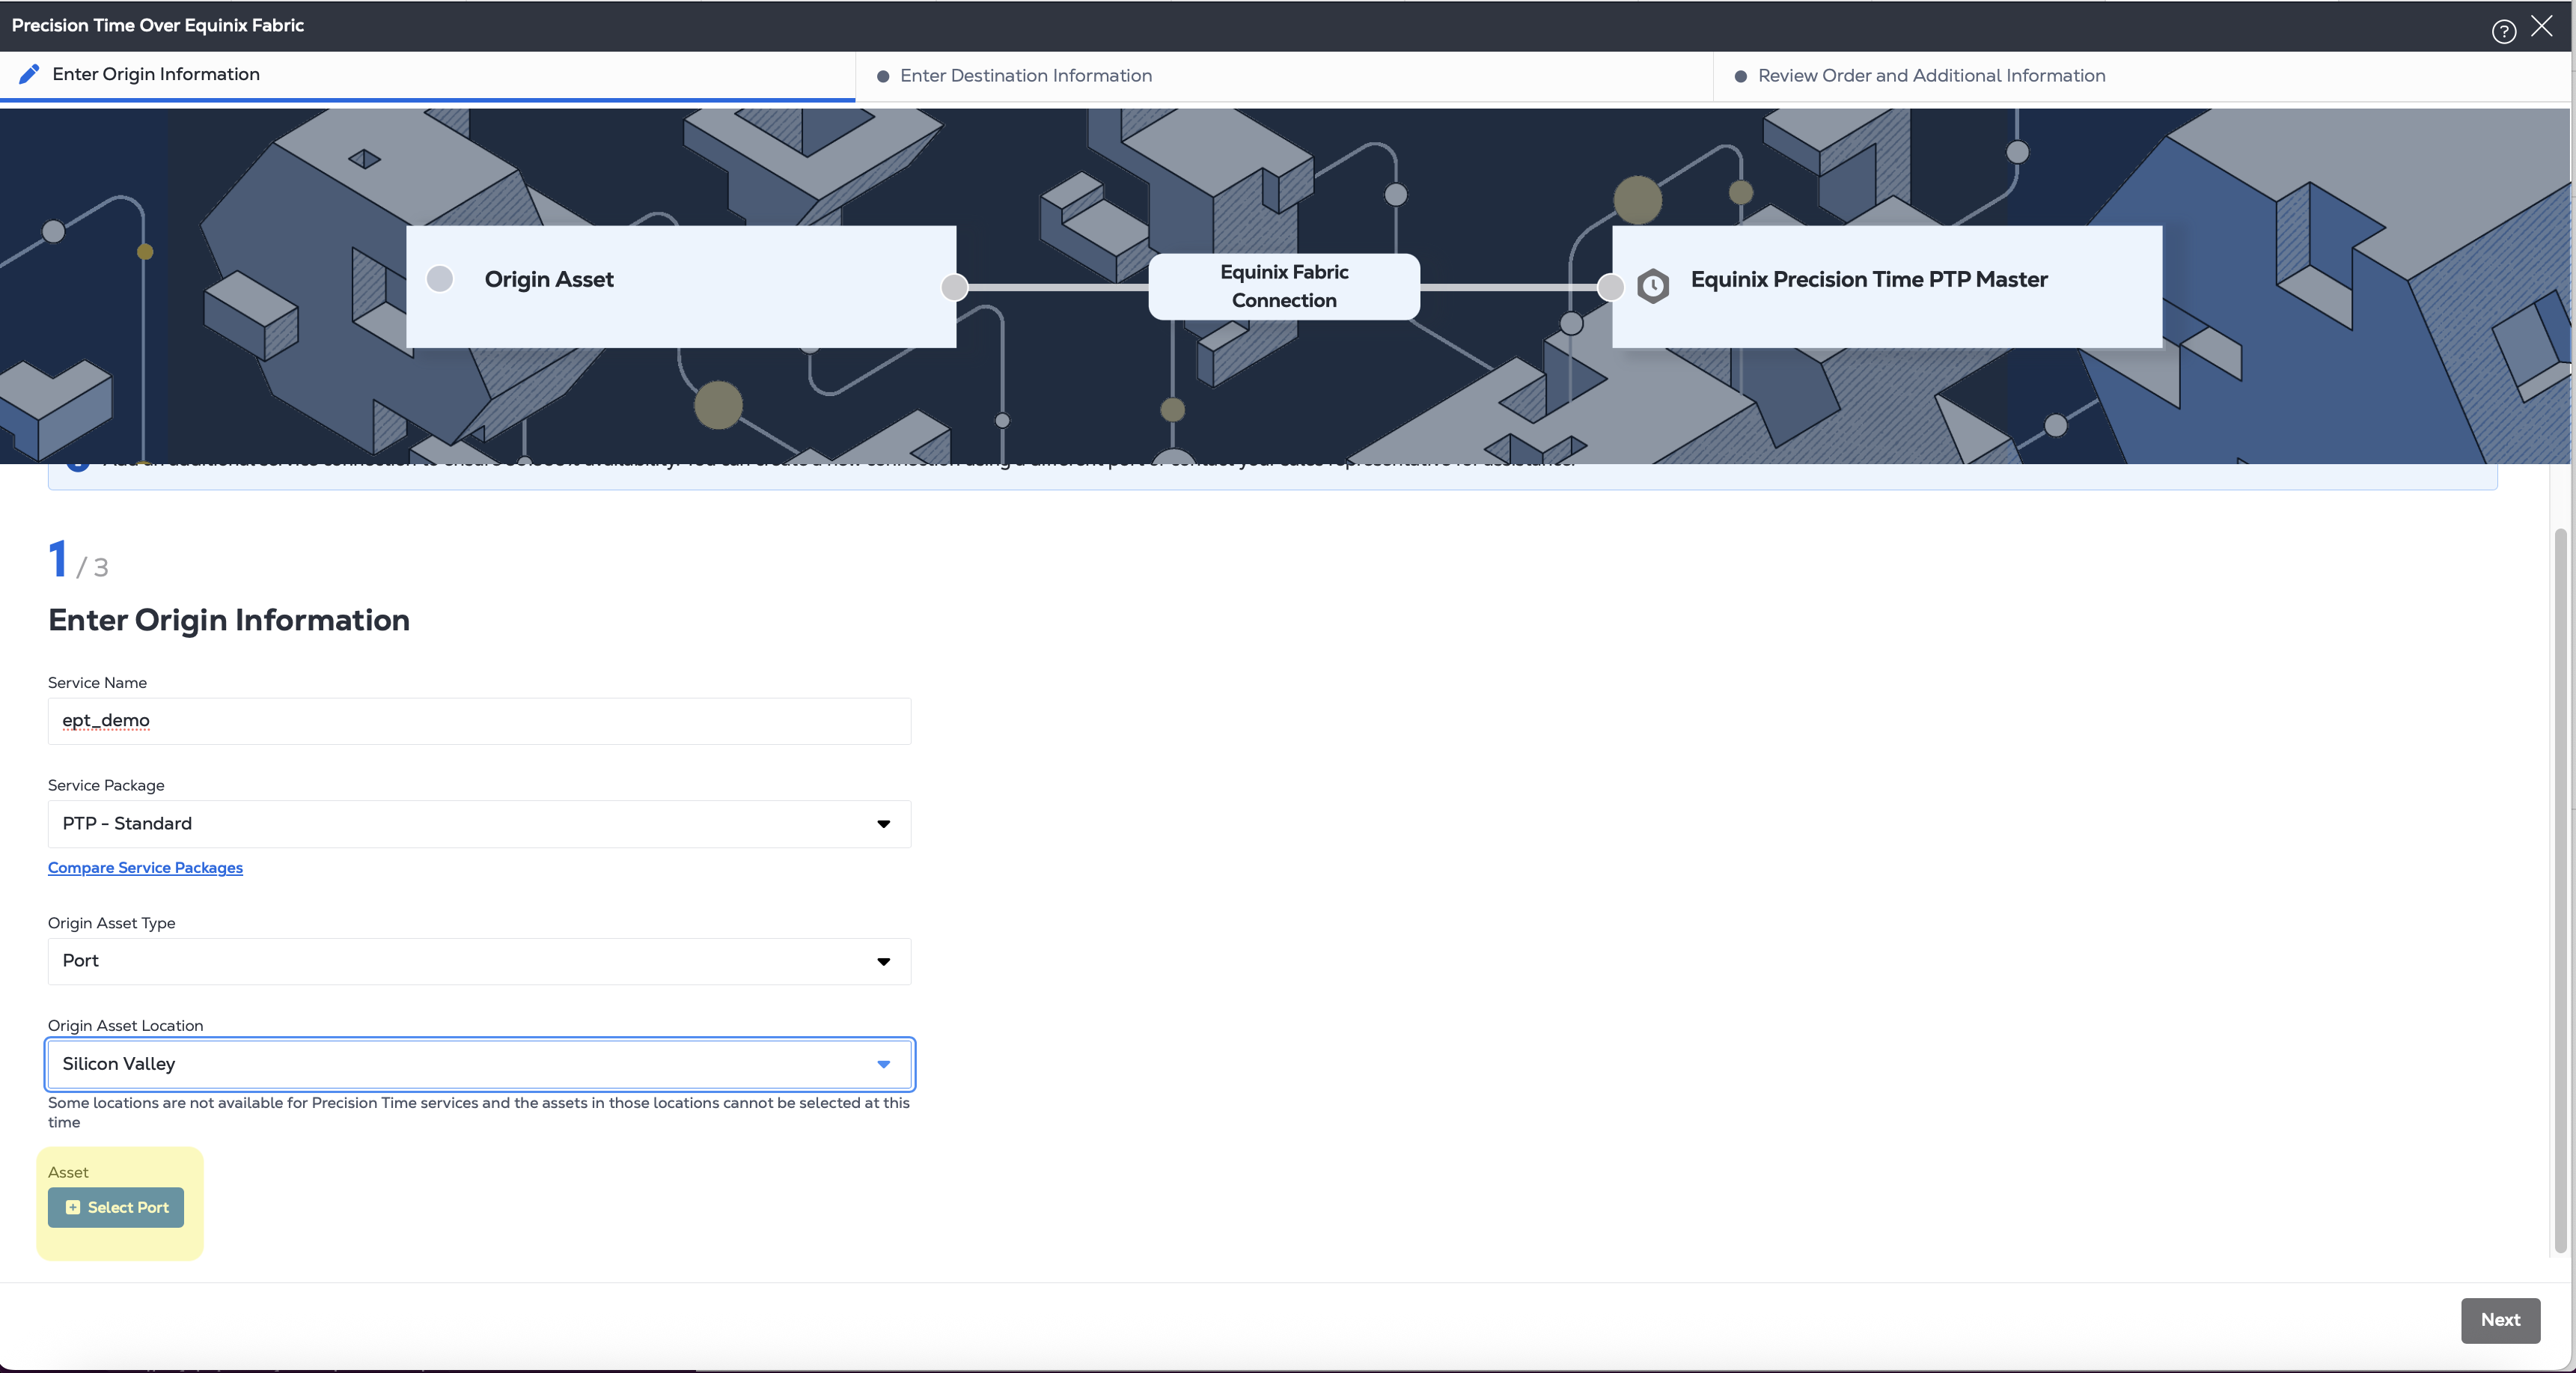
In the Quick Connect screen, enter a Service Name.
-
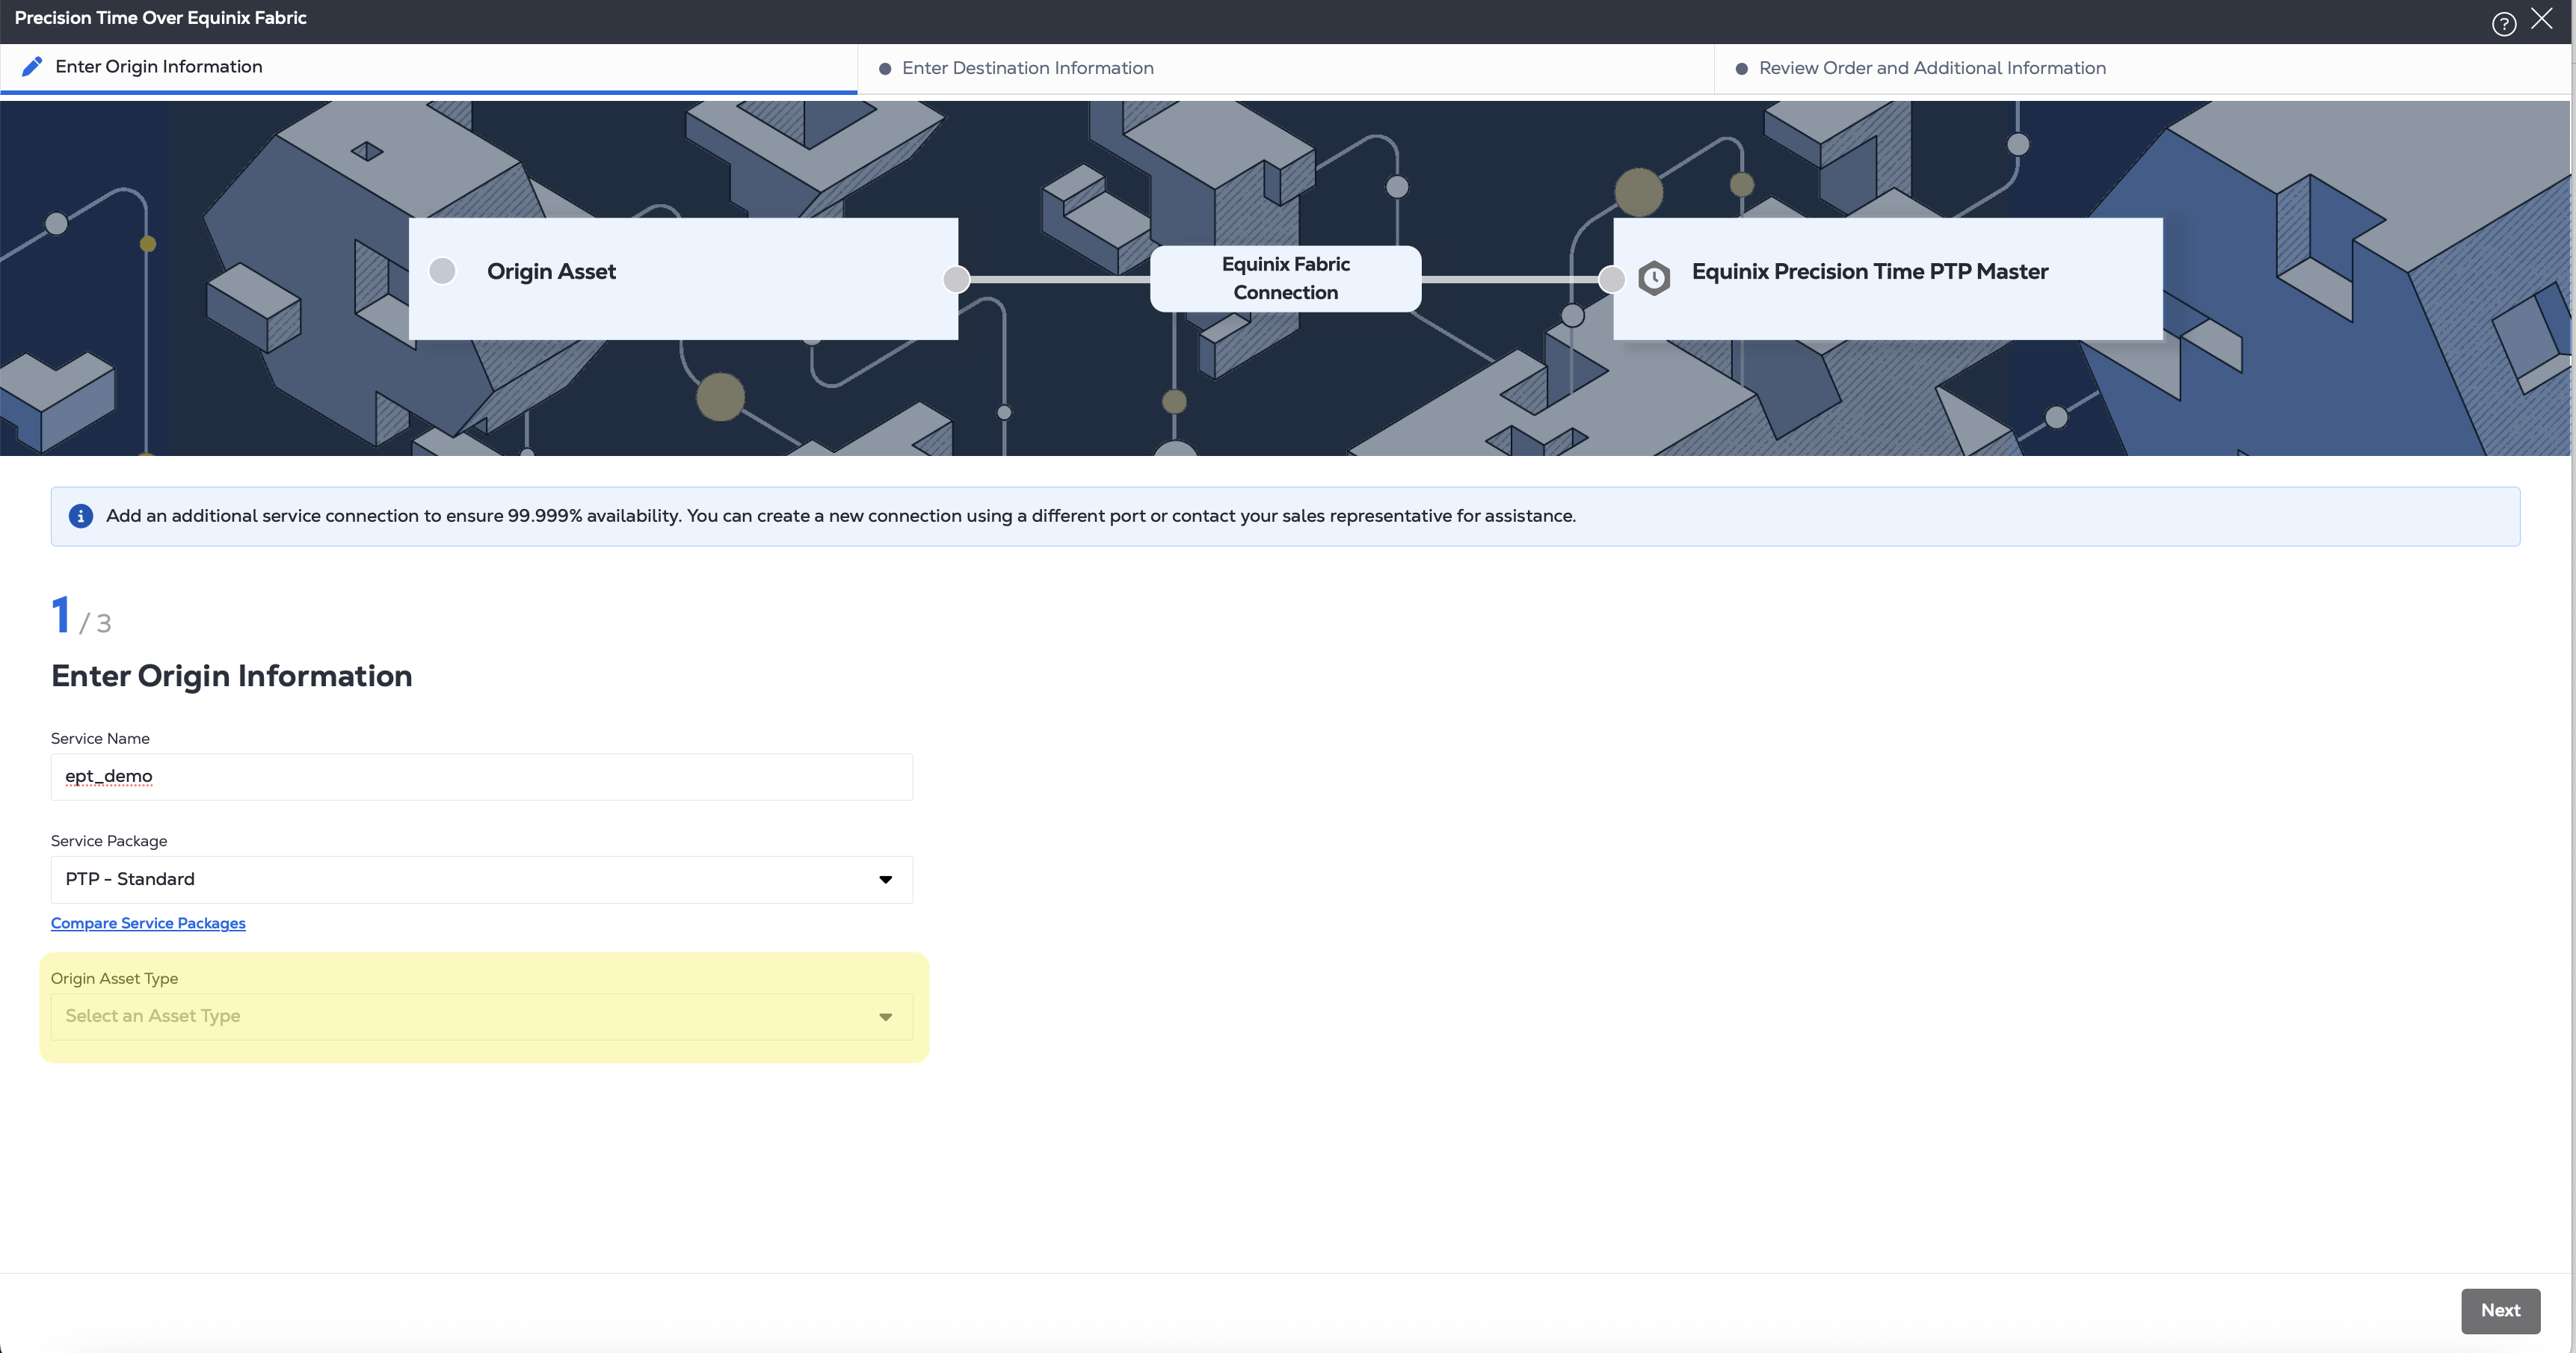
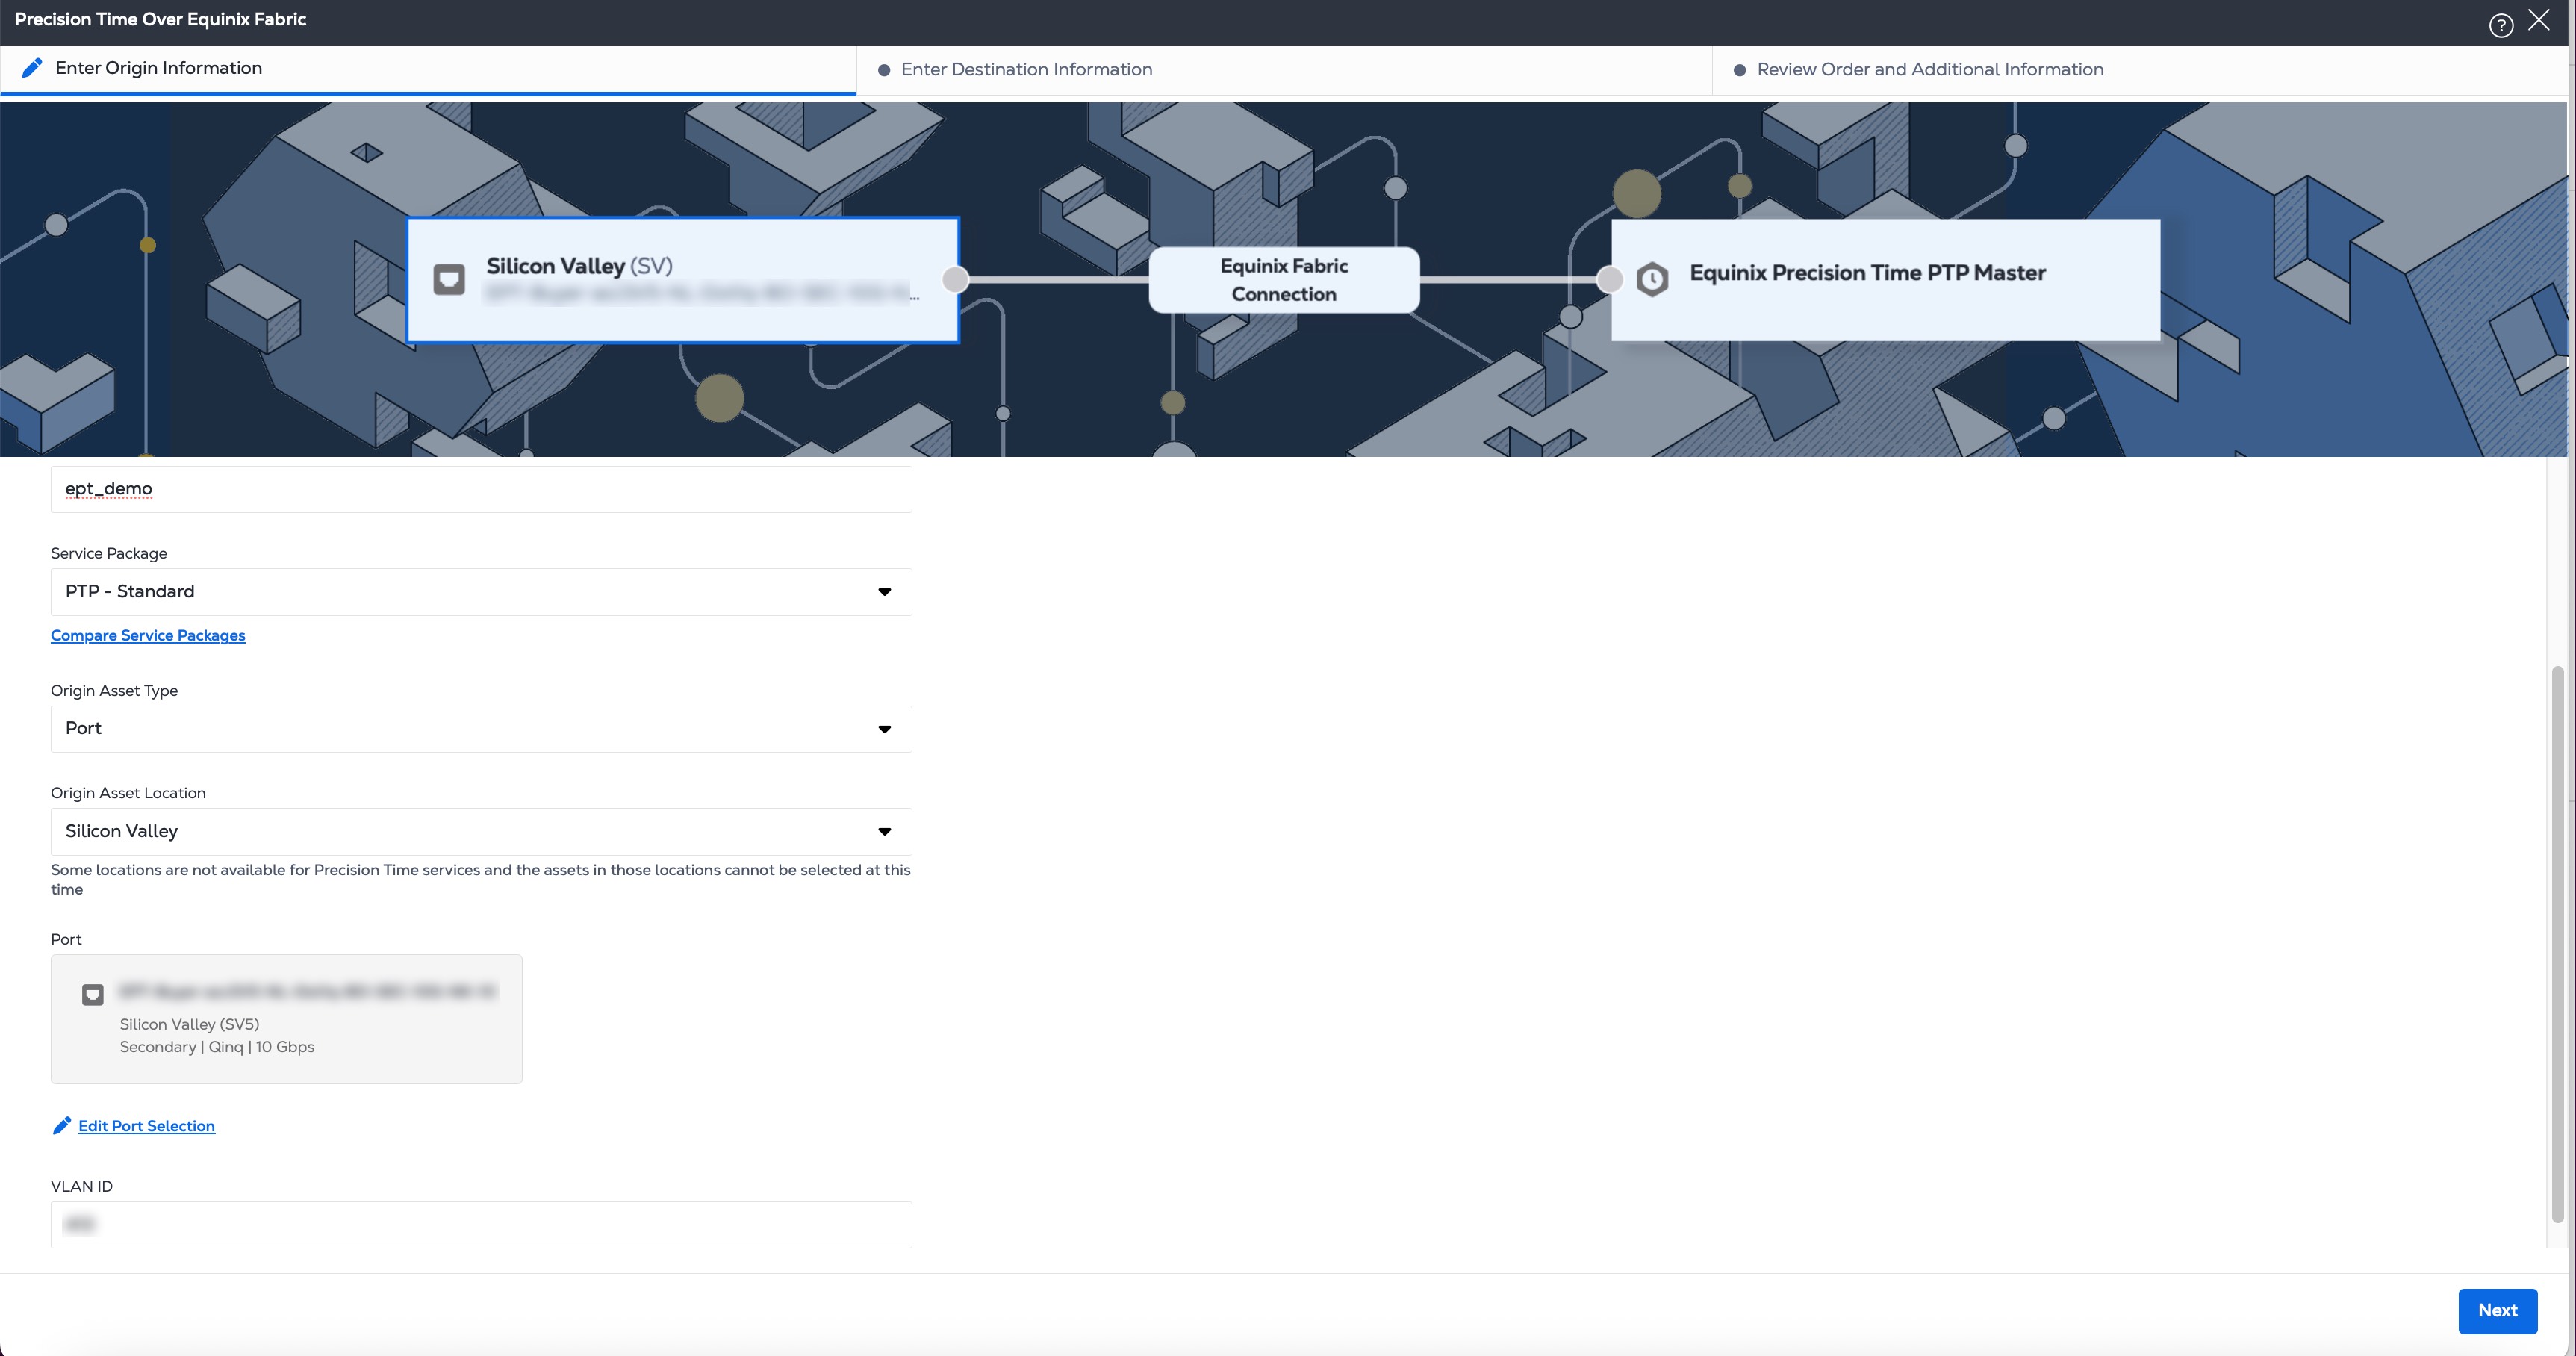
Select the Origin Asset Type.
-
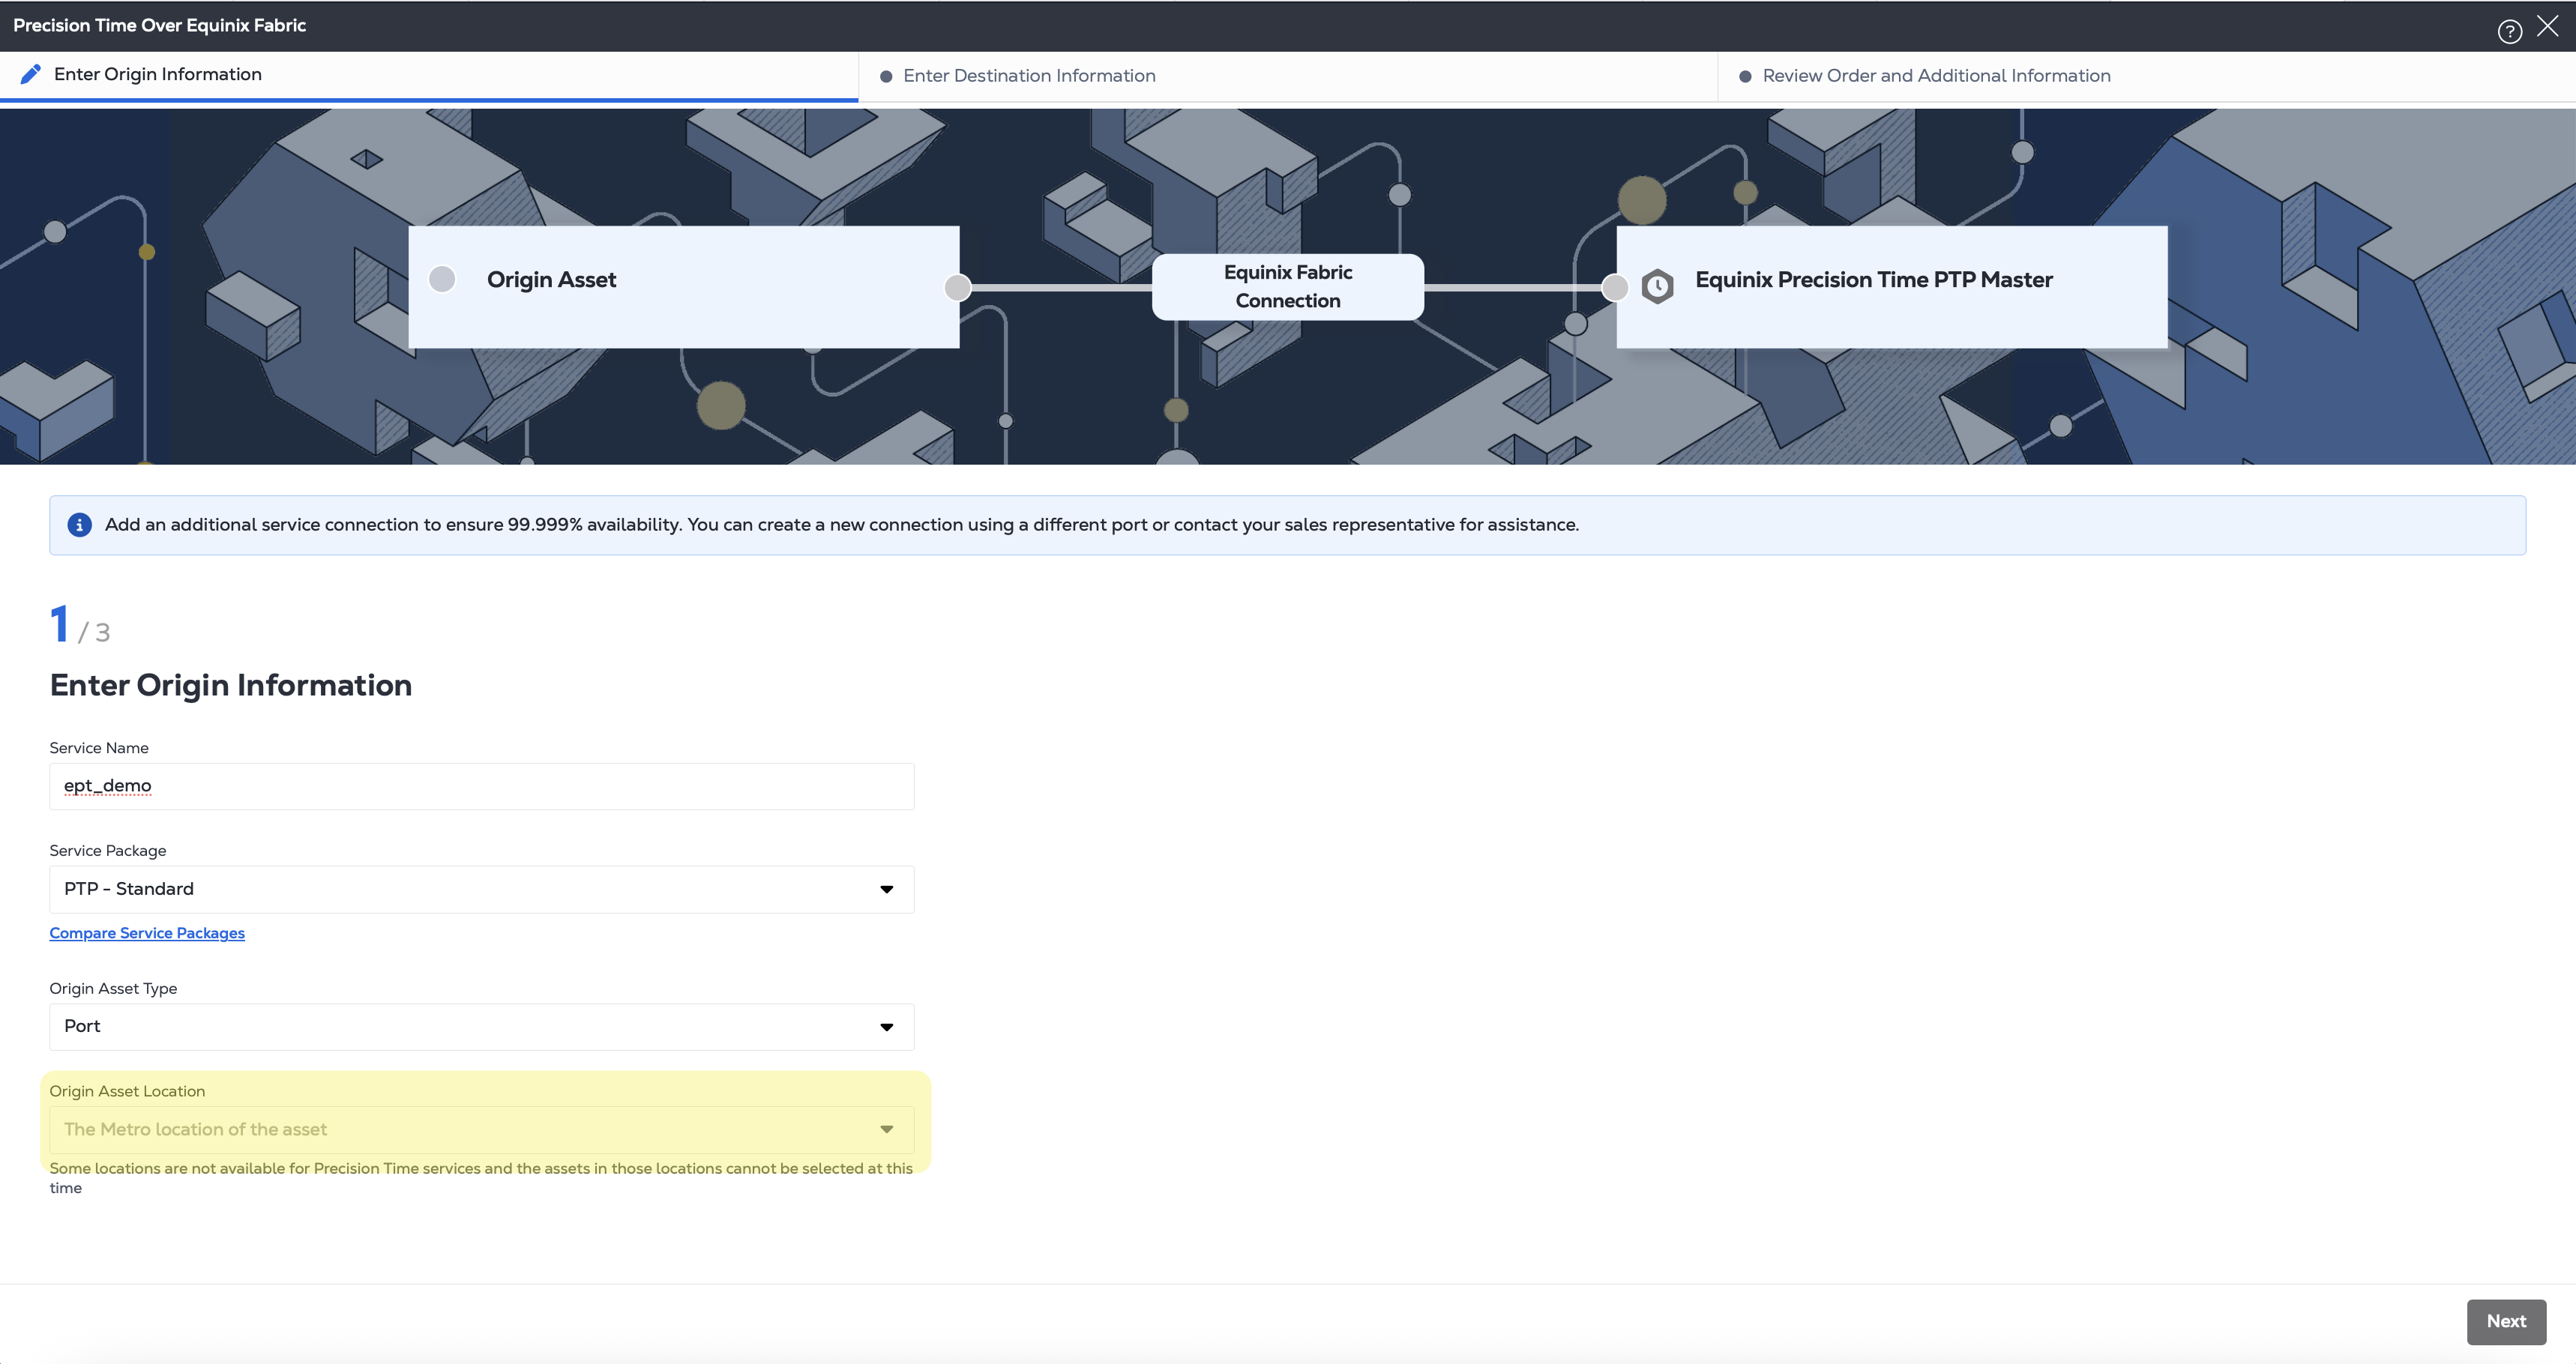
Select the Origin Asset Location.
-
Select an asset.
-
Choose a VLAN.
-
Click Next.
Destination Information
-
Select the Destination Service Location.

-
If needed, enter an IP address for the Primary Timing Server and the Secondary Timing Server.
- The recommended values are provided.
- If your new service is set up with the NTP Standard service tier, values for these fields are supplied.
-
If needed, enter a Network Mask.
- The recommended value is provided.
- If your new service is set up with the NTP Standard service tier, the value for this field is supplied.
-
For PTP services, default settings are applied automatically. To modify these values, deselect the Use the default PTP settings checkbox and enter the required information:
- Time Scale:
- ARB – Generates timestamps in UTC format with UTC offset as 0. (This is the default.)
- PTP – Generates timestamps in TAI format with current UTC offset value.
- Domain – Enter a PTP domain value for the time server. Any clocks that synchronize with this server should be configured with the same domain value. The range is 0 (the default) to 127.
- Priority 1 and Priority 2 – Enter a value between 0-248. Lower values indicate a higher priority.
- Log Announce Interval – Choose an option from the drop-down list. This logarithmic value controls the rate of PTP Announce packets from the PTP server. The default is 1, which indicates 1 packet every 2 seconds.
- Log Sync Interval – Choose an option from the drop-down list. This logarithmic value controls the rate of PTP Sync packets. The default is -4, which indicates 16 packets every second.
- Log Delay Req Interval – Choose an option from the drop-down list. This logarithmic value controls the rate of PTP DelayReq packets. This setting might also need to be specified on the PTP client. The default is -4, which indicates 16 packets every second.
- Transport Mode – Choose Multicast (default), Unicast, or Hybrid. In the Unicast Grant Time field, enter the number of seconds from 30-7200.
- Time Scale:

-
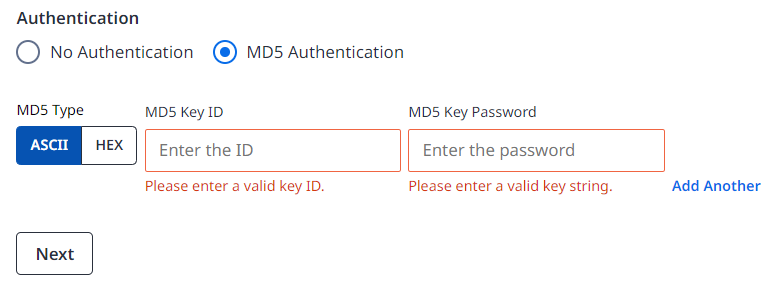
For NTP Enterprise services, you can enable additional authentication. Select MD5 Authentication and enter the required information:
- MD5 Type – Select the type of key string, ASCII or HEX.
- MD5 Key Id – Enter the key ID. Integers from 1-65535 are valid.
- MD5 Key Password – Enter a password that contains 10-40 characters. Click Add Another option to add up to 25 more keys.
- For HEX passwords, only HEX characters 0-9 and A-F can be used.
- For ASCII passwords, all ASCII characters can be used, including numbers, letters, and special characters.
- Click Next to review.
Redundancy when using Fabric Cloud Router
Precision Time supports redundancy when using Fabric Cloud Router. To achieve redundancy, use the same Fabric Cloud Router and create two Precision Time services:
- One configured as Primary
- One configured as Secondary
This configuration is available through the Public API. You create connections with Primary and Secondary redundancy priorities, and then use those connections to create the corresponding Precision Time services.
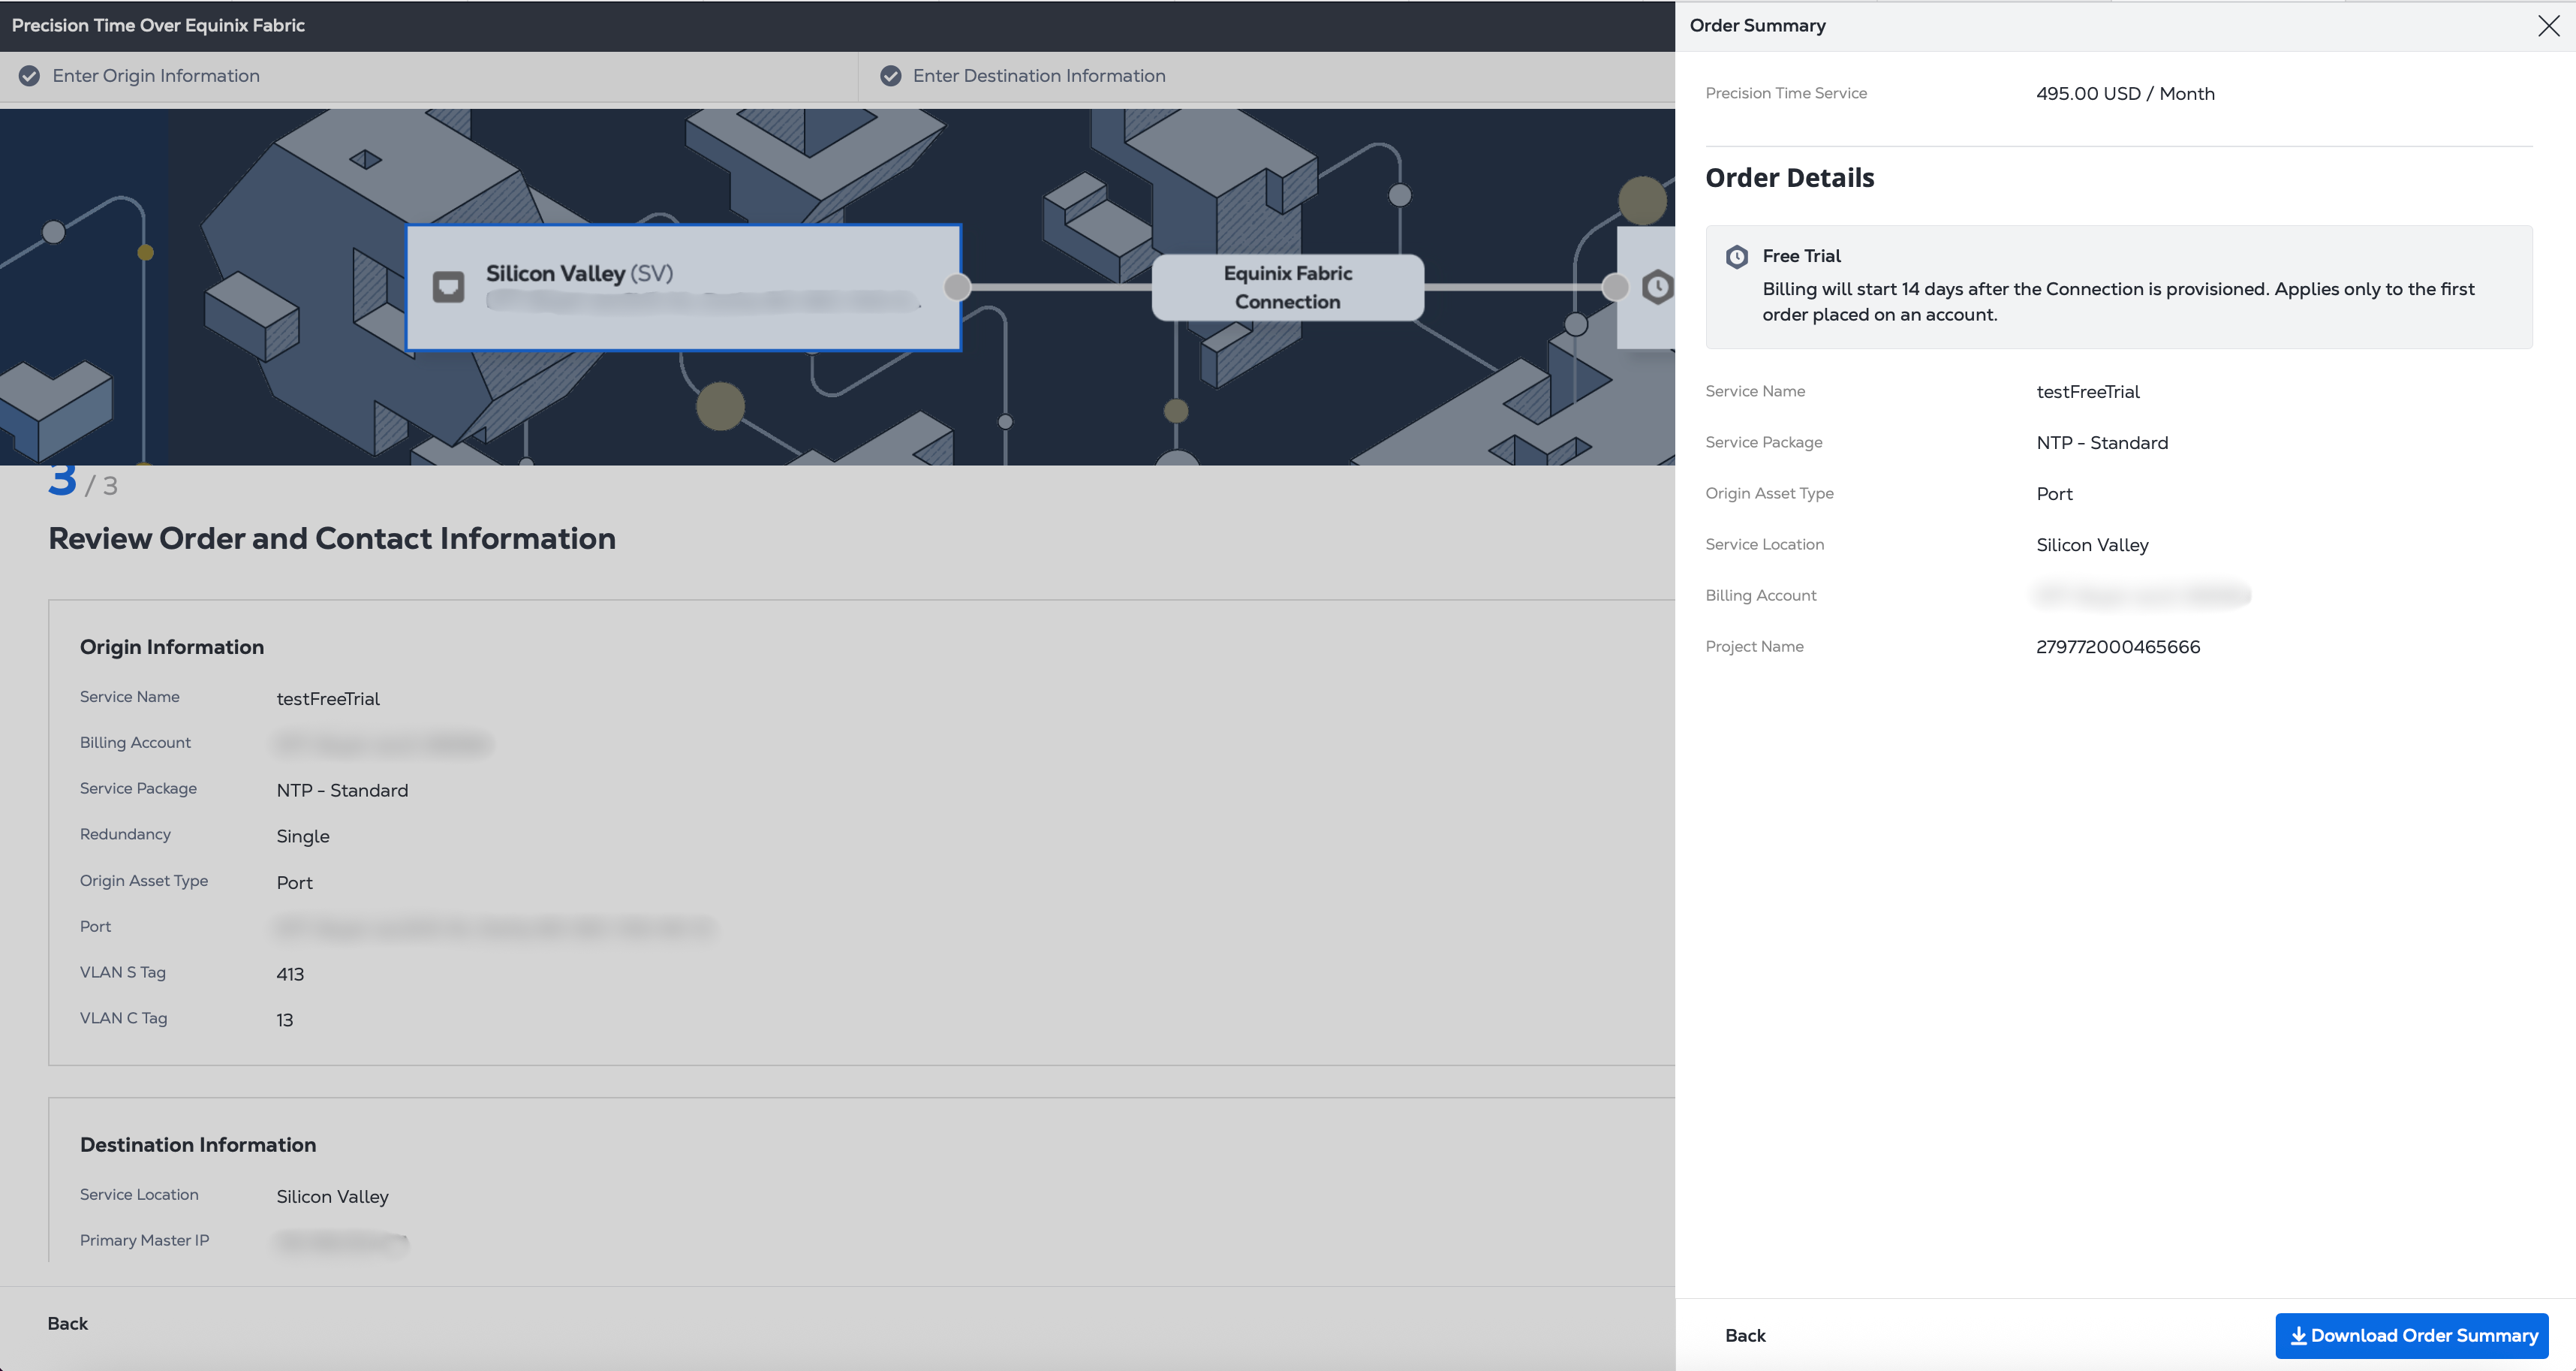
Trial Precision Time Service
Users can complete the entire ordering flow as usual and should see the trial banner at the end. No additional steps are required to enable the trial, provided your account meets the standard Precision Time Prerequisites. Billing begins 14 days after the Connection is provisioned. The trial applies only to the first order placed on an account.
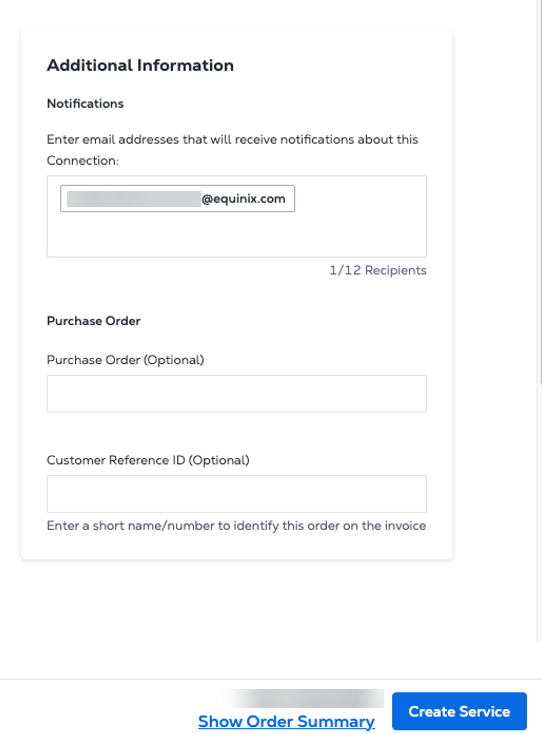
Contact Information, Terms and Conditions
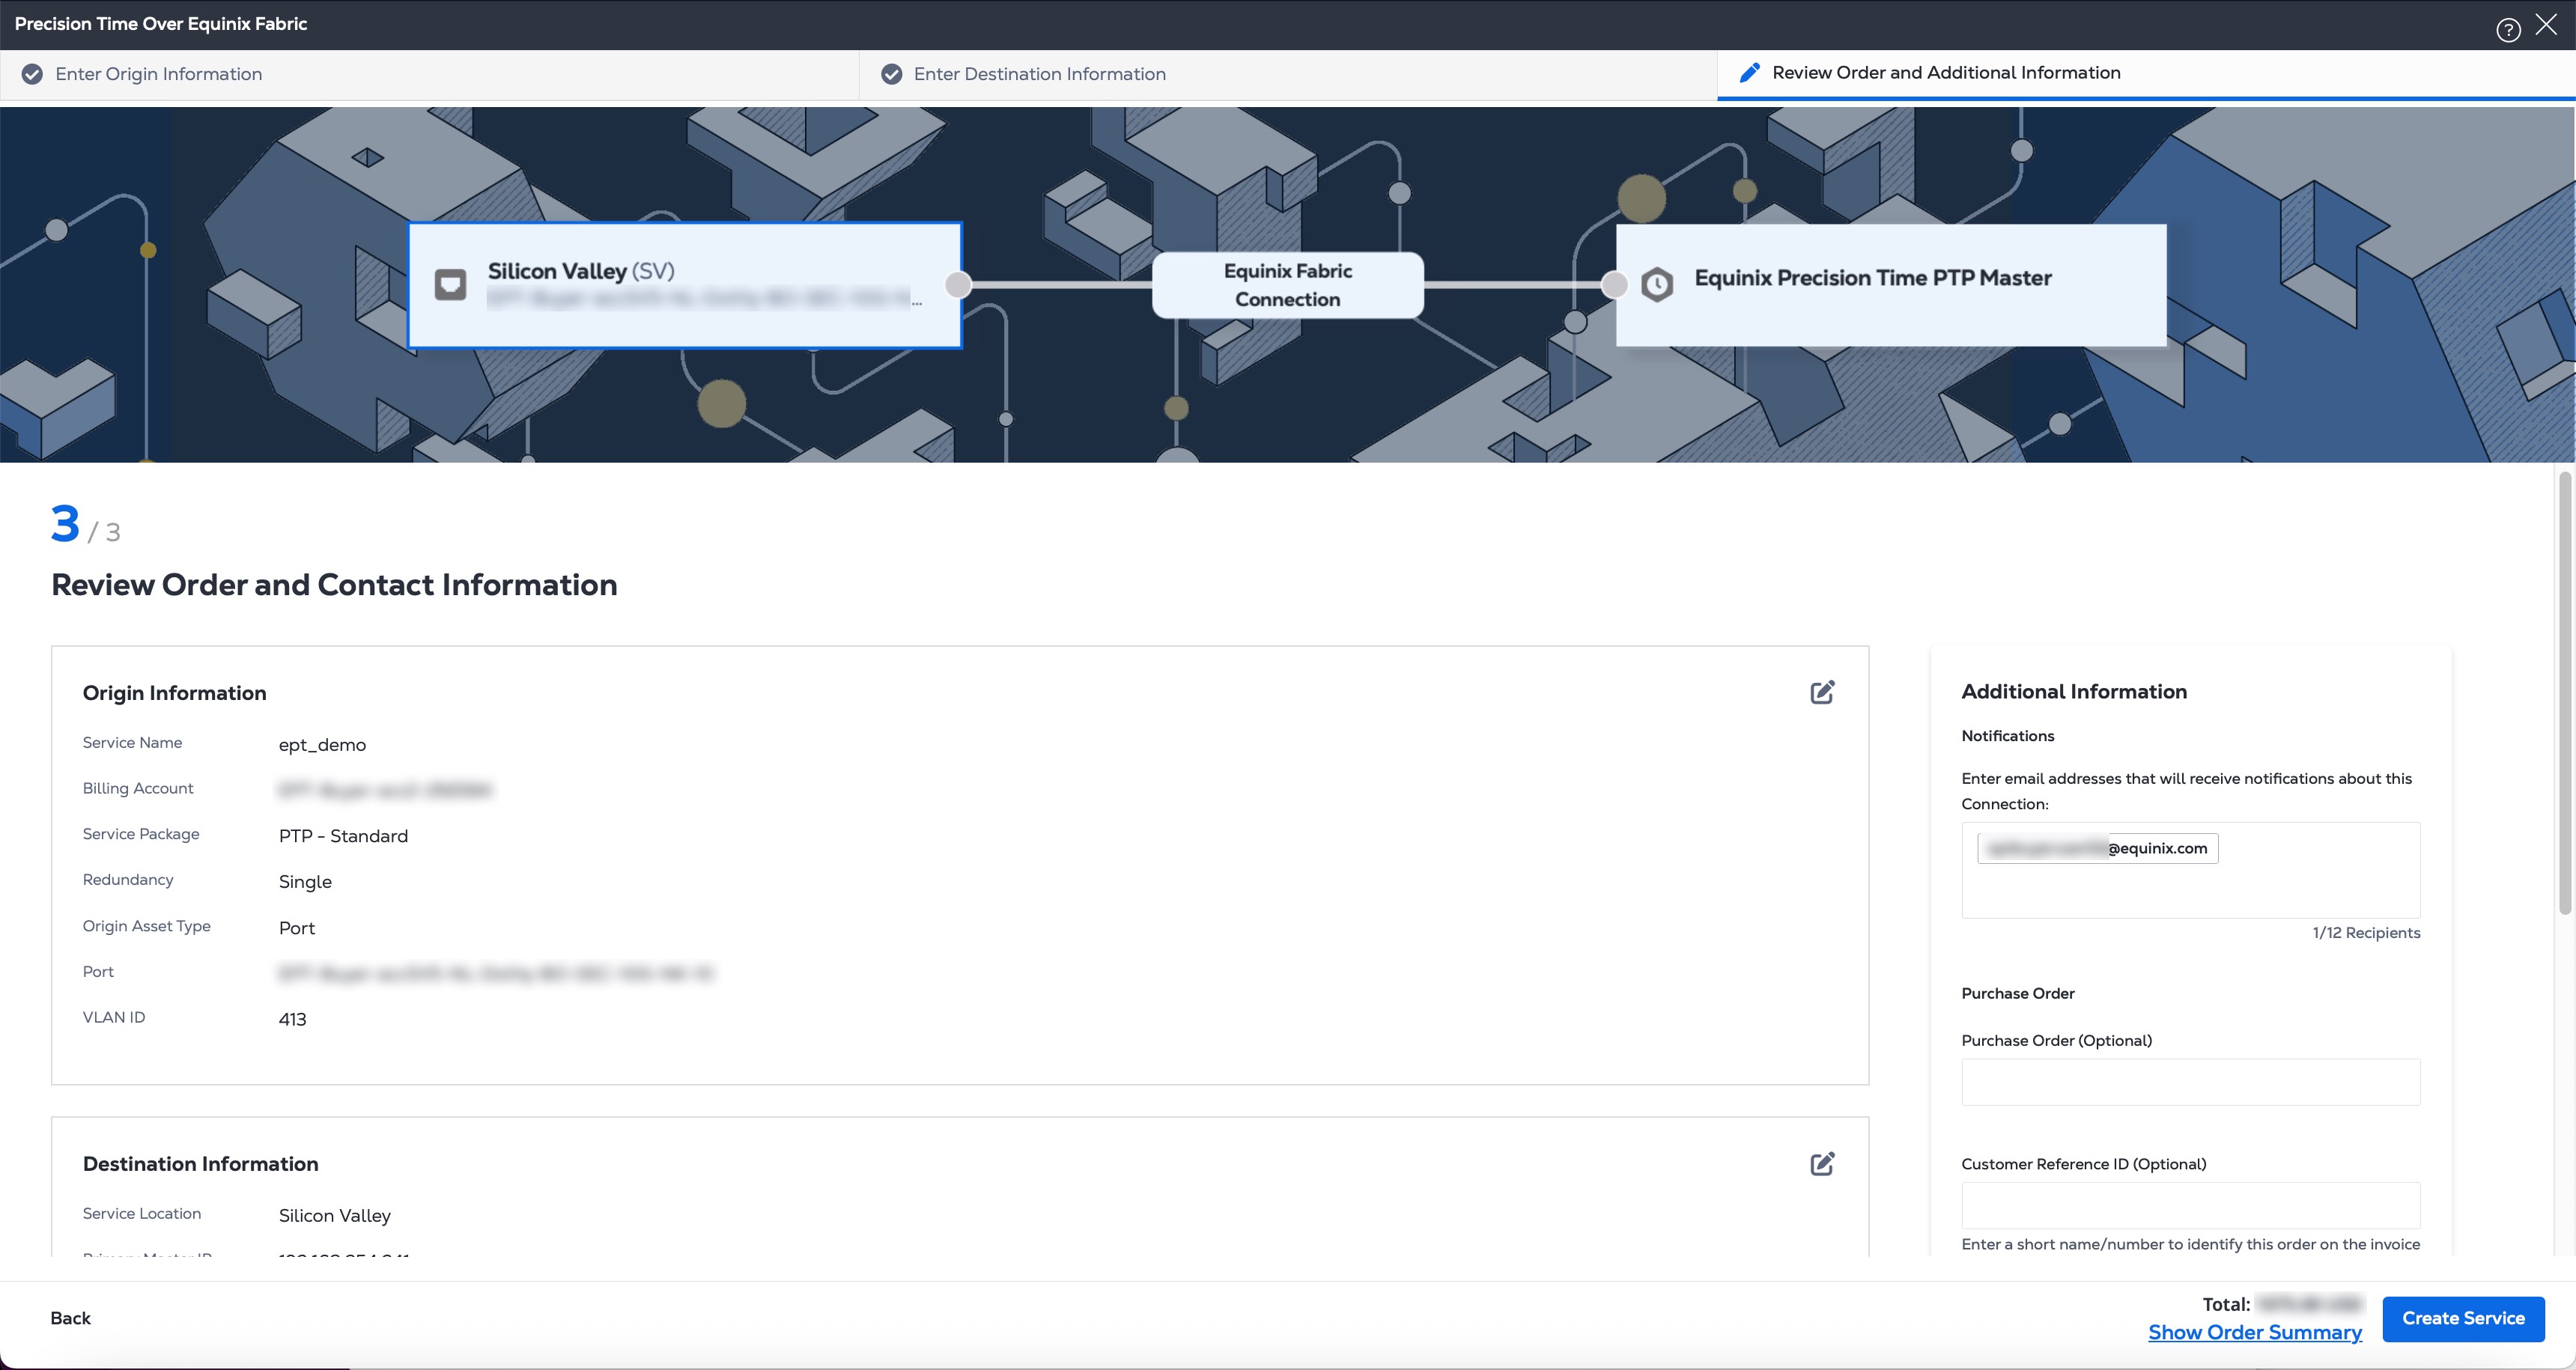
In the Additional Information prompt, the email address associated with your account is displayed in the Notifications field.
-
Enter additional email addresses for anyone who should receive notifications.
-
(Optional) Enter the Purchase Order number.
-
(Optional) Enter the Customer Reference ID.
-
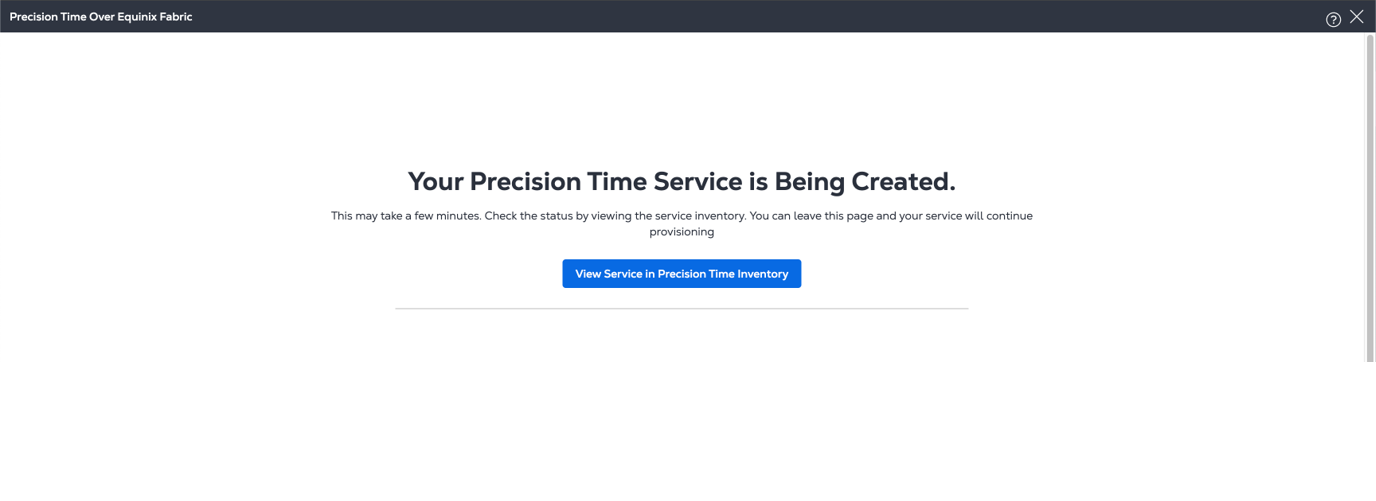
Click Create Service. Your browser displays a confirmation message with the provisioning status.
Next Steps
You can view your new service in the dashboard. To display the Equinix Precision Time dashboard, click View Service in Precision Time Inventory.
From here, you can also add a new Precision Time service, or view and update another time service.
Changes to a newly created Precision Time service are not available immediately. You must wait 6 hours before updating a newly provisioned service to allow billing records to update and pricing to be reflected correctly.
To make changes to an existing service, do not delete it and create a new service to replace it. Instead, use the Customer portal to change your configuration as described in Modify a Precision Time Service Instance.
In addition, you can configure Network Edge virtual devices to act as gateways for Precision Time services. See Configure Network Edge Devices as Timing Gateways for more information.