Connecting TO Verizon
Create a connection from your Fabric Port, Fabric Cloud Router, or using a service token.
For instructions on connecting from a Network Edge virtual device, see Connecting Network Edge to Verizon SDI.
Creating a Connection
-
Log in to the Customer Portal > Fabric Dashboard.
-
Use the Context Switcher and select the project under which you want to create the connection. For more information on projects, see Managing Projects.
-
From the Connections menu, select Create Connection.
-
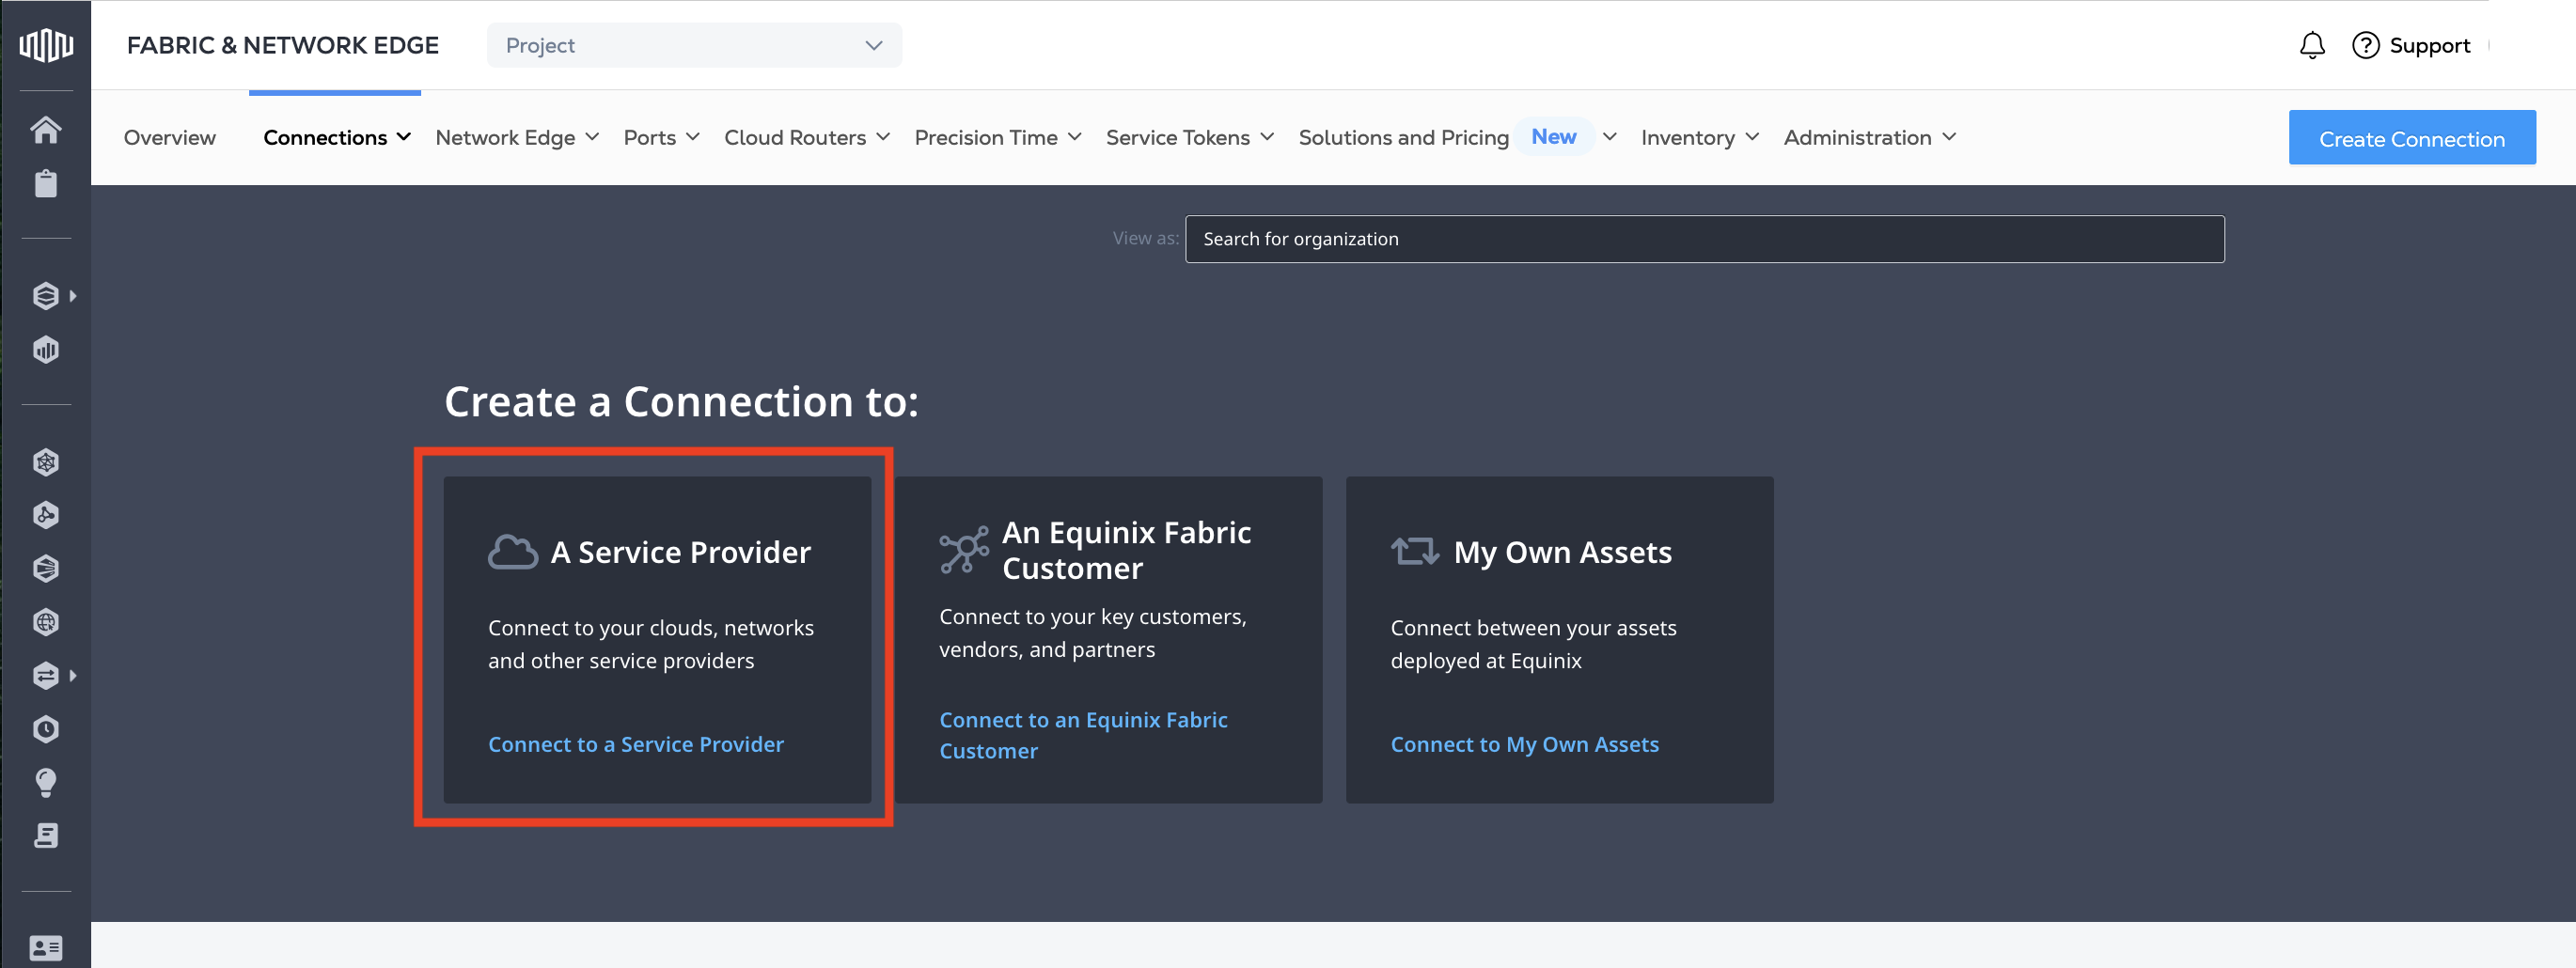
In the A Service Provider card, click Connect to a Service Provider.
-
Enter
Verizonin the search field and on the Verizon card, click Select Service.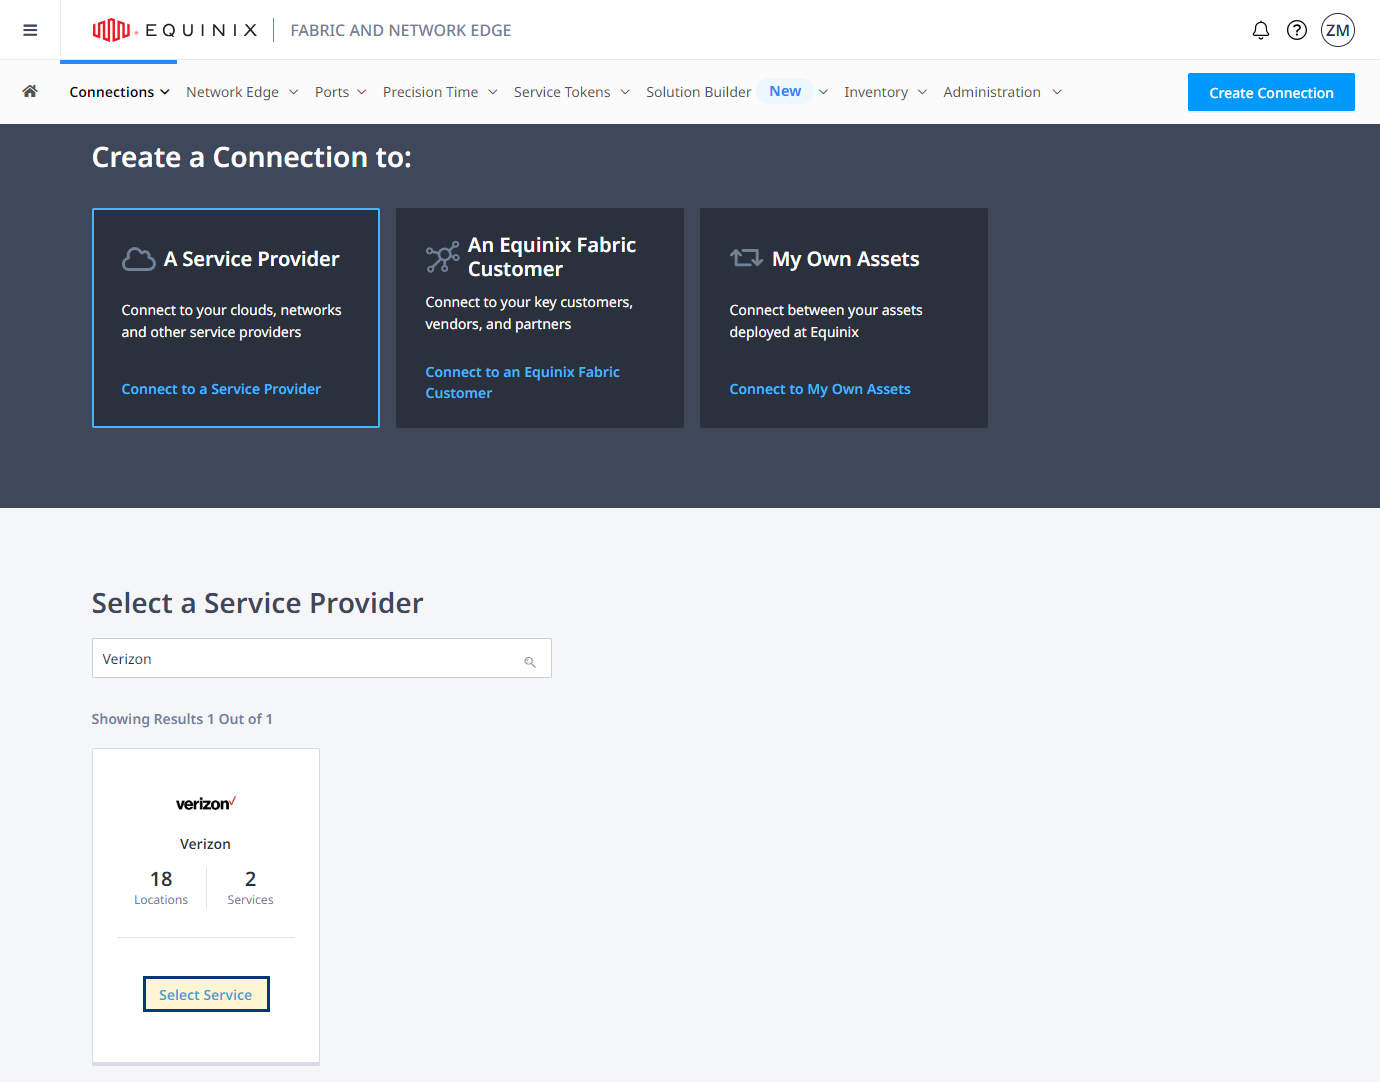
-
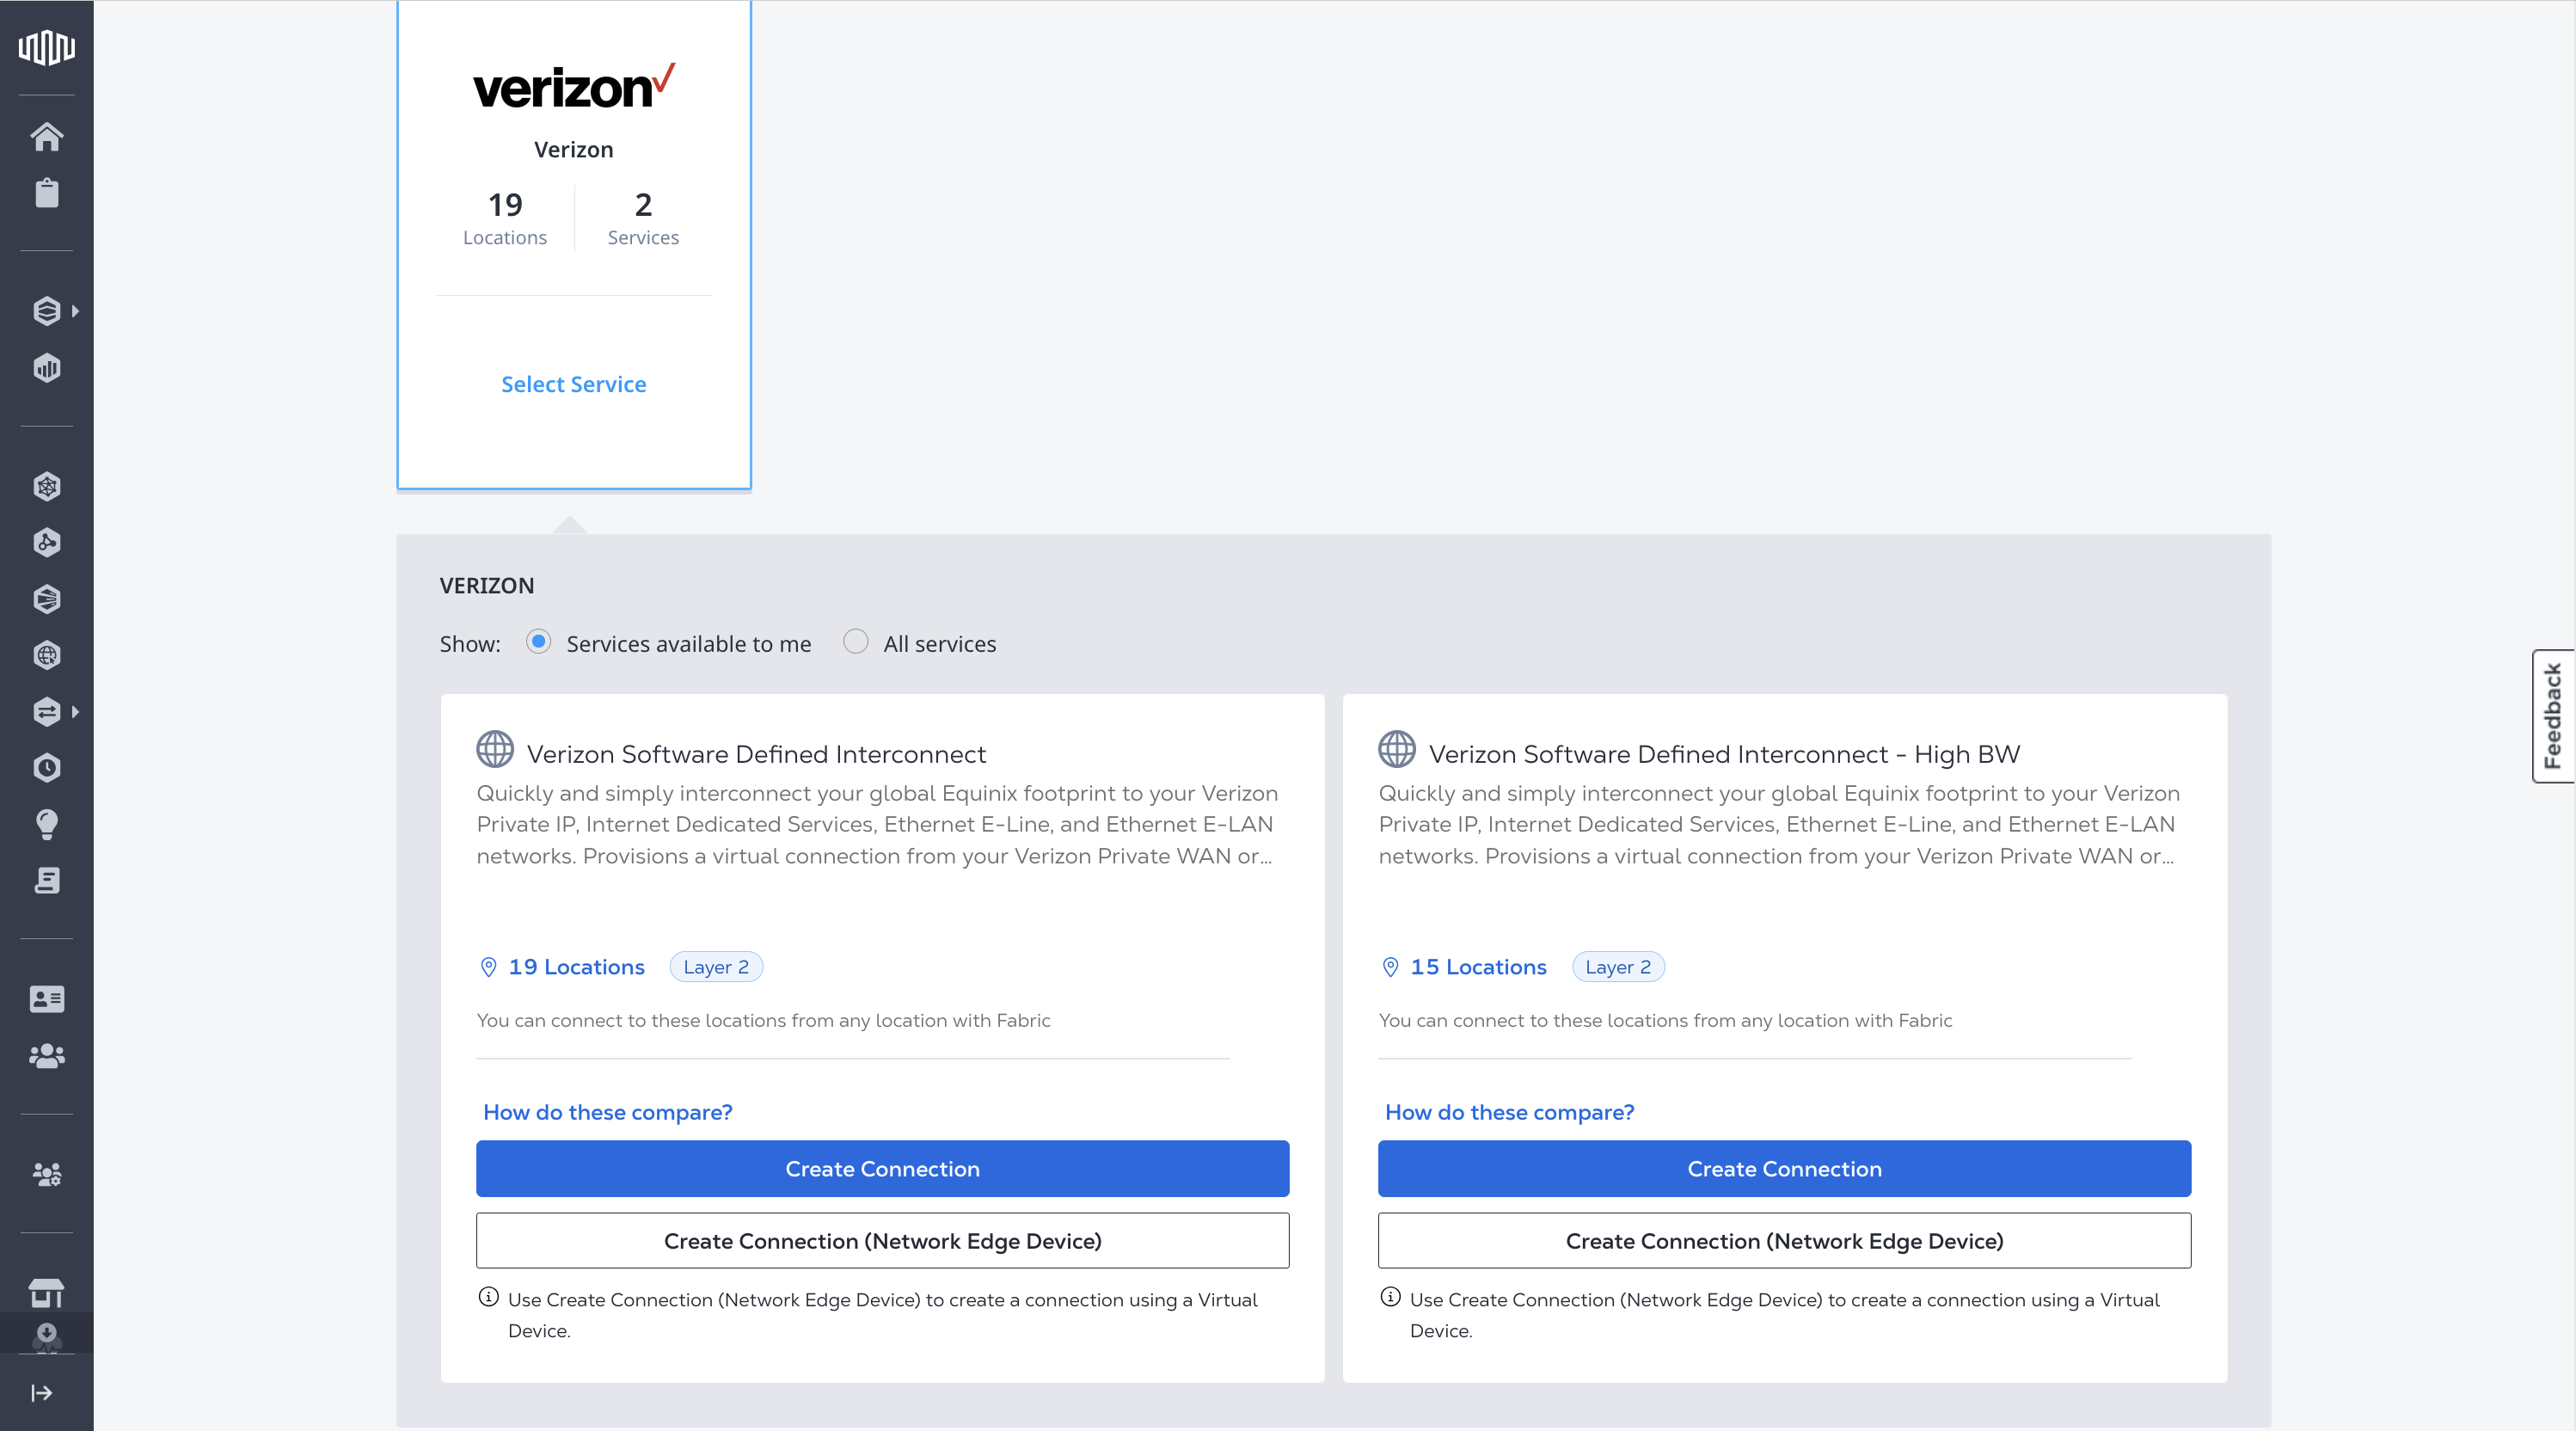
Identify the Verizon service profile you want to use, then click Create Connection. More information on which service profile you should choose is on the Verizon SDI Overview page.
-
Select the Metro location that you are connecting to.
-
Click Next.
Configuring the Connection
Configure your connection depending on the origin asset type.
Port
From the Origin Asset Type drop-down list, select Port.
-
Select the Port to make your connection from. Click + Select Primary Port, then select your primary connection port and click Select Port.
-
Enter a connection name for the connection or connections
-
Enter a VLAN ID.
-
Under Seller C-tag, enter your VLAN ID for the z-side inner tag or C-tag for your connection or connections.
-
Select the bandwidth for the connection or connections.
-
Select the Term Length for the connection or connections.
-
Click Next.
Service Token
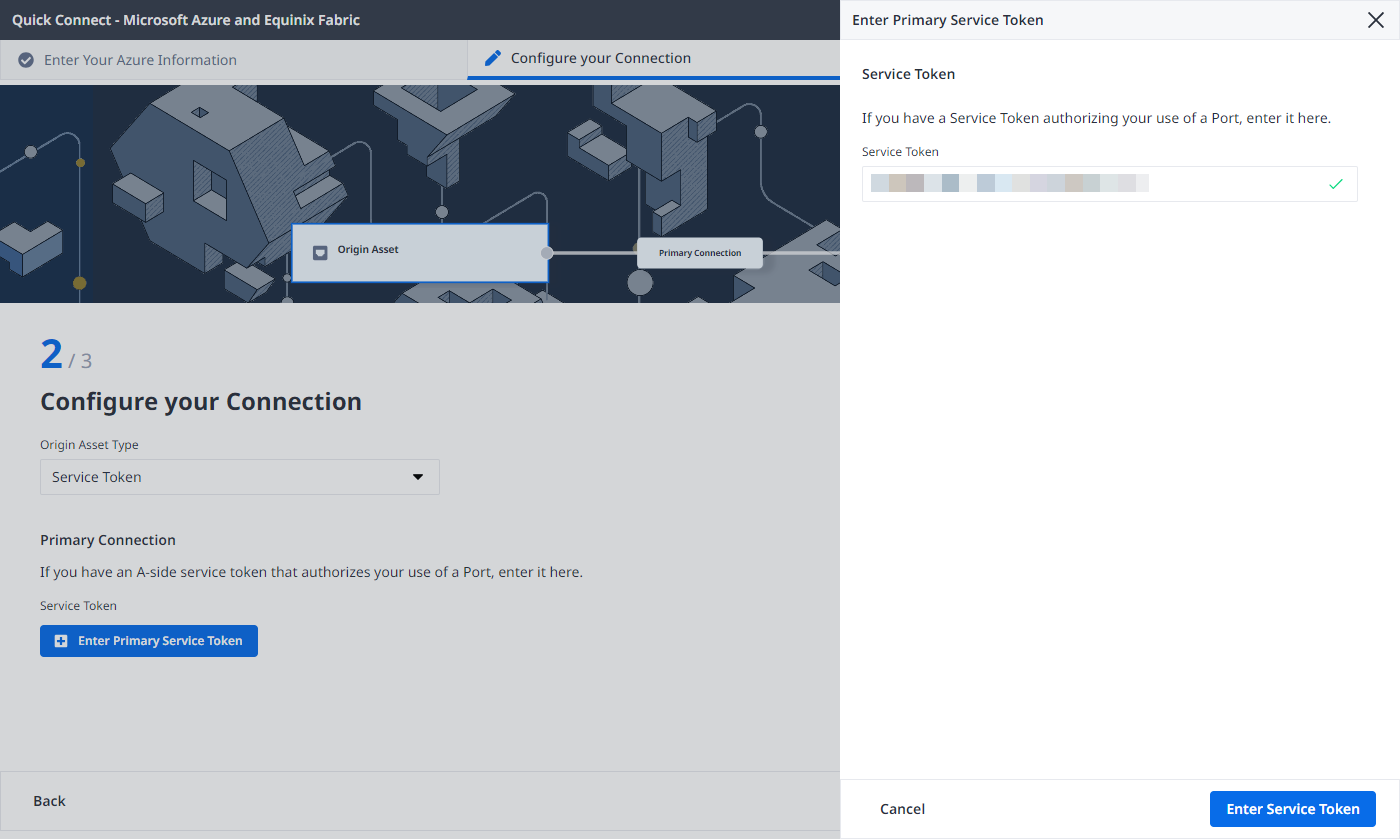
From the Origin Asset Type drop-down list, select Service Token.
-
Click + Enter Primary Service Token, provide the service token, then click Enter Service Token.
-
Enter the primary connection name.
-
Enter a VLAN ID.
-
Under Seller C-tag, enter your VLAN ID for the z-side inner tag or C-tag for your connection or connections.
-
Select the bandwidth for the connection.
-
Select the Term Length for the connection.
-
Click Next.
Fabric Cloud Router
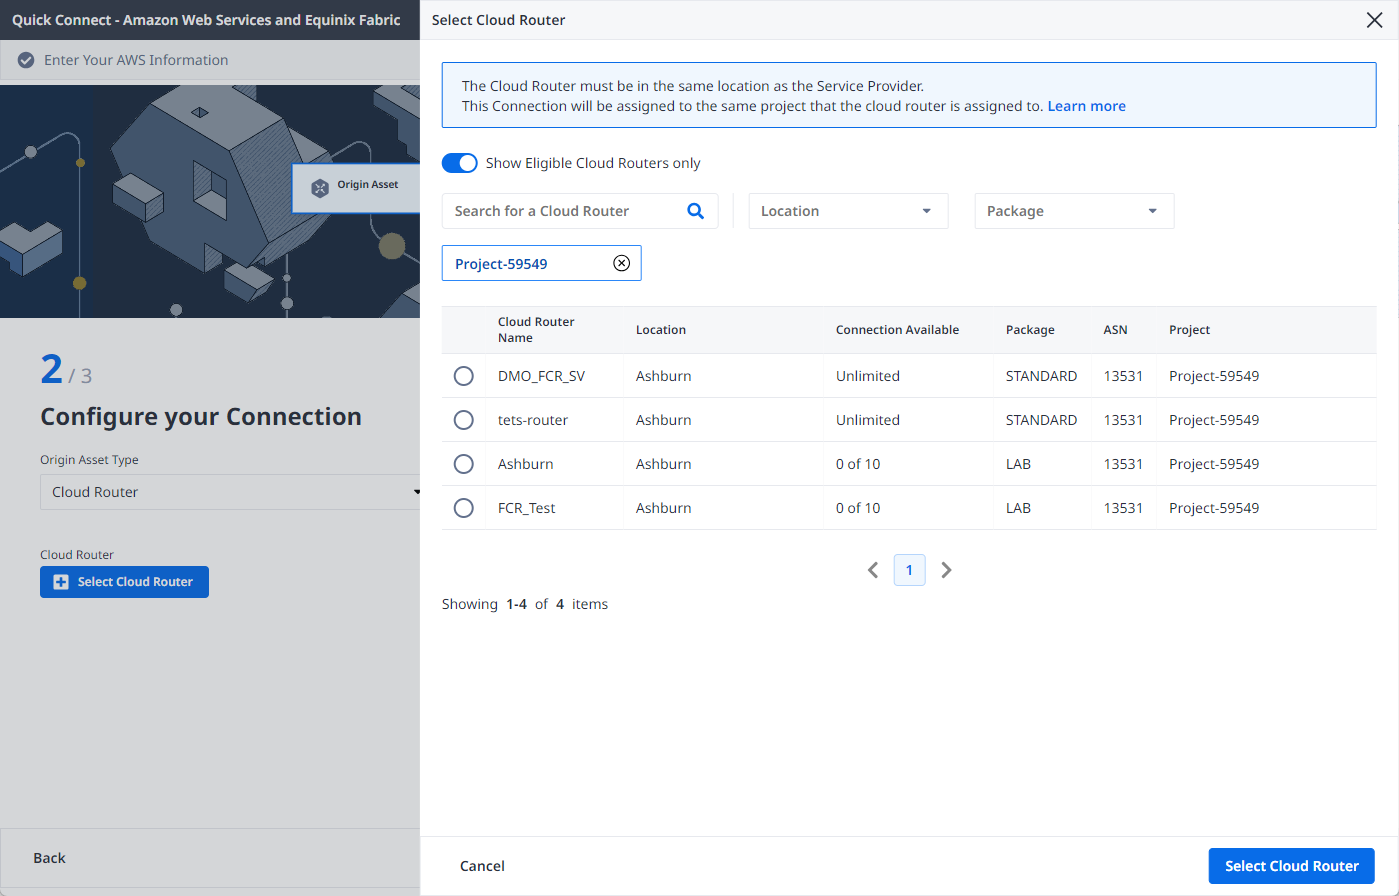
From the Origin Asset Type drop-down list, select Cloud Router.
Click + Select Cloud Router, select a cloud router instance, then click Select Cloud Router.
-
Select the bandwidth for the connection.
-
Select the Term Length for the connection.
-
Click Next.
Review and Submit
On the Review Order and Additional Information page:
-
Review the information in the Connection Configuration sections.
-
Use the Notifications field to provide the email addresses of the recipients to be notified about the connection's status. You can add up to 12 email addresses.
-
(Optional) Enter or add order information in the Purchase Order section.
- Click Select Purchase Order Number.
- Click Select an Existing Purchase Order.
- Select purchase order number you want to apply to your order, then click Done.
-
Provide customer reference identifier, that will help you identify this order on your invoice.
-
Click Show Order Summary to see order details and connection pricing information.
When you are ready, click Create Connection.
Activating the Connection
When you click Create Connection, the confirmation message provides your Authentication Key.
Share the Authentication Key displayed on the order confirmation page with your Verizon sales representative.
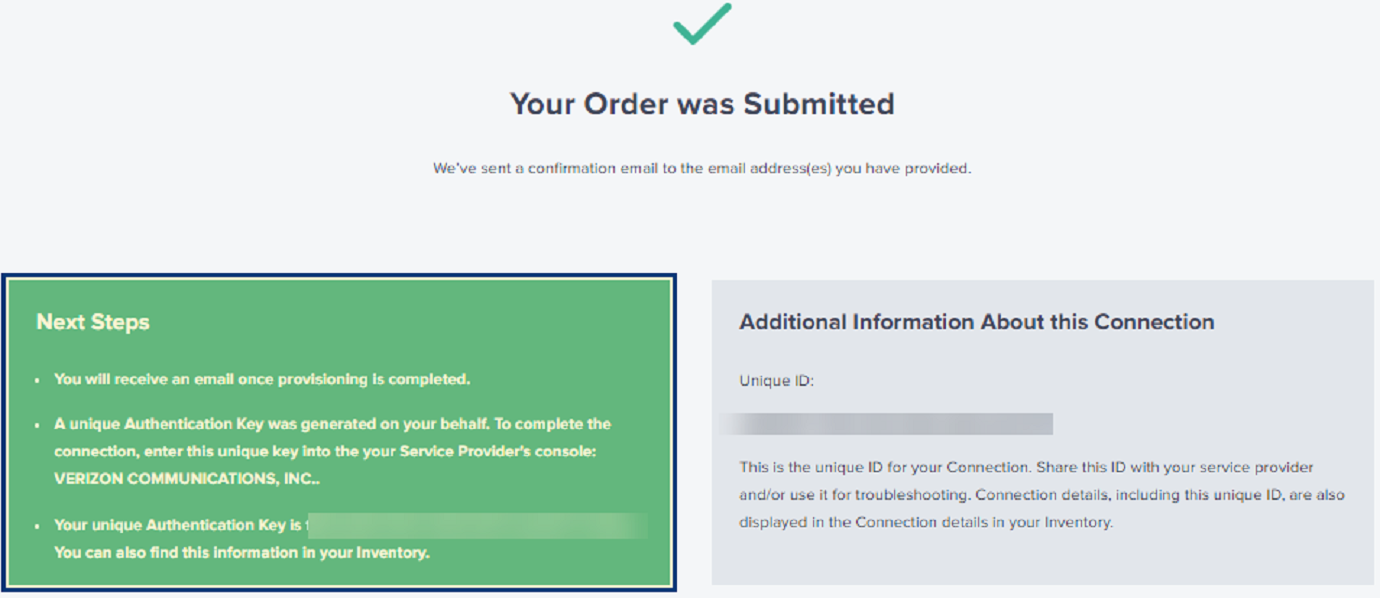
The Authentication Key is also available on the connection's details page in your Connections Inventory, in the Order Details section.
![]()
Once Verizon has accepted your connection, your Equinix Fabric connection will automatically be provisioned and you will receive an email notification about connection's status change.
Monitoring the Connection Status
To monitor the status of your connection select Connections Inventory from the Connections menu.