Accepting the Connection
Once you have created the connection in Equinix, you must accept the connection in AWS before you can start using it.
You can accept the connection in three different ways:
- Log in to AWS Management Console to accept pending connections.
- Log in to the Equinix Customer Portal, provide Equinix with your AWS access key and secret access key to accept the connection.
- Provide your AWS access key and secret access key to the Equinix API to accept the connection.
Accepting the Connection in AWS
To accept your Direct Connect Hosted Connection:
-
Using the AWS Direct Connect console:
- Click Connections, select your connection and click View details.
- Select the confirmation checkbox, then click Accept.
AWS also offers methods for accepting connections in their API and CLI. For more information, see the AWS documentation.
Accepting the Connection through Equinix
If you want to accept the connection on AWS through Equinix, you need to provide your AWS access key and secret access key.
- Portal
- API
To accept the connection using the Customer Portal > Fabric Dashboard:
-
From the Connections menu, select Connections Inventory.
-
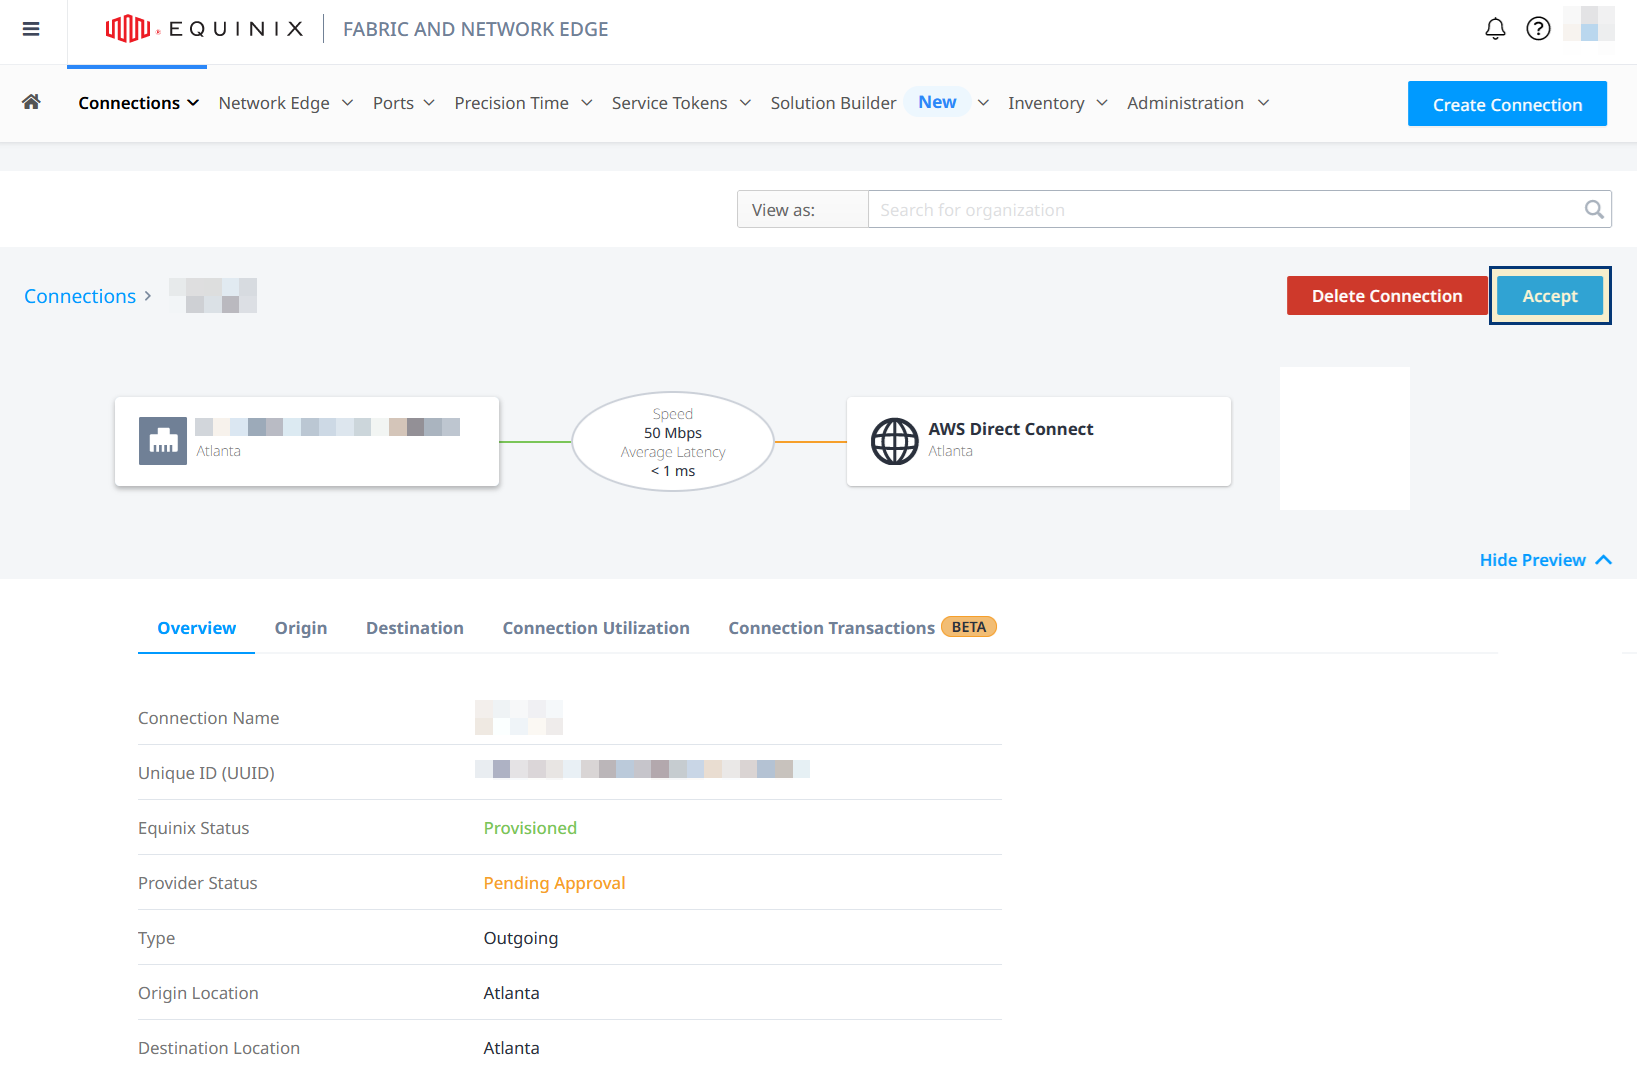
Locate and click your AWS Direct Connect connection.
-
Click Accept.
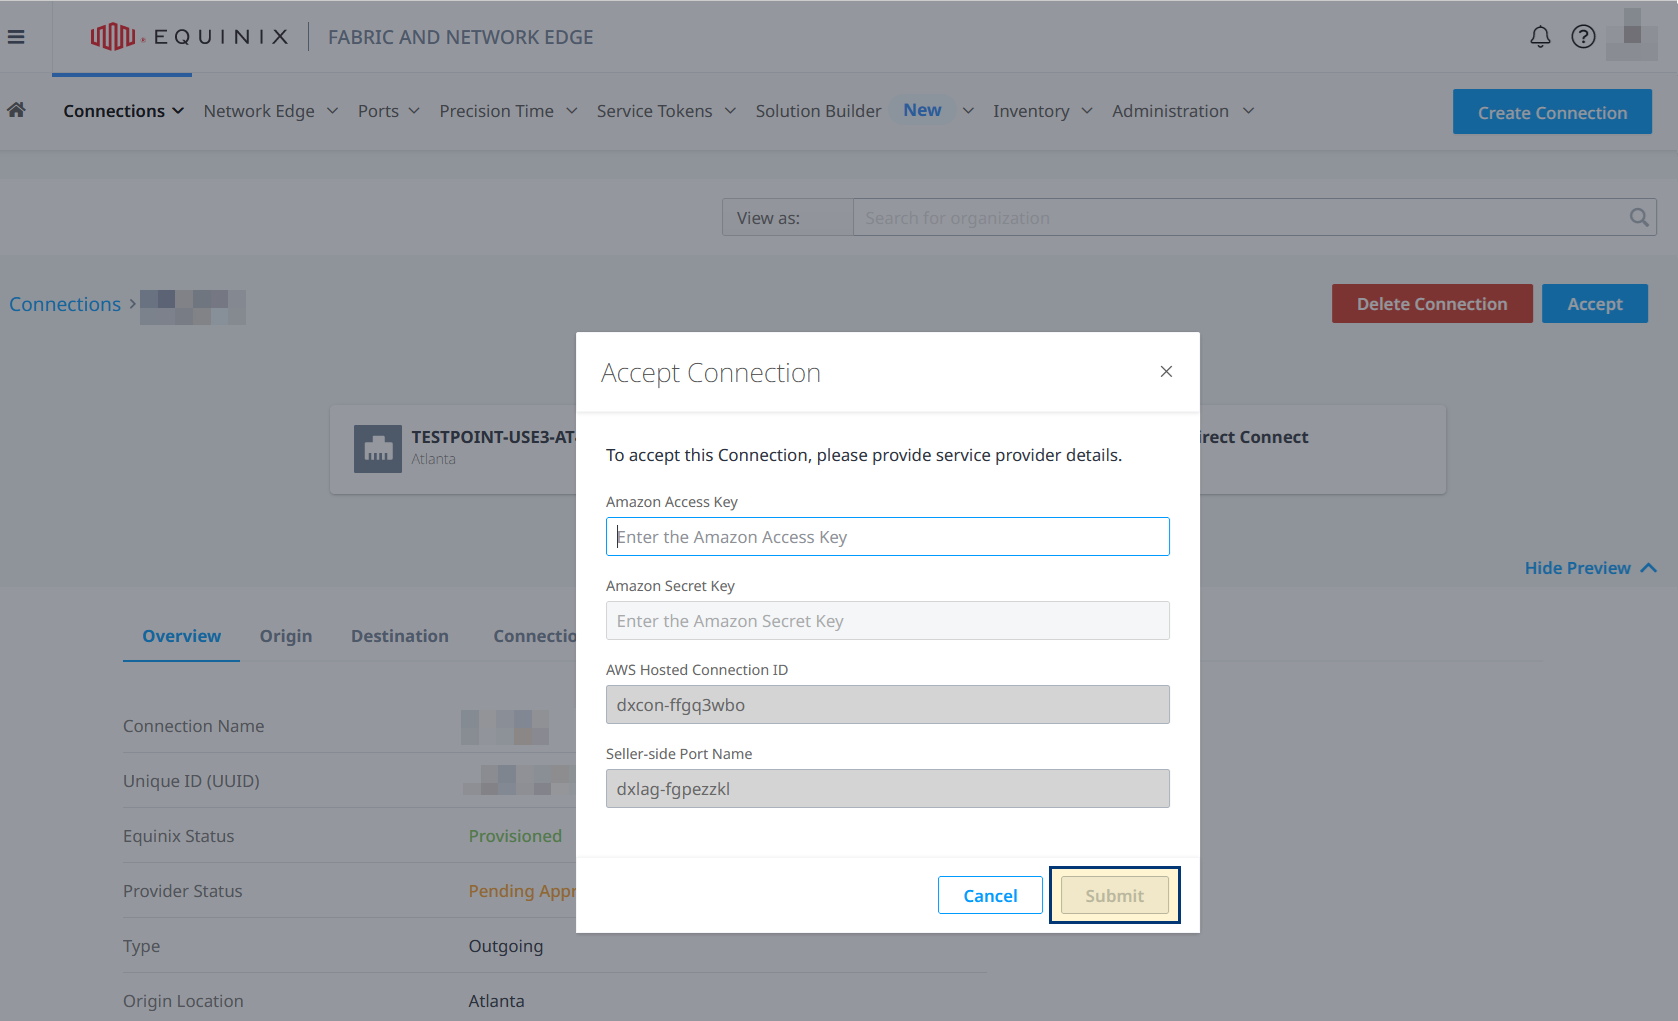
-
Enter an Amazon Access Key and click Submit.
To accept the connection using the Equinix API, send a PATCH request to the /fabric/v4/connections/{id} endpoint. Pass the connection ID as a path parameter and the accessKey and secretKey in the body of your request.
Sample cURL Request:
curl -X
PATCH 'https://api.equinix.com/fabric/v4/connections/{id}'
-H 'content-type: application/json'
-H 'authorization: Bearer <token>'
-d '{
    "op": "add",
    "path": "/zSide",
    "value": {
    "additionalInfo": [
      {
        "key": "accessKey",
        "value": "<your_aws_access_key>"
      },
      {
        "key": "secretKey",
        "value": "<your_aws_secret_access_key>"
      }
    ]
  }'